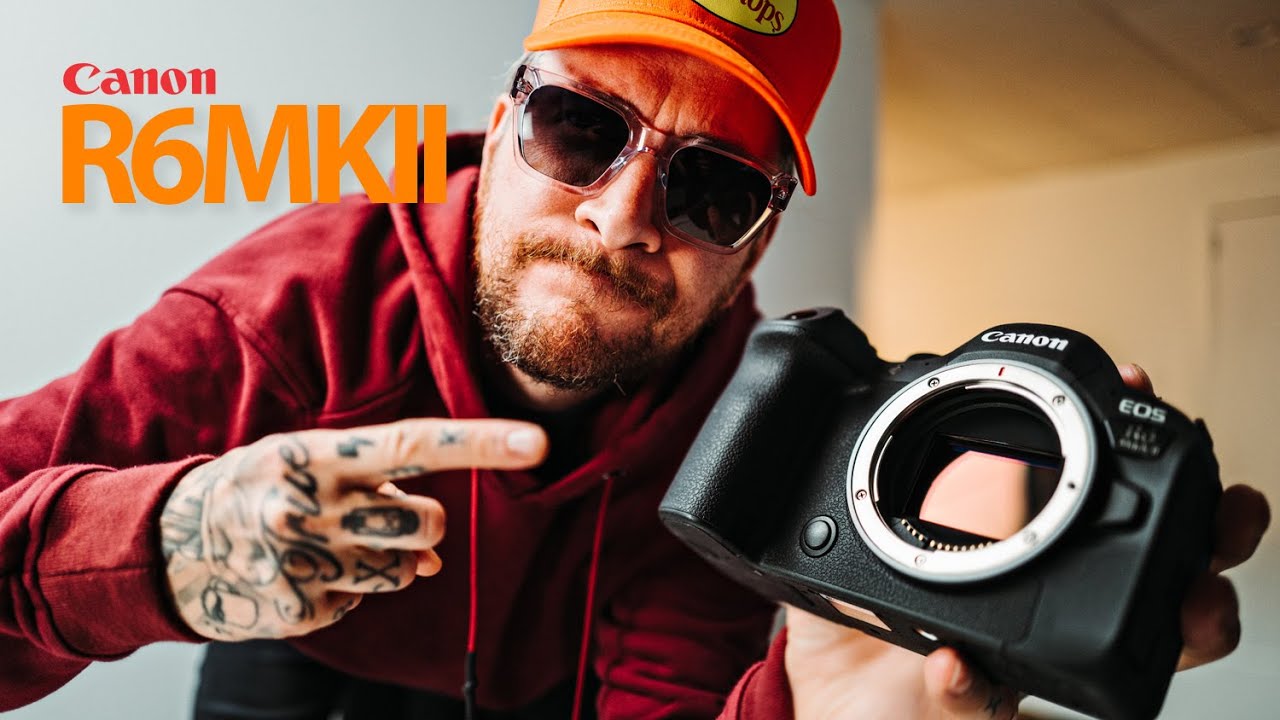
Every time a major camera body drops, I end up down a rabbit hole trying to figure out whether it actually changes anything about how I work or whether it’s just a spec sheet upgrade dressed up in a press release. When I saw Peter McKinnon had taken the Canon R6 Mark II to Iceland for a proper field test, I sat down with coffee and watched the whole thing. Peter’s reviews are useful because he shoots the way a lot of us actually shoot - events, travel, documentary-style footage - not just studio tests with color charts and controlled lighting. Watch the full tutorial on YouTube
What came out of that video wasn’t a verdict of “buy it or don’t.” It was a clear picture of exactly which problems this camera solves and for whom. If you shoot weddings, travel, or any mixed photo-video work, several of these upgrades are legitimately meaningful. Let me walk through the key features in the order Peter covers them, with enough detail that you can decide whether the R6 Mark II earns a place in your kit.
Step 1: Get Familiar With the New Body Layout
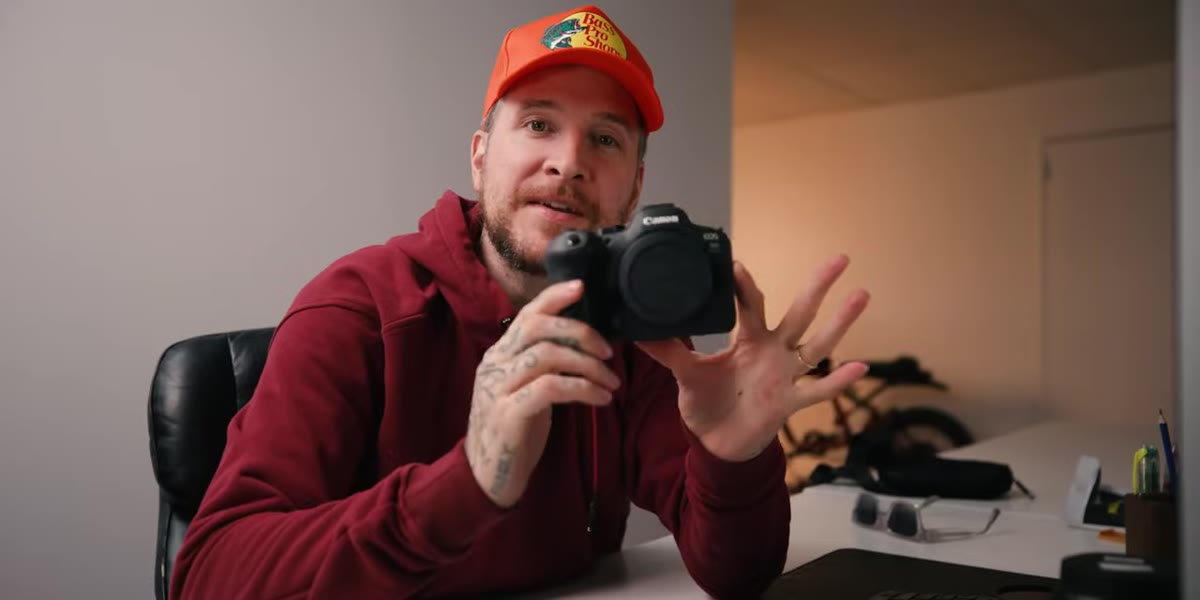 Peter pointing to the new toggle switch on top left of camera
The first thing you’ll notice when you pick up the R6 Mark II is a dedicated toggle on the top left of the body to switch between photo and video modes. This sounds small until you’ve been on a shoot where you need to flip between stills and video quickly. On the original R6 and even the R5, getting into video mode requires hitting the mode button, then info, then navigating a screen menu. On the Mark II, it’s a single physical switch. The on/off button has also moved to the right side of the body, which takes a day of adjustment if you’re coming from the original R6.
Peter pointing to the new toggle switch on top left of camera
The first thing you’ll notice when you pick up the R6 Mark II is a dedicated toggle on the top left of the body to switch between photo and video modes. This sounds small until you’ve been on a shoot where you need to flip between stills and video quickly. On the original R6 and even the R5, getting into video mode requires hitting the mode button, then info, then navigating a screen menu. On the Mark II, it’s a single physical switch. The on/off button has also moved to the right side of the body, which takes a day of adjustment if you’re coming from the original R6.
If you’re demoing this camera in a store or renting it before you buy, spend five minutes just doing dry runs - switch from photo to video and back, find the record button without looking. Muscle memory on camera controls saves you real shots in the field.
Step 2: Understand What the Megapixel Jump Actually Means
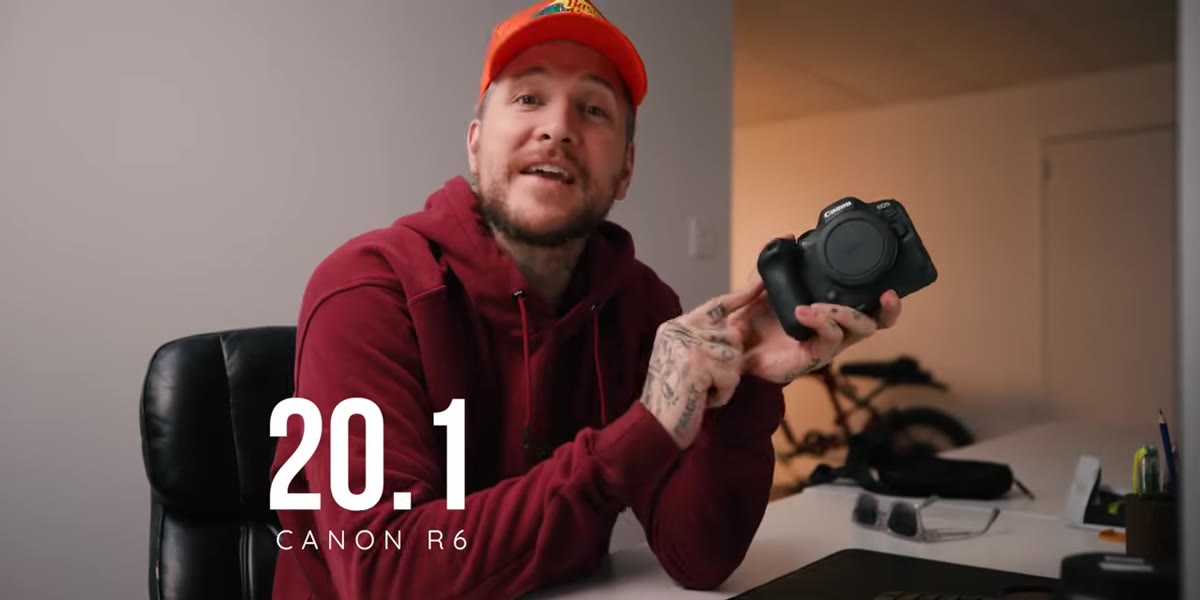 Close-up of camera spec graphic showing 20MP vs 24.2MP comparison
The original R6 shot at 20 megapixels. The Mark II bumps that to 24.2 megapixels. Honestly, for most working photographers, this difference won’t change your life. Where it does matter is in cropping - if you’re shooting wildlife or sports where you often can’t get close enough, those extra megapixels give you a little more flexibility to crop in post without losing the sharpness you need for a print or a large-format delivery. For web and social, 20 megapixels was already more than enough. Think of the 24.2 as a quiet bonus rather than a headline feature.
Close-up of camera spec graphic showing 20MP vs 24.2MP comparison
The original R6 shot at 20 megapixels. The Mark II bumps that to 24.2 megapixels. Honestly, for most working photographers, this difference won’t change your life. Where it does matter is in cropping - if you’re shooting wildlife or sports where you often can’t get close enough, those extra megapixels give you a little more flexibility to crop in post without losing the sharpness you need for a print or a large-format delivery. For web and social, 20 megapixels was already more than enough. Think of the 24.2 as a quiet bonus rather than a headline feature.
Step 3: Use the Electronic Shutter for High-Volume Shooting Situations
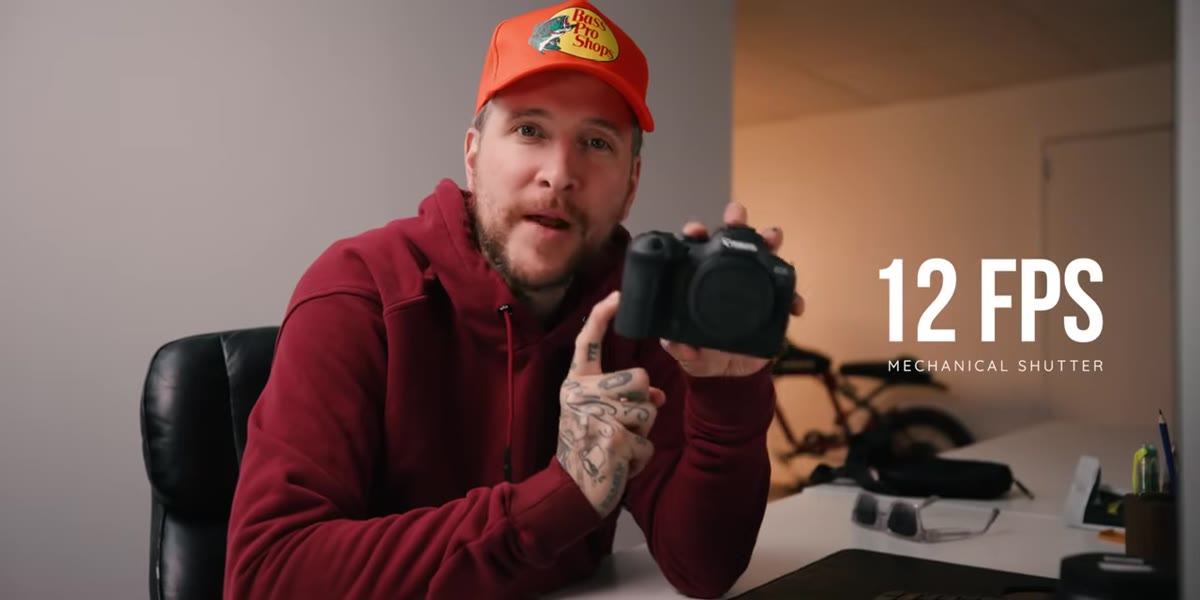 Text graphic showing 40fps electronic shutter spec on screen
This is where the Mark II earns serious attention from event photographers. The mechanical shutter shoots at 12 frames per second, same as the original. But the electronic silent shutter now reaches 40 frames per second - double the original model’s 20fps cap. In practice, that means during a wedding ceremony, a graduation walk, or a sports moment, you can hold the shutter through a sequence and have a far better chance of pulling the exact expression or peak action frame you need.
Text graphic showing 40fps electronic shutter spec on screen
This is where the Mark II earns serious attention from event photographers. The mechanical shutter shoots at 12 frames per second, same as the original. But the electronic silent shutter now reaches 40 frames per second - double the original model’s 20fps cap. In practice, that means during a wedding ceremony, a graduation walk, or a sports moment, you can hold the shutter through a sequence and have a far better chance of pulling the exact expression or peak action frame you need.
The silent shutter is also essential in quiet environments - ceremonies, theater shoots, any situation where a clicking mechanical shutter would be disruptive or distracting. Build a habit of knowing which shutter mode you’re in before the moment starts. Set your electronic shutter to a custom button or at least know the menu path cold before you’re standing at the altar.
Step 4: Let the Expanded Subject Detection Do More of the Autofocus Work
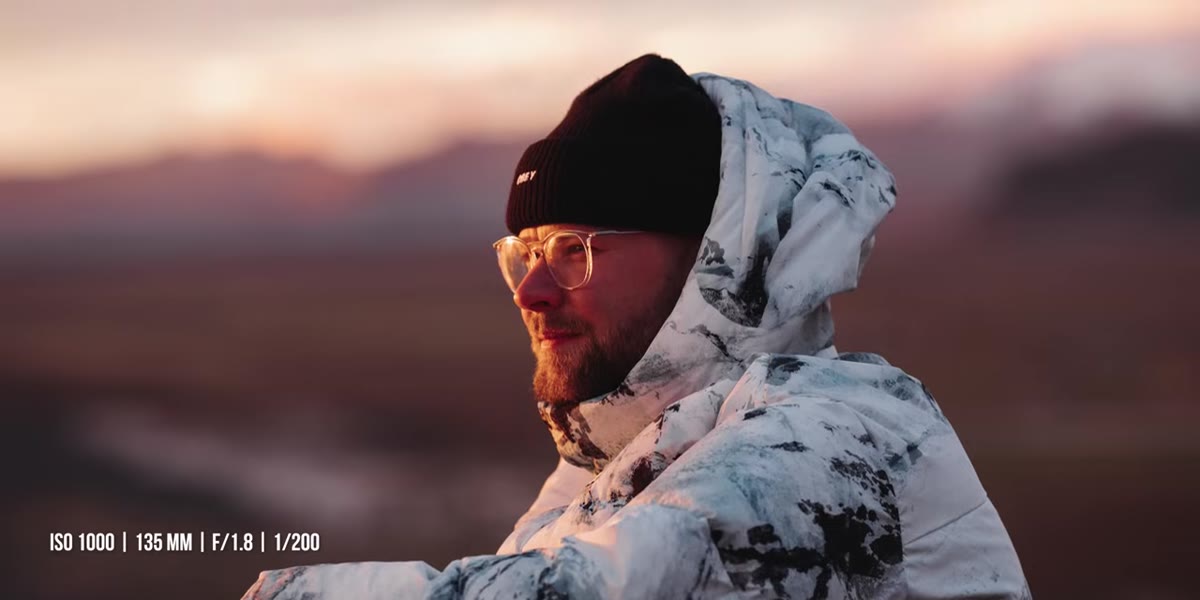 Camera tracking a horse subject in Iceland landscape footage
Subject detection on the Mark II now recognizes aircraft, trains, horses, and a broader range of animals and vehicles - on top of the people and basic animal detection the original R6 offered. This is the same class of autofocus system Canon uses in the R3, adapted for this sensor. What that means practically is that the camera is doing more of the identification work for you, so you can focus on composition and timing rather than whether your AF point is locked on the right thing.
Camera tracking a horse subject in Iceland landscape footage
Subject detection on the Mark II now recognizes aircraft, trains, horses, and a broader range of animals and vehicles - on top of the people and basic animal detection the original R6 offered. This is the same class of autofocus system Canon uses in the R3, adapted for this sensor. What that means practically is that the camera is doing more of the identification work for you, so you can focus on composition and timing rather than whether your AF point is locked on the right thing.
When shooting in subject detection mode, let the camera work. Don’t fight it by trying to manually reposition the focus point constantly. Shoot a test sequence with your most common subject type - whether that’s people at events, animals, or vehicles - and watch the tracking behavior in playback before you rely on it in a critical situation.
Step 5: Set Your Video to 6K Oversampled for Sharper 4K Delivery
 Iceland travel footage playing showing oversampled 4K video quality
6K oversampled means the camera captures at 6K resolution and then downscales that data to produce a 4K output file. The result is 4K footage that carries more detail and edge definition than a camera natively capturing at 4K. Peter’s footage from Iceland showed the difference as subtle - slightly sharper, slightly more defined - not a dramatic transformation. But “slightly better” compounds over a whole project, especially when you’re color grading or delivering to a client who will scrutinize the footage.
Iceland travel footage playing showing oversampled 4K video quality
6K oversampled means the camera captures at 6K resolution and then downscales that data to produce a 4K output file. The result is 4K footage that carries more detail and edge definition than a camera natively capturing at 4K. Peter’s footage from Iceland showed the difference as subtle - slightly sharper, slightly more defined - not a dramatic transformation. But “slightly better” compounds over a whole project, especially when you’re color grading or delivering to a client who will scrutinize the footage.
The camera also supports 4K at 60 frames per second, which is the sweet spot for smooth motion footage that you can slow down to 50% in a 30fps timeline and still have a clean result. For slow motion at 1080p, the camera reaches 180fps - useful in short bursts mixed into a 4K edit, where the resolution difference is less noticeable than you’d expect.
Step 6: Remove the 30-Minute Recording Limit From Your Workflow Entirely
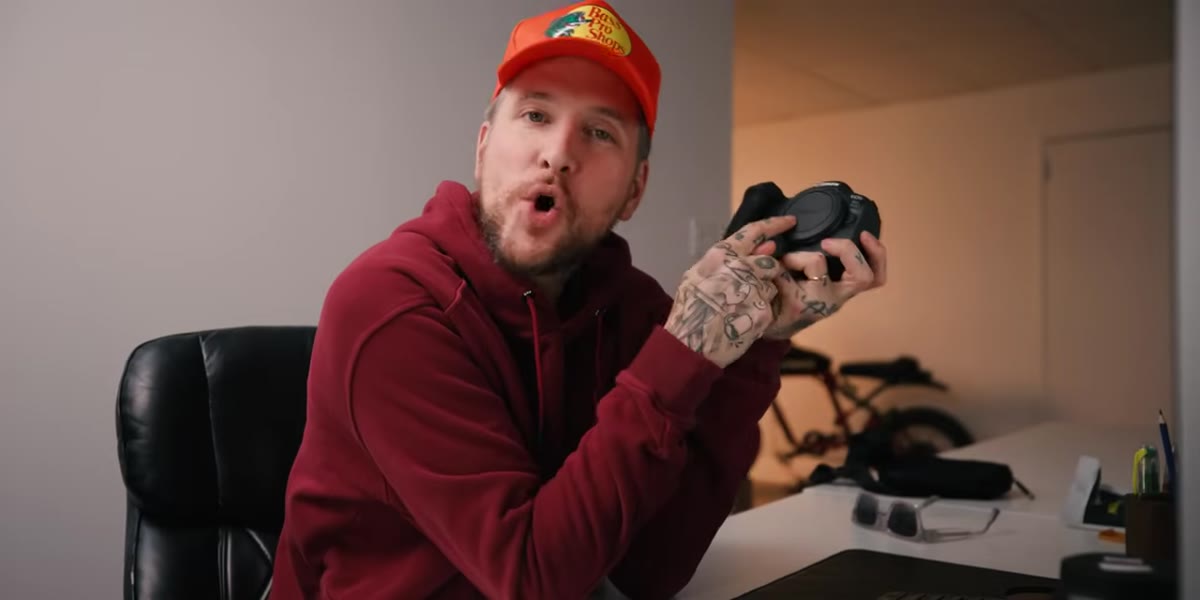 Peter gesturing toward camera while discussing unlimited record time
The original R6, like many Canon cameras before it, cut video recording off at 30 minutes per clip. The Mark II removes that limit entirely. For anyone who has ever set up a second camera angle at a wedding, a conference panel, or a podcast recording and had to babysit a 30-minute timer - this is a significant quality-of-life upgrade. Load a large card, press record, and trust that the camera will keep rolling until you stop it or run out of storage.
Peter gesturing toward camera while discussing unlimited record time
The original R6, like many Canon cameras before it, cut video recording off at 30 minutes per clip. The Mark II removes that limit entirely. For anyone who has ever set up a second camera angle at a wedding, a conference panel, or a podcast recording and had to babysit a 30-minute timer - this is a significant quality-of-life upgrade. Load a large card, press record, and trust that the camera will keep rolling until you stop it or run out of storage.
The practical step here is simple: use this feature intentionally. Set a large, fast card, confirm your recording format and the file size it generates per hour, and do a timed test before a real shoot so you know your actual capacity.
What I’d Add From My Own Experience
Peter’s field test confirms something I’ve seen repeatedly in my own travel and event work: the features that matter most aren’t always the flashiest specs. The toggle switch, the unlimited recording, the doubled frame rate on the electronic shutter - these are solutions to real friction points that interrupt real shoots. The 6K oversampling and subject detection expansions are meaningful upgrades, but they build on a strong foundation rather than reinventing it.
If you’re already shooting with an R6 and your work involves fast-moving subjects, long-form video recording, or switching between photo and video in fast situations, the Mark II addresses exactly those gaps. If you’re primarily a stills shooter doing portrait or landscape work at a relaxed pace, the upgrade case is harder to make. Know what your actual bottlenecks are before deciding whether new hardware solves them.
The single most useful takeaway from this breakdown: match your camera upgrade decisions to the specific problems you run into on real shoots, not to spec comparisons in isolation. Watch the full tutorial on YouTube to see Peter’s Iceland footage and get his full hands-on impressions directly from the field.
Comments
Leave a Comment