
Battery anxiety is not something I ever thought I’d associate with a Canon camera. I’ve shot Canon bodies for years, and one of the things I always appreciated was how reliably the LP-E6 batteries carried me through a long day. So when I started hearing working shooters talk about burning through batteries on the R5C like they were AA cells in a kid’s toy, I paid attention. That’s the kind of real-world detail that doesn’t show up in spec sheets but absolutely wrecks your shoot day if you’re not prepared for it.
In this Peter McKinnon tutorial, Watch the full tutorial on YouTube, McKinnon breaks down two months of exclusive daily use with the R5C, including a full artist profile shoot with Toronto photographer Matt Barnes. He’s not doing a sterile lab test here. He’s shooting real projects, carrying real gear, and running into real problems. That’s exactly the kind of review I trust, and exactly the kind of workflow intel that’s worth unpacking step by step.
The R5C sits in a genuinely interesting position: it’s a hybrid body that gives you a cinema camera on one side of the workflow and a stills camera on the other. That’s exciting in theory. But exciting-in-theory and useful-on-location are two different things, and McKinnon does a good job of showing you where the seams are.
Step 1: Understand What You’re Actually Buying With the R5C
 Split-screen concept of cinema and photo camera modes shown
Before you touch a single setting, get clear on the R5C’s identity. This is not just an R5 with video features bolted on. It’s a genuinely dual-mode camera, with a physical switch that moves you between a cinema-oriented operating system and a photo-oriented one. That architecture changes how you think about every workflow decision downstream. When McKinnon describes it as having a cinema camera on one side and a photo camera on the other, he means that literally, not metaphorically. Know which mode you’re in before you start configuring anything, because the menus, the behavior, and the power draw are all different depending on where that switch is sitting.
Split-screen concept of cinema and photo camera modes shown
Before you touch a single setting, get clear on the R5C’s identity. This is not just an R5 with video features bolted on. It’s a genuinely dual-mode camera, with a physical switch that moves you between a cinema-oriented operating system and a photo-oriented one. That architecture changes how you think about every workflow decision downstream. When McKinnon describes it as having a cinema camera on one side and a photo camera on the other, he means that literally, not metaphorically. Know which mode you’re in before you start configuring anything, because the menus, the behavior, and the power draw are all different depending on where that switch is sitting.
Step 2: Pack Batteries Like You’ve Never Packed Batteries Before
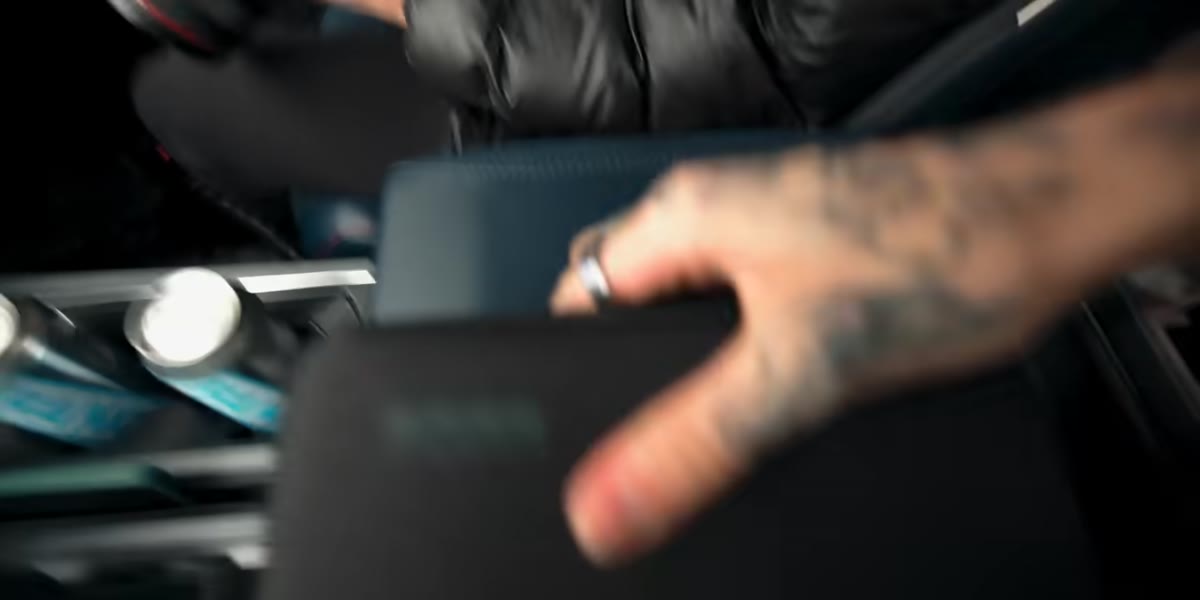 Several LP-E6 batteries laid out before a shoot
This is the major flaw McKinnon flags, and it is significant enough to affect whether this camera belongs in your bag. Shooting for roughly three hours, primarily in 8K full frame, McKinnon and his collaborator burned through around nine LP-E6 batteries. Nine. That’s not a typo. If you’re used to shooting stills or even conventional video and running one or two batteries as a backup, the R5C will humble you fast. The recommendation here is simple but requires planning: before any serious shoot, take every LP-E6 you own, charge all of them, and bring all of them. This is not a camera where you pack light on power.
Several LP-E6 batteries laid out before a shoot
This is the major flaw McKinnon flags, and it is significant enough to affect whether this camera belongs in your bag. Shooting for roughly three hours, primarily in 8K full frame, McKinnon and his collaborator burned through around nine LP-E6 batteries. Nine. That’s not a typo. If you’re used to shooting stills or even conventional video and running one or two batteries as a backup, the R5C will humble you fast. The recommendation here is simple but requires planning: before any serious shoot, take every LP-E6 you own, charge all of them, and bring all of them. This is not a camera where you pack light on power.
Step 3: Know When You Need External Power (and What That Actually Looks Like)
 Discussion of external power bank requirement for 8K RAW Light
Here’s where the R5C asks something unusual of you. If you want to shoot 8K RAW Light, the camera’s internal battery alone cannot sustain it. You need an external power source, specifically a battery bank like an Anker, physically connected to the camera and secured to your rig. This is not a workaround or a hack. It’s a design reality of driving that volume of data through the camera. A single LP-E6 simply isn’t sized for that load. McKinnon’s framing here is worth adopting: don’t think of this as the camera being broken. Think of it as the camera giving you a capability that requires you to show up prepared. If you want to shoot in that format, build an external power solution into your kit before you show up on location, not after.
Discussion of external power bank requirement for 8K RAW Light
Here’s where the R5C asks something unusual of you. If you want to shoot 8K RAW Light, the camera’s internal battery alone cannot sustain it. You need an external power source, specifically a battery bank like an Anker, physically connected to the camera and secured to your rig. This is not a workaround or a hack. It’s a design reality of driving that volume of data through the camera. A single LP-E6 simply isn’t sized for that load. McKinnon’s framing here is worth adopting: don’t think of this as the camera being broken. Think of it as the camera giving you a capability that requires you to show up prepared. If you want to shoot in that format, build an external power solution into your kit before you show up on location, not after.
Step 4: Match Your Format to Your Location and Power Situation
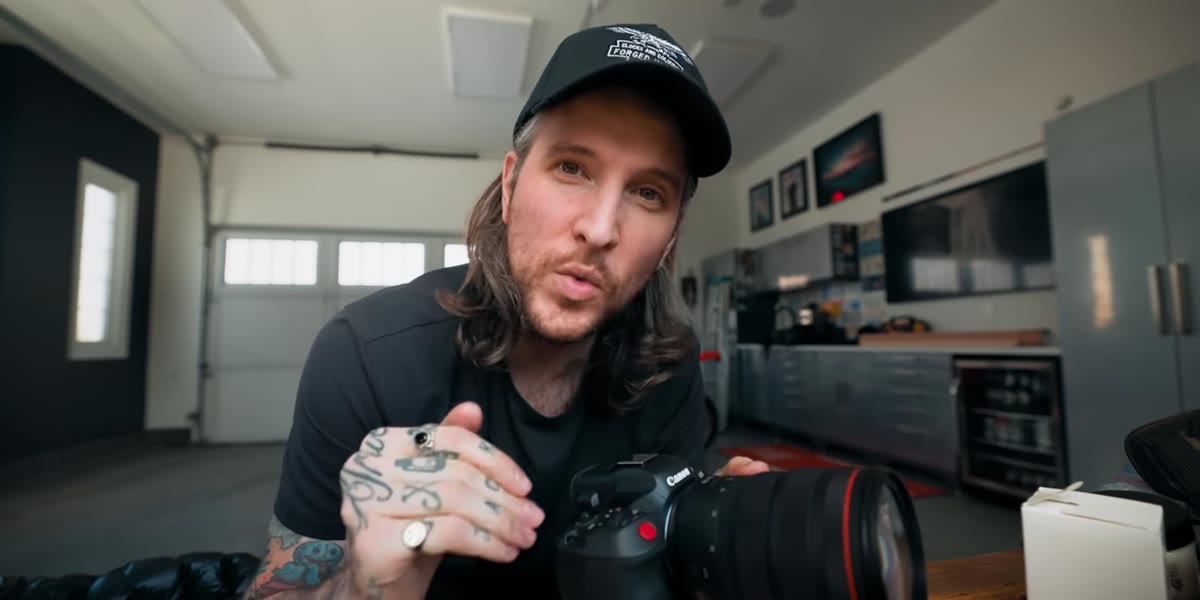 Camera being used during the artist profile shoot on location
Not every shot needs to be 8K RAW Light. McKinnon’s shoot with Matt Barnes mixed formats depending on the moment and the power situation, which is exactly the right approach. When you have external power available or a controlled environment, push into the highest resolution format you need. When you’re moving quickly, vlogging, or working in a run-and-gun situation, standard 8K full frame without RAW gives you stunning footage without the same power penalty. The practical skill here is learning to pre-decide your format based on what the location and the shot actually call for, not defaulting to maximum settings just because the camera can do it. Shooting max settings on every clip is how you drain nine batteries.
Camera being used during the artist profile shoot on location
Not every shot needs to be 8K RAW Light. McKinnon’s shoot with Matt Barnes mixed formats depending on the moment and the power situation, which is exactly the right approach. When you have external power available or a controlled environment, push into the highest resolution format you need. When you’re moving quickly, vlogging, or working in a run-and-gun situation, standard 8K full frame without RAW gives you stunning footage without the same power penalty. The practical skill here is learning to pre-decide your format based on what the location and the shot actually call for, not defaulting to maximum settings just because the camera can do it. Shooting max settings on every clip is how you drain nine batteries.
Step 5: Use the Physical Mode Switch Deliberately
 Camera’s physical switch between photo and video modes
The physical switch between cinema and photo modes is one of the R5C’s most interesting quirks, and it’s a habit you need to build intentionally. McKinnon flags this as something that takes adjustment: the camera’s behavior, menus, and even ergonomics shift depending on which mode you’re in. In practice, this means you should be making a conscious decision at the start of each shooting scenario about which side of the camera you need. Are you documenting and need to pull stills quickly? Photo mode. Are you on a structured video shoot where you need cinema-grade controls and color science? Cinema mode. The mistake is drifting between the two without thinking about it, which leads to missed settings and inconsistent footage.
Camera’s physical switch between photo and video modes
The physical switch between cinema and photo modes is one of the R5C’s most interesting quirks, and it’s a habit you need to build intentionally. McKinnon flags this as something that takes adjustment: the camera’s behavior, menus, and even ergonomics shift depending on which mode you’re in. In practice, this means you should be making a conscious decision at the start of each shooting scenario about which side of the camera you need. Are you documenting and need to pull stills quickly? Photo mode. Are you on a structured video shoot where you need cinema-grade controls and color science? Cinema mode. The mistake is drifting between the two without thinking about it, which leads to missed settings and inconsistent footage.
Step 6: Build a Rig That Solves the Power and Ergonomics Problem Together
 External power bank concept for attaching to camera during 8K RAW shooting
If you’re going to shoot 8K RAW Light regularly, the external battery bank can’t just be something you hold in your other hand. It needs to be part of a proper rig. McKinnon mentions fastening the power bank to the camera, which points to a larger principle: when a camera’s native design creates a workflow friction, the solution usually lives in the rig you build around it. A small shoulder rig or cage with a mounting point for the power bank keeps your hands free and your setup stable. Think about this before your first shoot, not during it. The camera is only half the kit.
External power bank concept for attaching to camera during 8K RAW shooting
If you’re going to shoot 8K RAW Light regularly, the external battery bank can’t just be something you hold in your other hand. It needs to be part of a proper rig. McKinnon mentions fastening the power bank to the camera, which points to a larger principle: when a camera’s native design creates a workflow friction, the solution usually lives in the rig you build around it. A small shoulder rig or cage with a mounting point for the power bank keeps your hands free and your setup stable. Think about this before your first shoot, not during it. The camera is only half the kit.
What I’d Add From My Own Experience
I haven’t shot with the R5C myself yet, but McKinnon’s battery findings map directly onto something I’ve seen with high-resolution mirrorless bodies across the board. The more data the sensor is moving, the faster your power disappears. It’s not a Canon-specific problem. It’s physics. Where I think McKinnon’s review is especially useful is in reframing that limitation as a workflow design problem rather than a product failure. The camera is giving you a capability. You are responsible for sustaining it. That shift in mindset, from “the camera should handle this” to “I need to engineer for this,” is honestly what separates shooters who use these tools well from shooters who just complain about them.
I’d also say: if you’re a hybrid shooter who genuinely needs both stills and cinema-quality video from a single body, the R5C’s dual-mode architecture is worth the learning curve. But if you’re primarily a stills shooter who occasionally wants nice video, the power overhead and external battery requirement might not be worth it for how you actually work. Know your use case before you buy.
The single most important thing McKinnon’s tutorial communicates is this: the R5C is an extraordinary camera that rewards preparation and punishes improvisation. Get your batteries charged, know your format before you arrive, and build a rig that handles the power requirements. Do those things and you have something close to a best-in-class hybrid tool. Skip them and you’ll be the person on set asking if anyone has an extra LP-E6.
Watch the full tutorial on YouTube to see the battery situation play out in real time and get a look at how McKinnon’s artist profile shoot with Matt Barnes actually came together.
Comments
Leave a Comment