Every time I get a new camera, I make the same mistake. I skip the fundamentals because I assume I already know them, and then two weeks later I’m standing somewhere beautiful with the wrong settings baked into a thousand raw files. That habit has cost me more good shots than I’d like to admit.
When I sat down with John Greengo’s Canon R1 tutorial series, I was genuinely surprised by how much useful groundwork he lays in just the second section. This isn’t hand-holding for people who’ve never touched a camera. It’s the kind of focused orientation that saves you from configuration regret later. Watch the full tutorial on YouTube if you want to follow along, but here’s what I took away and what I think is worth your attention before you fire your first frame on this camera.
The Canon R1 is Canon’s current flagship mirrorless body, and with that territory comes a lot of settings, a lot of options, and a real need to understand which decisions matter on day one. Greengo covers three of them in this section: how the camera actually works mechanically, which physical controls do what, and how to configure your file format. That last one especially is not something you want to figure out after the fact.
Step 1: Understand How the Mirrorless System Works
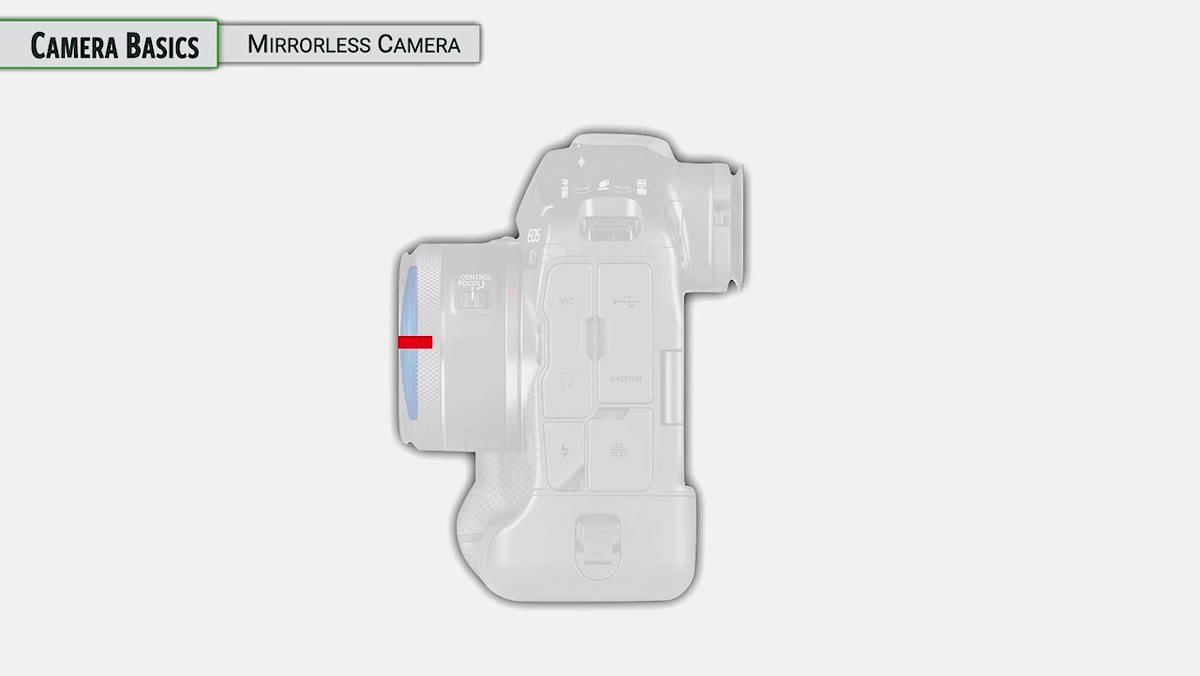 Diagram showing light path through mirrorless camera body
The R1 has no mirror box, which you probably already knew. But the part worth slowing down on is the shutter behavior. Even though this is a mirrorless camera, it still includes a physical mechanical shutter, not just an electronic one. When you press the shutter button in mechanical mode, the first curtain closes to prep the sensor, the image is captured, the second curtain closes, and then the whole thing opens again so you can compose your next shot. The camera can cycle through this sequence at around 12 frames per second.
Diagram showing light path through mirrorless camera body
The R1 has no mirror box, which you probably already knew. But the part worth slowing down on is the shutter behavior. Even though this is a mirrorless camera, it still includes a physical mechanical shutter, not just an electronic one. When you press the shutter button in mechanical mode, the first curtain closes to prep the sensor, the image is captured, the second curtain closes, and then the whole thing opens again so you can compose your next shot. The camera can cycle through this sequence at around 12 frames per second.
Why does this matter? Because the R1 also has an electronic shutter option, which behaves differently and has its own tradeoffs. Knowing that both options exist, and that you can switch between them in the Still Shooting menu under Shutter Mode, means you won’t accidentally leave the camera in a mode that doesn’t suit your subject. More on the electronic shutter comes later in the full course, but understanding the mechanical baseline first gives you something to compare against.
Step 2: Know Your Image Sensor
 Full-frame sensor size comparison graphic on screen
The R1 uses a full-frame sensor, which matches the dimensions of 35mm film. Greengo is refreshingly straightforward about what that actually means: there’s nothing sacred about 35mm as a format, it just happens to hit a practical sweet spot. The sensor is large enough to resolve serious detail for big prints, but the camera stays manageable in size and weight.
Full-frame sensor size comparison graphic on screen
The R1 uses a full-frame sensor, which matches the dimensions of 35mm film. Greengo is refreshingly straightforward about what that actually means: there’s nothing sacred about 35mm as a format, it just happens to hit a practical sweet spot. The sensor is large enough to resolve serious detail for big prints, but the camera stays manageable in size and weight.
If you’re coming from a Canon APS-C body, Canon’s crop sensor runs at a 1.6x multiplier, so your field of view and depth of field relationships will shift when you move to full-frame. That affects which lenses you reach for and how you frame a shot. Knowing you’re working with one of the larger sensors on the market also calibrates your expectations for low-light performance and dynamic range.
Step 3: Get Oriented to the Physical Controls
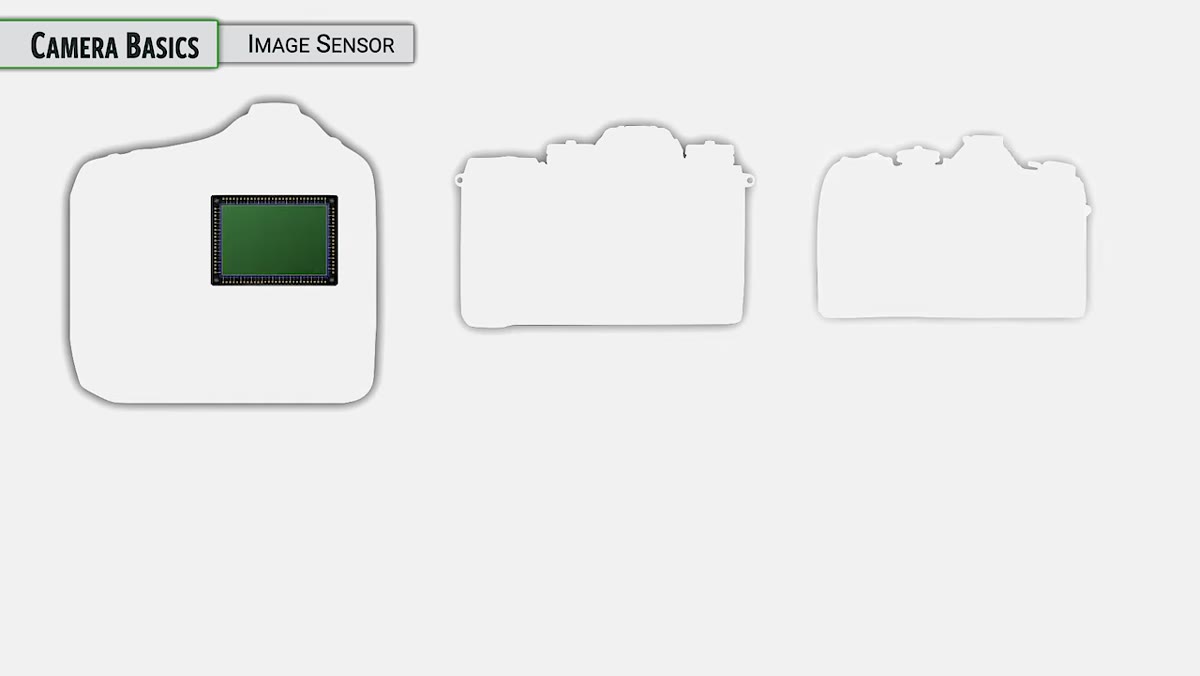
 Overview of Canon R1 body layout showing dials and buttons
The on/off switch lives on the back of the camera. When you power up, you’ll hear the sensor self-cleaning system run. That vibration is intentional and designed to knock dust off the sensor. You can also trigger it manually rather than cycling the power.
Overview of Canon R1 body layout showing dials and buttons
The on/off switch lives on the back of the camera. When you power up, you’ll hear the sensor self-cleaning system run. That vibration is intentional and designed to knock dust off the sensor. You can also trigger it manually rather than cycling the power.
The control layout on the R1 includes three dial-style inputs that are easy to confuse at first. There’s the Main Dial, the Quick Control Dial 1 (the large wheel on the back), and a second Quick Control Dial that wraps around the mode button. Greengo mentions he’ll sometimes use shorthand like “top dial” or “back dial” when explaining settings, which is useful to know so you’re not hunting through menus trying to match formal nomenclature to physical hardware. Getting these straight early means you’re adjusting exposure quickly by feel, not by hunting.
Step 4: Treat the Stills/Movie Switch as a Critical Setting
 Close-up of stills and movie mode switch on camera body
This one is easy to overlook, but it matters more than it seems. The Canon R1 operates as a fundamentally different camera depending on whether you’re in Stills or Movie mode. The menus change, the controls change, and assumptions the camera makes about your intent change. If you’ve ever handed your camera to someone and gotten back footage when you expected photos, or vice versa, you understand why this switch deserves conscious attention every time you pick the camera up.
Close-up of stills and movie mode switch on camera body
This one is easy to overlook, but it matters more than it seems. The Canon R1 operates as a fundamentally different camera depending on whether you’re in Stills or Movie mode. The menus change, the controls change, and assumptions the camera makes about your intent change. If you’ve ever handed your camera to someone and gotten back footage when you expected photos, or vice versa, you understand why this switch deserves conscious attention every time you pick the camera up.
Make it a habit to confirm the mode before you start shooting in any new environment. It takes one second and saves a lot of frustration.
Step 5: Configure Your File Format Before Anything Else
 Canon R1 file format and image quality menu on screen
Greengo flags this as one of the most important things to sort out at the very start, and I completely agree. The R1 gives you options including JPEG, HEIF, and Canon’s RAW format, with multiple quality and size tiers within each. The choice you make here affects storage, editing flexibility, and what’s even possible in post.
Canon R1 file format and image quality menu on screen
Greengo flags this as one of the most important things to sort out at the very start, and I completely agree. The R1 gives you options including JPEG, HEIF, and Canon’s RAW format, with multiple quality and size tiers within each. The choice you make here affects storage, editing flexibility, and what’s even possible in post.
Shooting RAW gives you the most latitude for exposure and color correction later, which matters especially if you’re working in mixed or difficult light. If you’re delivering images quickly, like in sports or photojournalism contexts, a RAW plus JPEG setup lets you have both. The key is not leaving this on whatever default it shipped with. Go into the menu, make an active decision, and set it to match how you actually work.
What I’d Add From My Own Shooting
I’ve started keeping a small index card tucked into my camera bag with a five-item checklist for every new camera I onboard: sensor type, key control layout, shutter mode defaults, file format, and autofocus starting point. It sounds overly simple, but the number of times that card has saved me from a preventable mistake is embarrassing.
The stuff Greengo covers in this section is exactly what belongs on that card for the R1. None of it is glamorous, and none of it will come up in gear review videos. But it’s the foundation everything else sits on, and getting it wrong quietly ruins shots in ways that aren’t obvious until you’re back home staring at a screen.
The single most important action from this entire section is setting your file format before you shoot anything else. Everything in the camera can be adjusted later, but your image files are permanent the moment the shutter closes. Take five minutes, go into the Still Shooting menu, and make a deliberate choice. Future you will be grateful.
Watch the full tutorial on YouTube to follow John Greengo’s complete walkthrough, including the sections on electronic shutter and autofocus that build directly on this foundation.
Comments
Leave a Comment