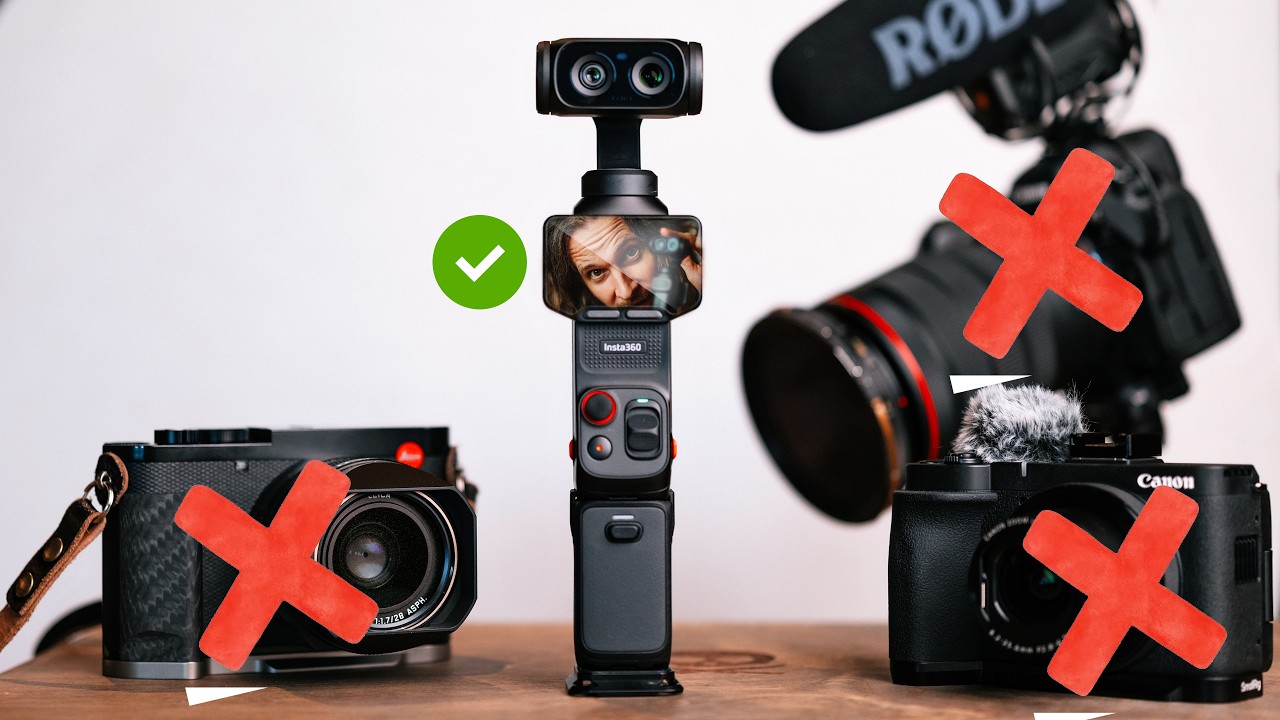
Every Sunday morning I take a photo walk through my neighborhood in Seattle with whatever camera I feel like carrying. Sometimes that’s my mirrorless kit. Sometimes it’s just my phone. My husband thinks the phone days are me being lazy. I think they’re me proving a point. The point being: gear matters a lot less than most of us want to believe, right up until it does matter, and figuring out where that line actually sits is one of the most useful things you can do as a photographer or videographer.
That tension is exactly what Peter McKinnon digs into in this tutorial. Watch the full tutorial on YouTube before or after reading this breakdown. McKinnon takes the Insta360 Luna, a compact dual-lens pocket camera, and runs it through the kinds of real shooting scenarios he actually faces as a working creator. Not a sponsored showcase. Not a curated travel montage. A genuine stress test against his usual full-frame studio setup. The question driving the whole video is one I find myself asking constantly: at what point does a smaller, simpler camera become genuinely good enough, and for which jobs?
What makes this tutorial worth studying is that McKinnon isn’t trying to sell you on the pocket camera or talk you out of it. He’s doing something more honest. He’s documenting his own uncertainty in real time, which is honestly the most useful kind of camera review you can watch.
Step 1: Start with a Real-World Use Case, Not a Spec Sheet
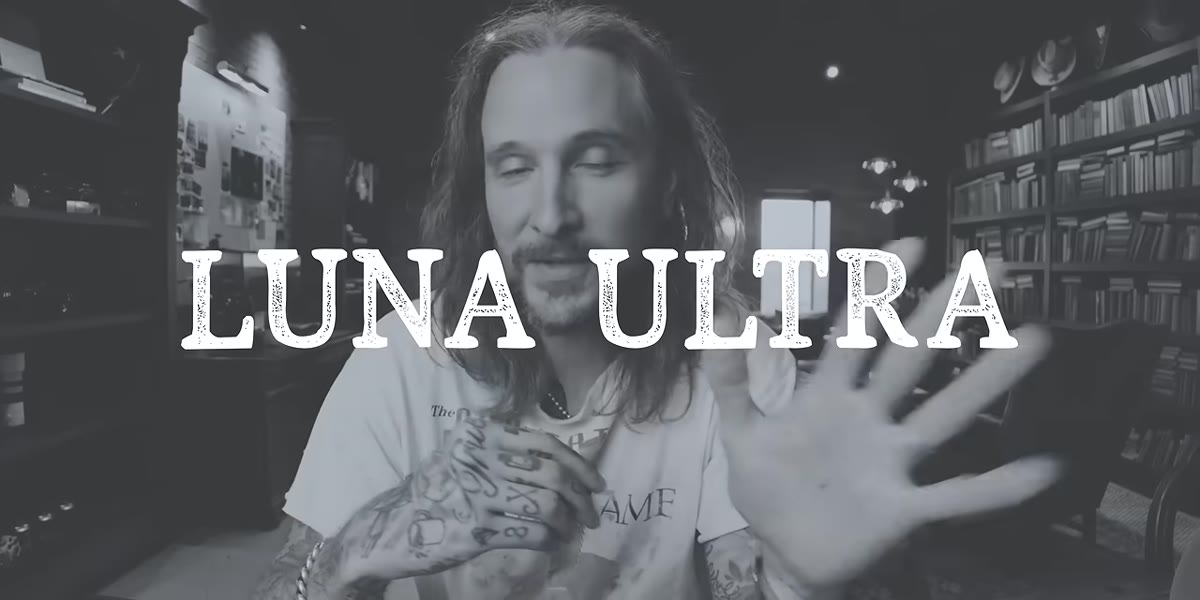 McKinnon explaining the Luna set up on a tripod as a main angle
Before you put any camera through a comparison test, define what “good enough” actually means for your specific application. McKinnon frames his whole experiment around a concrete question: could this small camera replace the elaborate studio setup he uses for his main talking-head angle? His usual rig includes a Cinema C80 or R5, multiple lights, a boom mic, and a monitor. That’s not a casual kit.
McKinnon explaining the Luna set up on a tripod as a main angle
Before you put any camera through a comparison test, define what “good enough” actually means for your specific application. McKinnon frames his whole experiment around a concrete question: could this small camera replace the elaborate studio setup he uses for his main talking-head angle? His usual rig includes a Cinema C80 or R5, multiple lights, a boom mic, and a monitor. That’s not a casual kit.
Write down your own version of that question before you go into gear testing mode. “Could I use this for client work?” is too vague. “Could I use this to film sit-down interviews in my home studio with consistent audio?” is something you can actually answer. Defining the job first stops you from getting distracted by features you’ll never use.
Step 2: Test the Wide-Angle Lens as a Primary Shooting Angle
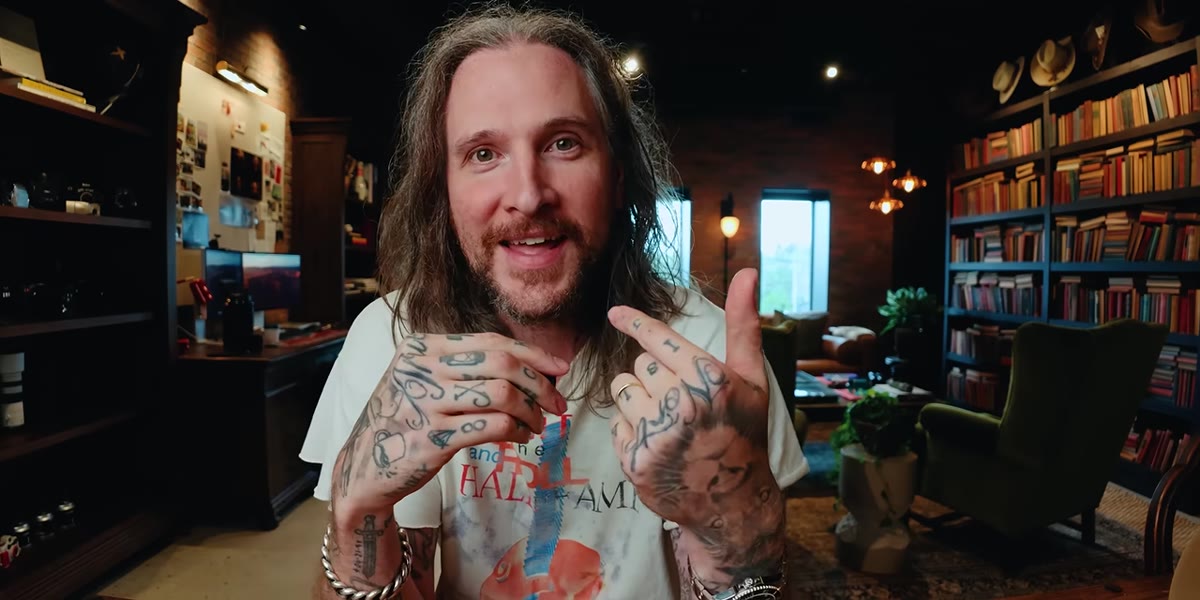 Luna mounted on tripod filming McKinnon at his desk as main angle
Mount the pocket camera at eye level on a tripod, connect a wireless microphone, and frame yourself as you would for any talking-head or interview setup. McKinnon points out that the Luna’s wide-angle lens produces a noticeably flatter, less cinematic background compared to a larger sensor camera. You lose that creamy background separation that a full-frame sensor delivers almost automatically.
Luna mounted on tripod filming McKinnon at his desk as main angle
Mount the pocket camera at eye level on a tripod, connect a wireless microphone, and frame yourself as you would for any talking-head or interview setup. McKinnon points out that the Luna’s wide-angle lens produces a noticeably flatter, less cinematic background compared to a larger sensor camera. You lose that creamy background separation that a full-frame sensor delivers almost automatically.
This is not a dealbreaker for every situation. For YouTube, social content, or fast-turnaround video work, the wide-angle look is clean and professional. But go in knowing what you’re trading. If background depth and that filmic quality are important to your brand or your client’s expectations, make a note of it now before you’re in the middle of a shoot wondering why something feels off.
Step 3: Use the Secondary Lens and Elevation to Recover Depth
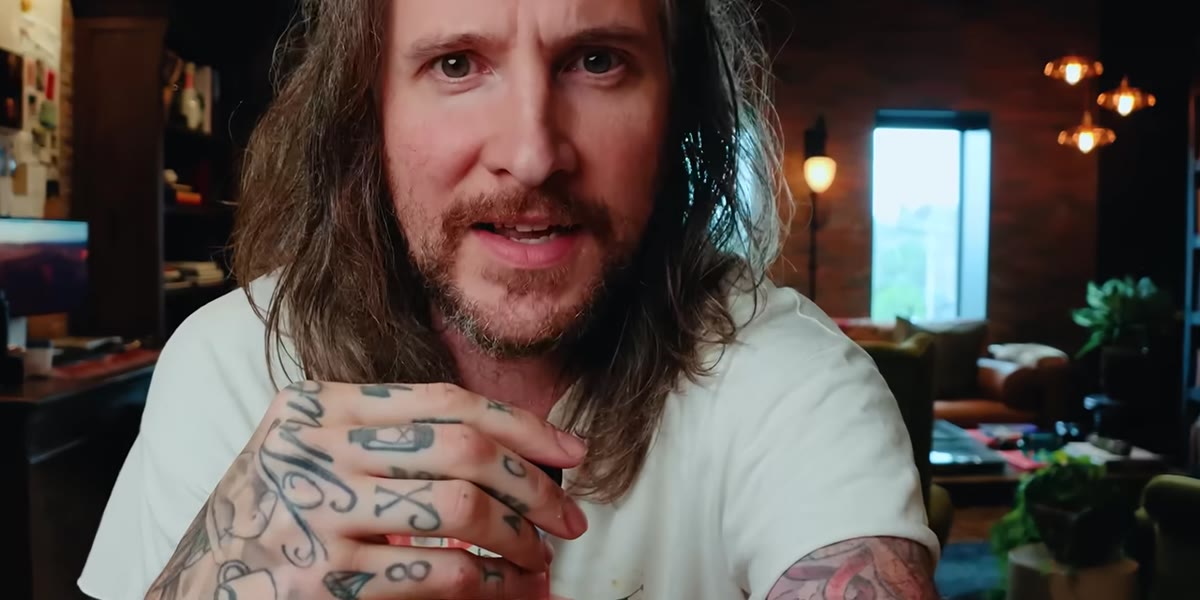 McKinnon switching to second lens with camera raised on apple box
The Insta360 Luna has two lenses, and this step is where a lot of users leave performance on the table. McKinnon switches from the primary wide lens to the secondary lens and raises the camera on an apple box, essentially a short platform used on set to adjust subject or camera height. The combination of the longer focal length and the elevated angle produces a noticeably more compressed, depth-rich image.
McKinnon switching to second lens with camera raised on apple box
The Insta360 Luna has two lenses, and this step is where a lot of users leave performance on the table. McKinnon switches from the primary wide lens to the secondary lens and raises the camera on an apple box, essentially a short platform used on set to adjust subject or camera height. The combination of the longer focal length and the elevated angle produces a noticeably more compressed, depth-rich image.
If you’re working with any dual-lens compact camera, always test both lenses before you decide the camera “can’t do” a particular look. Raise the camera above your eye line slightly when using the tighter lens. This angle change mimics how larger cinema setups are often framed and helps avoid the slightly unflattering wide-angle distortion you get when a camera is sitting at desk height pointed straight at you.
Step 4: Run a Direct Side-by-Side Comparison With Your Current Camera
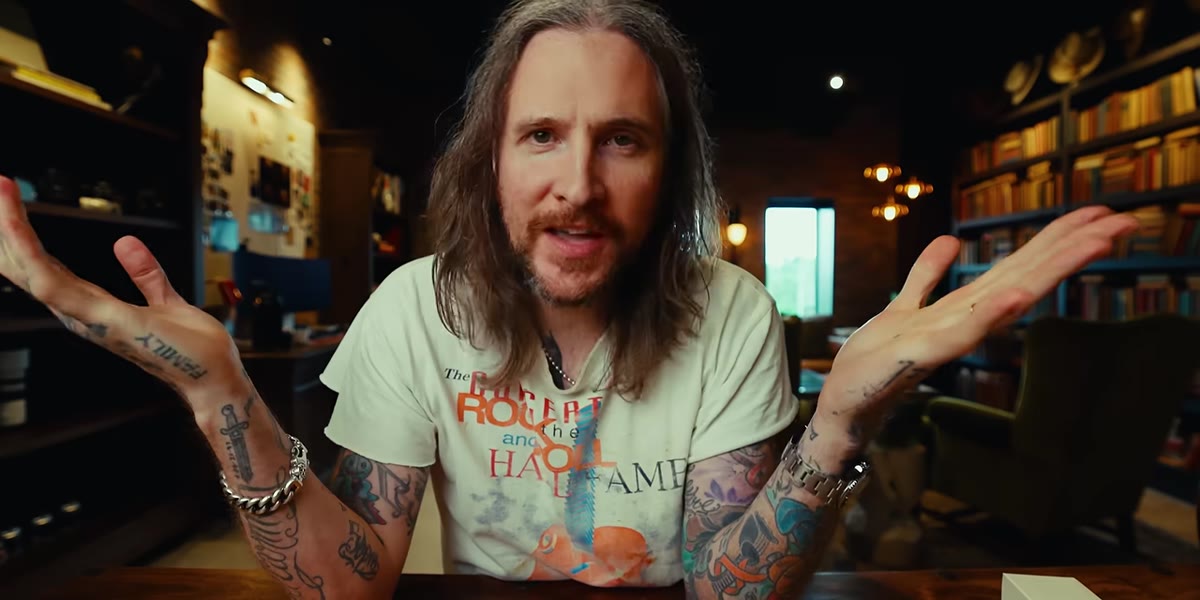 R5 with 15-35mm lens set up alongside Luna for direct comparison
McKinnon sets up a Canon R5 with a 15-35mm f/2.8 lens at 1/50 shutter speed, matching the ISO and lighting conditions he used with the Luna. He keeps a Rode VideoMic Pro on the R5 for audio reference. The goal is not to embarrass the pocket camera. It’s to see exactly how large the gap is in practice, under controlled conditions.
R5 with 15-35mm lens set up alongside Luna for direct comparison
McKinnon sets up a Canon R5 with a 15-35mm f/2.8 lens at 1/50 shutter speed, matching the ISO and lighting conditions he used with the Luna. He keeps a Rode VideoMic Pro on the R5 for audio reference. The goal is not to embarrass the pocket camera. It’s to see exactly how large the gap is in practice, under controlled conditions.
Do this yourself. Set both cameras to the same shutter speed, roughly double your frame rate for natural motion blur. Match ISO as closely as you can. Use the same light source for both. Then look at the footage side by side on your editing monitor, not your camera’s LCD. The differences that actually matter to your clients or audience will reveal themselves clearly. The differences that only matter to your inner gear critic will also become obvious, which is useful information too.
Step 5: Evaluate Audio as Part of the Total Package
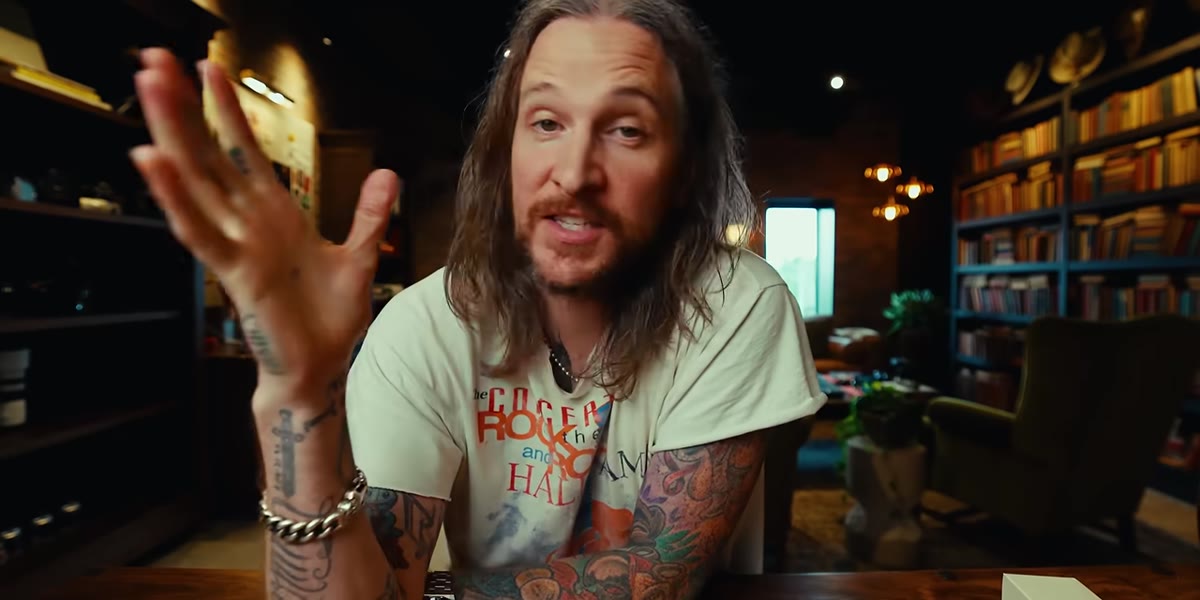 Rode VideoMic Pro mounted on R5, comparing audio setups side by side
McKinnon flags something that often gets skipped in camera comparison tests: the audio equation changes depending on which camera you’re using. With the Luna on a tripod, he uses a wireless mic. With the R5, he uses a shotgun mic mounted directly on the camera body. The camera you choose shapes your entire audio workflow.
Rode VideoMic Pro mounted on R5, comparing audio setups side by side
McKinnon flags something that often gets skipped in camera comparison tests: the audio equation changes depending on which camera you’re using. With the Luna on a tripod, he uses a wireless mic. With the R5, he uses a shotgun mic mounted directly on the camera body. The camera you choose shapes your entire audio workflow.
A pocket camera almost always means you need an external wireless audio solution, because there’s no practical way to mount a proper directional mic on a small body and still move freely. Budget for that when you’re calculating whether the smaller camera actually saves you money or simplifies your kit. Sometimes the wireless mic you’d need to buy cancels out the savings.
Step 6: Assess Usability Issues Honestly
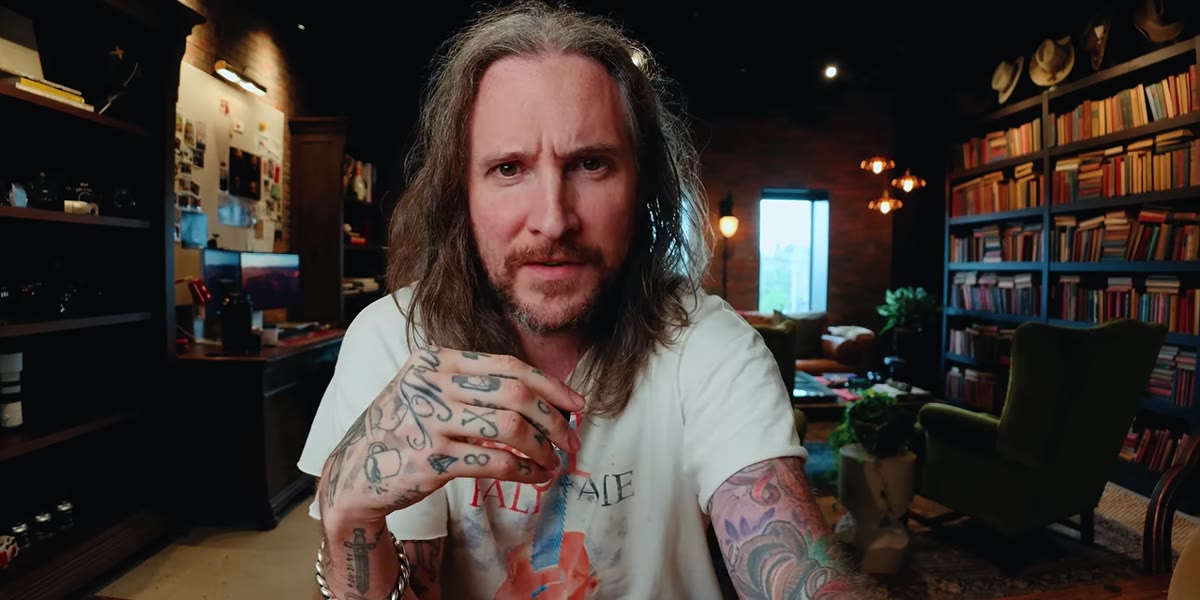 Screen going dark on Luna during recording, McKinnon noting the issue
One of the most practical things McKinnon does in this video is call out a real annoyance: the Luna’s screen turns off after about a minute, leaving him with no visual confirmation of framing or whether recording is still active. For a solo shooter, that’s a meaningful limitation.
Screen going dark on Luna during recording, McKinnon noting the issue
One of the most practical things McKinnon does in this video is call out a real annoyance: the Luna’s screen turns off after about a minute, leaving him with no visual confirmation of framing or whether recording is still active. For a solo shooter, that’s a meaningful limitation.
Make a list of the friction points you notice during any camera test. Not dealbreakers necessarily, just friction. A screen that goes dark. A menu that takes too many taps to reach. A battery that drains faster than expected. These small things compound over a long shoot or a busy travel day, and they’re worth factoring into your decision alongside image quality.
The Part McKinnon Didn’t Say Out Loud (But Showed Anyway)
I’ve spent enough time doing gear comparisons to notice the thing this video quietly demonstrates without making a speech about it. The footage from the pocket camera, in good light, with decent audio, is genuinely competitive. Not identical to the R5. Not interchangeable for every application. But good enough that a viewer watching your content on a phone screen or a laptop is unlikely to clock the difference.
The bigger camera still wins on cinematic depth, dynamic range in tricky light, and that intangible quality McKinnon calls “filmic.” But the pocket camera wins on portability, setup speed, and the psychological freedom of not hauling a fragile expensive rig into uncertain environments. I’ve started thinking of these not as competing tools but as different answers to different questions. My phone once got my most-liked Instagram post ever. My full kit gets the shots I need when the job requires it. Both are right.
The real takeaway here is that the question isn’t “which camera is better.” It’s “which camera is better for this specific job.” Run your own version of McKinnon’s test. Define the job, match the conditions, compare honestly, and factor in the full workflow including audio, usability, and your own stress levels on location.
Watch the full tutorial on YouTube to see the actual footage comparisons side by side. Watching the image quality difference on your own screen is worth more than any description I can write here.
Comments (3)
Never thought of approaching it this way. Really creative.
Just subscribed. If the rest of your content is this good, I'm in.
Well explained. I think my audience would really benefit from this — mind if I link to it?
Leave a Comment