I’ll be honest with you: for a long time, my coastal shots looked the same. Every single one. Long exposure, silky water, golden hour, repeat. I thought that was just what seascape photography was. It wasn’t until I started studying the work of photographers who deliberately broke that formula that I realized I had built a creative rut and called it a style.
Watch the full tutorial on YouTube
In this William Patino tutorial, he shares five tips developed over years of coastal shooting, first in Australia and then in New Zealand. What struck me watching it was how much of his advice runs counter to the habits most of us pick up in the beginning. He isn’t teaching you to shoot seascapes differently for the sake of being different. He’s giving you a fuller toolkit so you can match your technique to what you actually want to say about the scene in front of you. That shift in thinking is worth more than any single camera setting.
Step 1: Try a Fast Shutter Speed Instead of a Slow One
The default move for water is a slow shutter, and there are real reasons for that. Low light at sunrise or sunset forces longer exposures, and the soft, painterly texture that results genuinely looks beautiful. But Patino makes a strong case that slow shutter water is not always the right water. If your goal is to communicate the raw size or power of the ocean, freezing the motion does that far more effectively than smoothing it out.
How fast you need to go depends on two things: your focal length and how close you are to the action. With a wide lens, somewhere between 1/50th and 1/200th of a second is usually enough to stop the waves. If you’re shooting tight with a telephoto, say 200mm, you’ll want to be around 1/1000th of a second. At 800mm, Patino was shooting at 1/2000th. Do some test shots and check your results at 100% to see if the wave crests are sharp.
Step 2: Compensate for the Exposure Hit
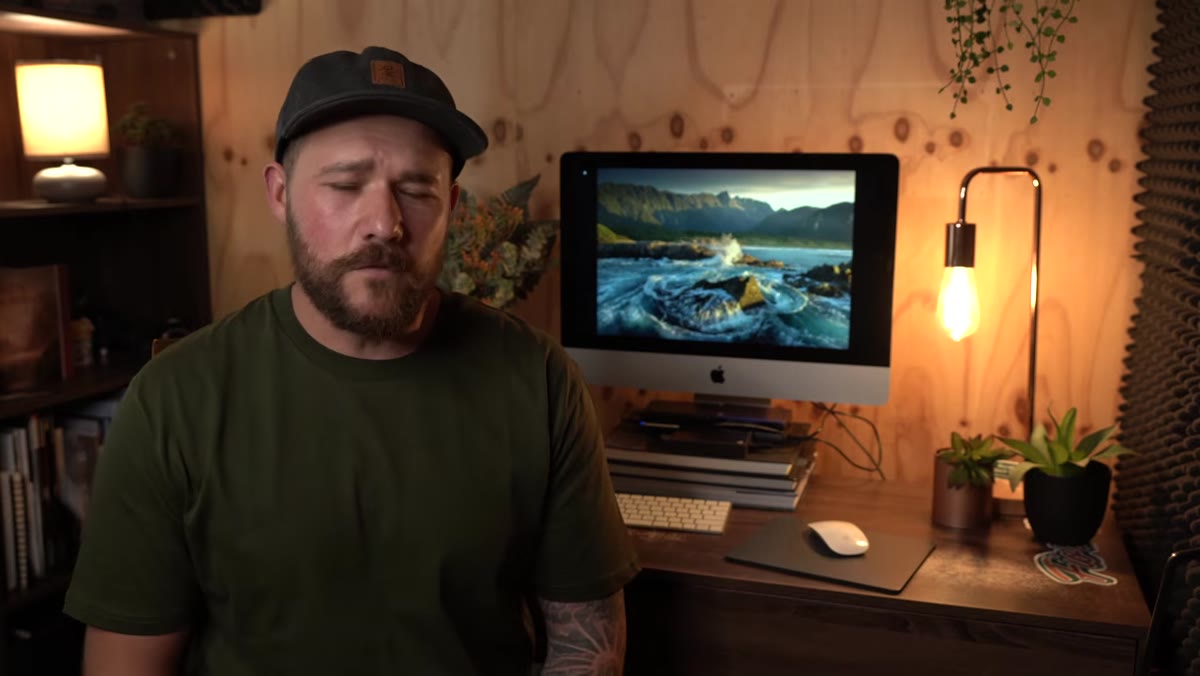 Camera settings adjusted for fast shutter in low light
Cranking up your shutter speed in low light will underexpose your image fast. Patino’s solution is straightforward: open up your aperture to let more light in. The tradeoff is a shallower depth of field, which matters most when you have foreground elements close to the lens. If you’re working with a wide aperture, simplify your composition and avoid placing objects in the extreme near foreground.
Camera settings adjusted for fast shutter in low light
Cranking up your shutter speed in low light will underexpose your image fast. Patino’s solution is straightforward: open up your aperture to let more light in. The tradeoff is a shallower depth of field, which matters most when you have foreground elements close to the lens. If you’re working with a wide aperture, simplify your composition and avoid placing objects in the extreme near foreground.
If you still need more light after opening up the aperture, bump your ISO. Modern cameras handle noise much better than they used to, so don’t be afraid to push it. The goal is a properly exposed, sharp image of moving water. A little noise is far less damaging than a soft, blurred wave when you actually wanted to freeze it.
Step 3: Shoot in Overcast and Midday Light
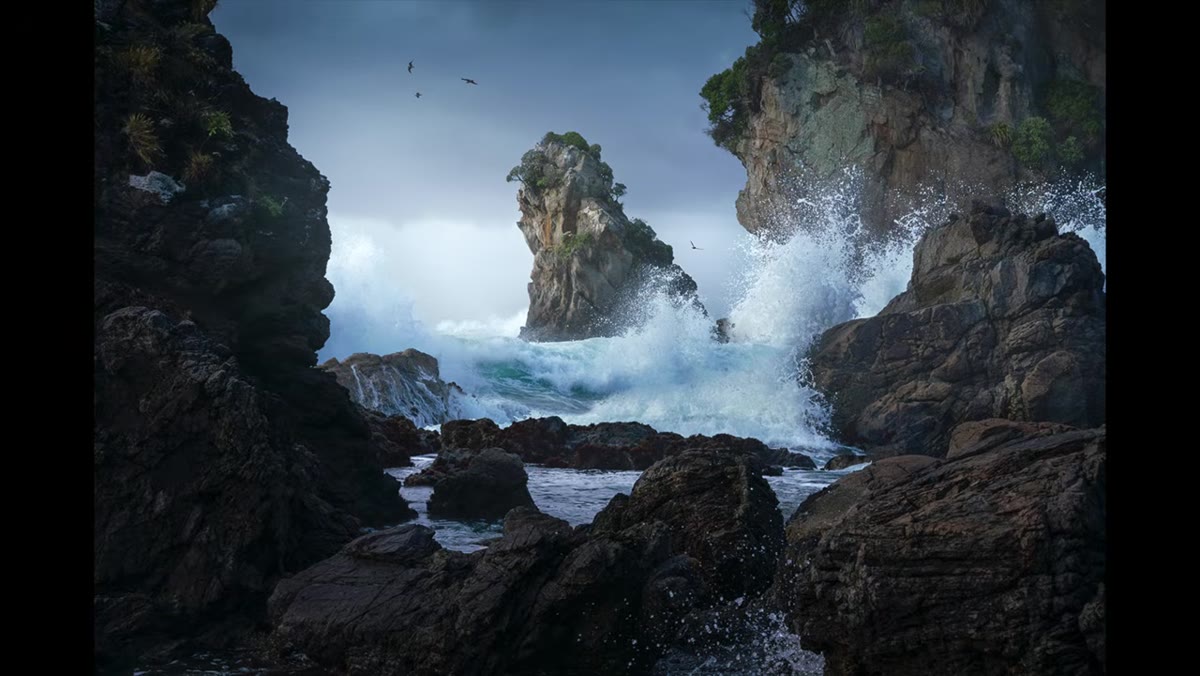
 Overcast coastal scene with moody gray tones
This one genuinely changed how I plan shoots. Patino points out that the ocean is naturally a cool, blue-toned subject, and overcast skies with their deep cool grays actually complement coastal scenes beautifully. You don’t have to set a 4:45 AM alarm every time you want a strong seascape.
Overcast coastal scene with moody gray tones
This one genuinely changed how I plan shoots. Patino points out that the ocean is naturally a cool, blue-toned subject, and overcast skies with their deep cool grays actually complement coastal scenes beautifully. You don’t have to set a 4:45 AM alarm every time you want a strong seascape.
Shooting on a gray, overcast day at midday gives you soft, even light without harsh shadows. The drama comes from the mood of the scene itself, not from golden hour color. This also opens up a lot more flexibility in your schedule. Next time the forecast looks miserable, treat it as a green light, not a reason to stay home.
Step 4: Look for Complementary Colors in the Scene
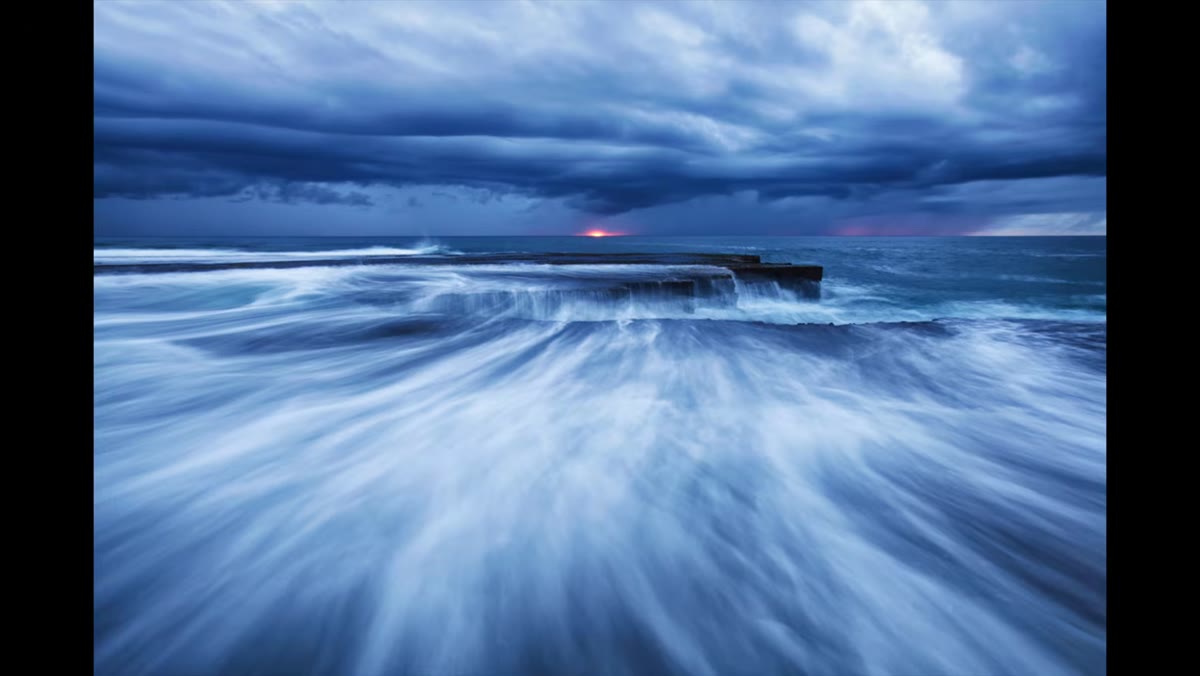
 Cool gray clouds above blue-toned ocean water
Patino talks about color in a way that goes beyond just chasing a pretty sunset. He thinks about how the tones in the sky relate to the tones in the water. Cool grays against deep blues create natural visual harmony. Warm golden light against that same blue water creates contrast and energy. Neither is wrong, but you should be choosing deliberately rather than just showing up and hoping the colors work.
Cool gray clouds above blue-toned ocean water
Patino talks about color in a way that goes beyond just chasing a pretty sunset. He thinks about how the tones in the sky relate to the tones in the water. Cool grays against deep blues create natural visual harmony. Warm golden light against that same blue water creates contrast and energy. Neither is wrong, but you should be choosing deliberately rather than just showing up and hoping the colors work.
Before you start shooting, spend a minute reading the color temperature of the scene. Is the light warm or cool? Is the water bright or dark? Then think about whether you want harmony, where colors sit close together on the wheel, or contrast, where they sit opposite. That single decision will shape how you frame and expose the shot.
Step 5: Turn Around and Shoot Away From the Water
 Photographer aiming camera inland away from the ocean
This is the tip that most people skip, and it’s the one I wish someone had told me earlier. Patino encourages you to occasionally turn your back to the ocean and photograph what’s behind you. Cliffs, dunes, coastal grasses, rock formations, the way the light falls on the land nearest the sea. These elements often have strong textures and shapes that are just as interesting as the water itself.
Photographer aiming camera inland away from the ocean
This is the tip that most people skip, and it’s the one I wish someone had told me earlier. Patino encourages you to occasionally turn your back to the ocean and photograph what’s behind you. Cliffs, dunes, coastal grasses, rock formations, the way the light falls on the land nearest the sea. These elements often have strong textures and shapes that are just as interesting as the water itself.
The ocean doesn’t have to be in every seascape. Sometimes the story of a place is told better by what surrounds it. Challenge yourself on your next coastal trip to take at least five frames aimed entirely away from the water and see what you find.
A Note From My Own Coastline Experience
I once spent three full days at the Washington coast trying to nail a specific wave crash at sunset. Every shot had that same glassy, long-exposure look. It wasn’t until I woke up to thick fog on day four and just started shooting whatever was in front of me, including the kelp on the rocks, the foggy bluffs, some frames pointed entirely landward, that I made the images from that trip I actually liked.
Patino’s framework is useful because it isn’t prescriptive. He isn’t telling you fast shutter is better than slow shutter. He’s telling you that you should be making a conscious choice, and that the choice should serve the image. That’s a much healthier way to work. I now keep a mental checklist before I start shooting any coastal scene: What am I trying to say about this place? Then the settings follow from the answer.
The single most important idea in this tutorial is that intentionality beats habit every time. Knowing why you’re choosing a slow or fast shutter, why you’re shooting at midday instead of golden hour, why you’re pointing inland rather than at the waves. Those decisions are what separate a collection of nice-looking photos from a body of work with a point of view.
Watch the full tutorial on YouTube and pay particular attention to the side-by-side comparisons Patino shows of the same scene shot at different shutter speeds. Seeing the difference is what will make these tips stick.
Comments
Leave a Comment