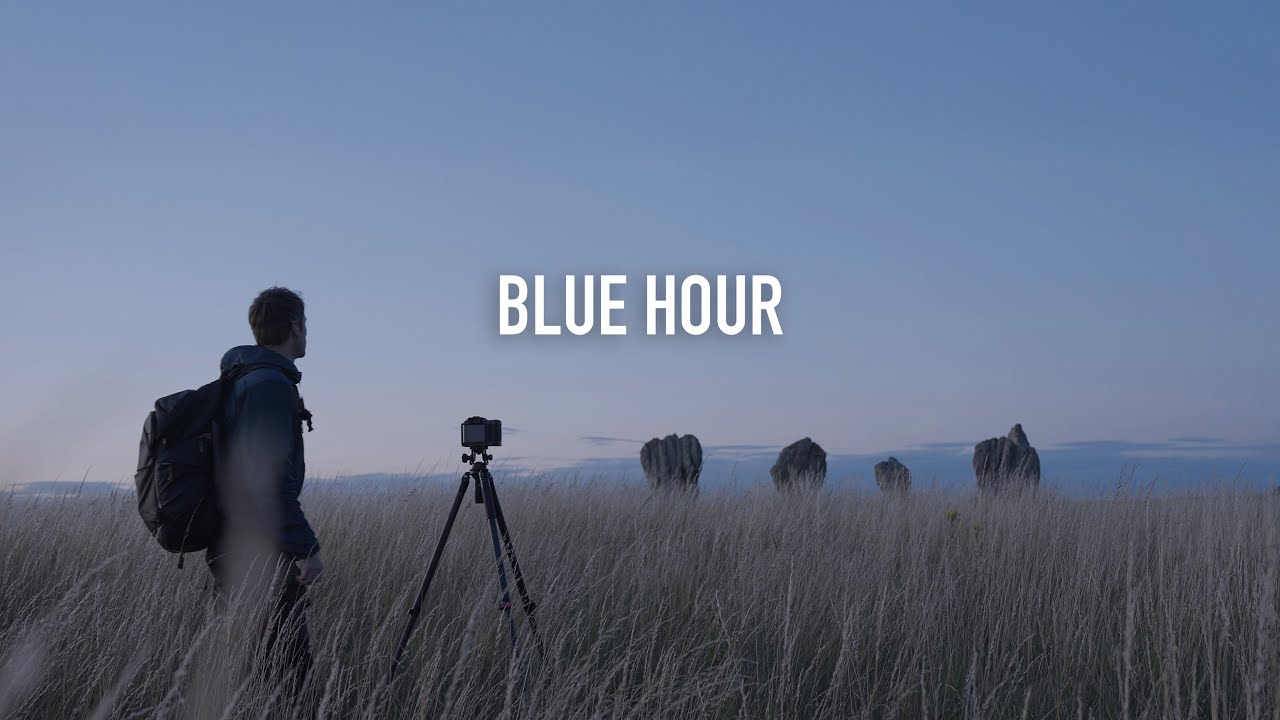
My Sunday photo walks used to follow the same script every week. Arrive before sunrise or stay through sunset, chase the color, pack up the second the sky went gray. I treated everything after golden hour like dead time, like the light had clocked out and there was nothing left worth shooting. I was wrong, and it took watching someone else deliberately stay out past sunset to finally shake that habit.
In this Thomas Heaton tutorial, Watch the full tutorial on YouTube, he sets himself a deliberate restriction: skip golden hour entirely and photograph only during blue hour. What unfolds is less a polished masterclass and more an honest field session, including some shots that don’t work out, which is exactly why I found it so useful. He articulates something I’d felt but never named: blue hour is slower, emptier, and in some ways more creative than the frantic window around sunrise and sunset. The light stays consistent longer, the crowds disappear, and the quality of that cool ambient glow does something genuinely interesting to ordinary subjects.
The practical takeaways here are concrete and immediately usable. Whether you’re shooting coastal landscapes, cityscapes, or just your neighborhood on a Sunday morning, these steps will help you stop treating blue hour like an afterthought.
Step 1: Decide to Stay
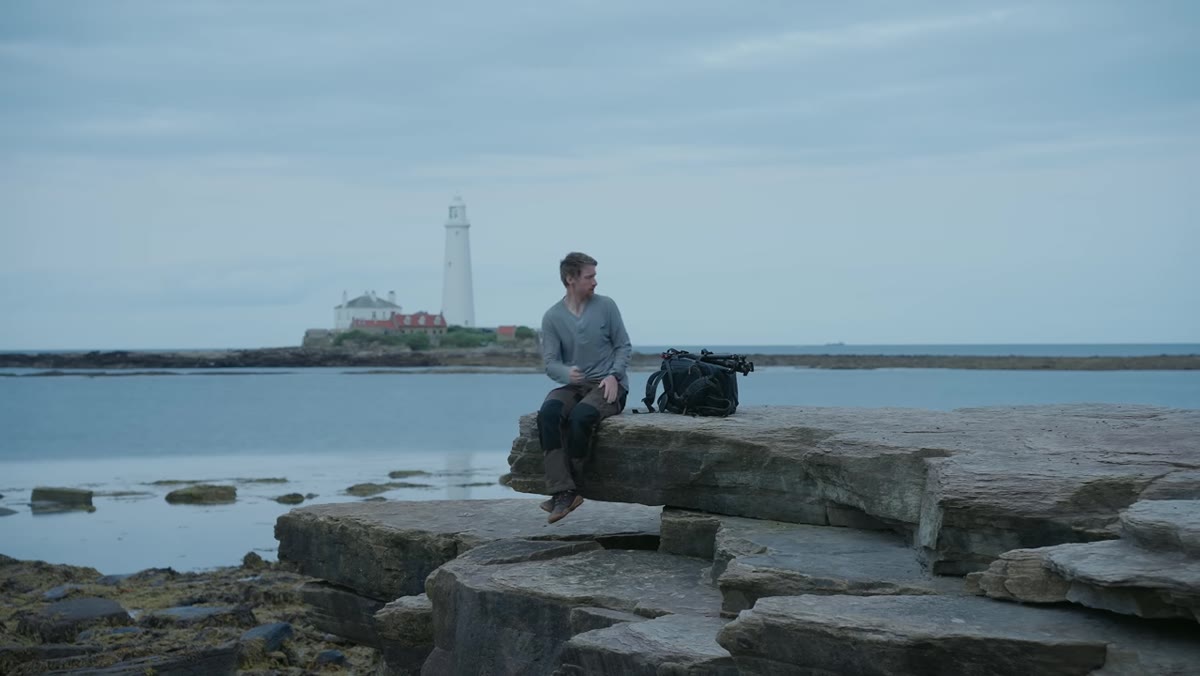 Photographer standing at coast after sunset, gear not yet out
This sounds obvious, but it’s actually the hardest part. Heaton is candid about the fact that his default instinct is to pack up after sunset. Overriding that instinct is a genuine creative choice, not a passive one. Before you even take a camera out, commit to staying at least 20 to 30 minutes past sunset. Blue hour doesn’t begin the second the sun dips below the horizon. It deepens gradually, and the richest, most saturated blue tones tend to peak when it feels almost too dark to bother.
Photographer standing at coast after sunset, gear not yet out
This sounds obvious, but it’s actually the hardest part. Heaton is candid about the fact that his default instinct is to pack up after sunset. Overriding that instinct is a genuine creative choice, not a passive one. Before you even take a camera out, commit to staying at least 20 to 30 minutes past sunset. Blue hour doesn’t begin the second the sun dips below the horizon. It deepens gradually, and the richest, most saturated blue tones tend to peak when it feels almost too dark to bother.
Set a phone alarm if you need to. Give yourself permission to keep shooting even if the first few frames look underwhelming on the rear screen. Your eyes are adjusting in real time, but your camera is capturing what’s actually there, and the two rarely match in low light.
Step 2: Scout for Artificial Light Sources
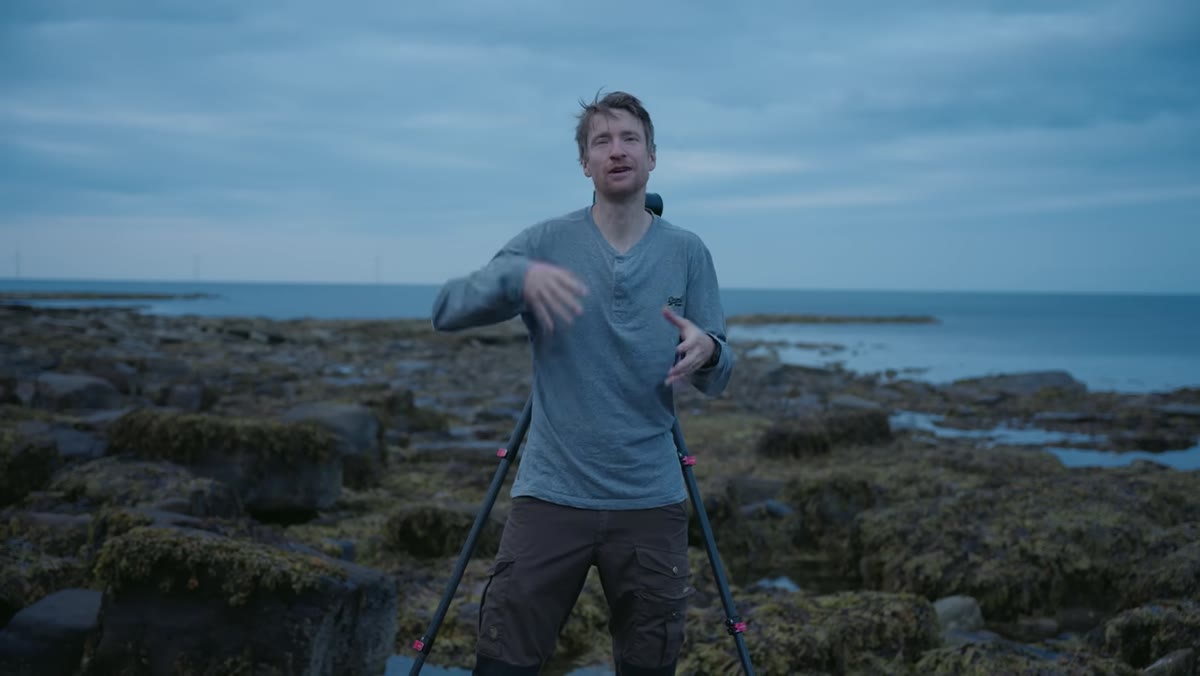 Lighthouse in distance viewed across calm rockpool at dusk
One of the clearest lessons from the first location Heaton shoots is this: blue hour images almost always benefit from a warm artificial light source in the frame. The contrast between the cool ambient blue of the sky and the orange or yellow glow of a lamp, a lighthouse, a lit window, or a streetlight is what gives the image visual tension. Without it, you’re left with a monochromatic scene that can feel flat.
Lighthouse in distance viewed across calm rockpool at dusk
One of the clearest lessons from the first location Heaton shoots is this: blue hour images almost always benefit from a warm artificial light source in the frame. The contrast between the cool ambient blue of the sky and the orange or yellow glow of a lamp, a lighthouse, a lit window, or a streetlight is what gives the image visual tension. Without it, you’re left with a monochromatic scene that can feel flat.
When you’re scouting a location, look for built-in artificial light the way you’d look for a foreground element at golden hour. Buildings with lit interiors, harbors with dock lights, bridges, even a single lamp post can anchor the image. Heaton’s regret at the lighthouse failing to illuminate is a good reminder to scout at a time when you can verify those lights will actually be on.
Step 3: Leave the Filters at Home (or in Your Bag)
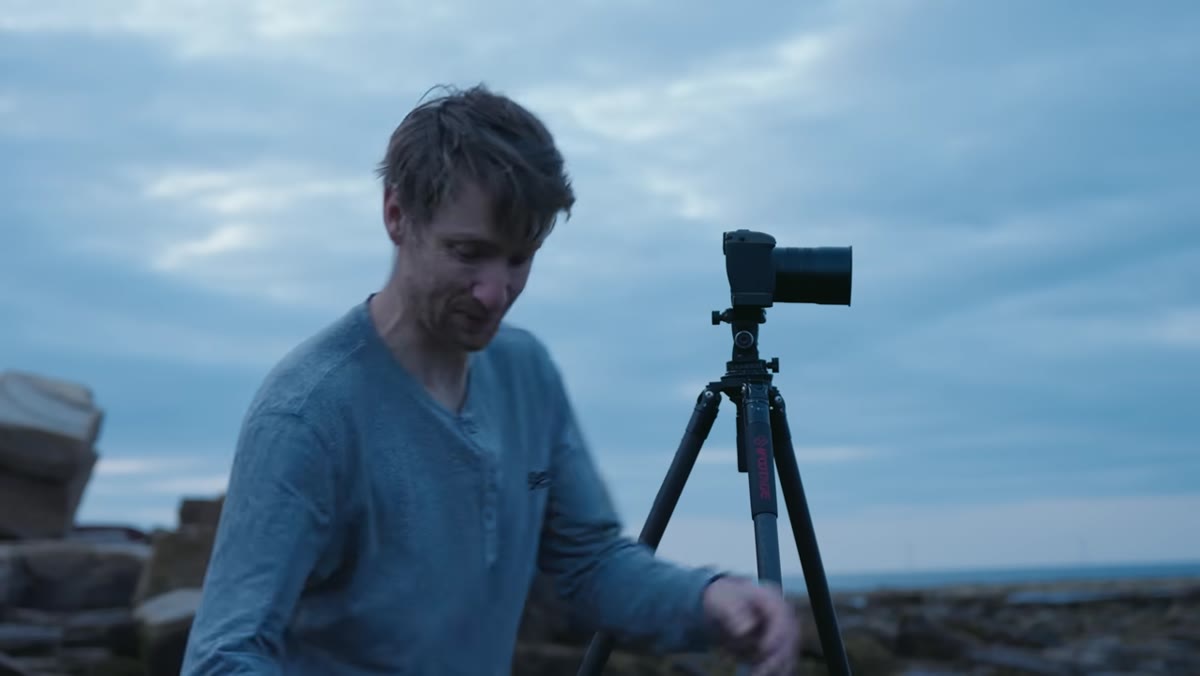 Camera on tripod at coastal scene, no filter attached to lens
Here’s a genuinely freeing part of blue hour shooting: you almost certainly don’t need neutral density filters. Because ambient light levels drop so significantly after sunset, your camera will naturally produce long exposures even at moderate apertures. Heaton notes he was shooting at f/16 and pulling 11-second exposures without any filters at all. That kind of shutter speed smooths out water, softens clouds, and gives your images the long-exposure quality that usually requires a 6-stop ND filter during golden hour.
Camera on tripod at coastal scene, no filter attached to lens
Here’s a genuinely freeing part of blue hour shooting: you almost certainly don’t need neutral density filters. Because ambient light levels drop so significantly after sunset, your camera will naturally produce long exposures even at moderate apertures. Heaton notes he was shooting at f/16 and pulling 11-second exposures without any filters at all. That kind of shutter speed smooths out water, softens clouds, and gives your images the long-exposure quality that usually requires a 6-stop ND filter during golden hour.
If you forgot your filters, or if you simply want to travel lighter on a photo walk, blue hour is your workaround. The physics of low light does the job for you. Just make sure you have a sturdy tripod, because there’s no handholding an 11-second frame.
Step 4: Adjust Aspect Ratio to Fit the Scene
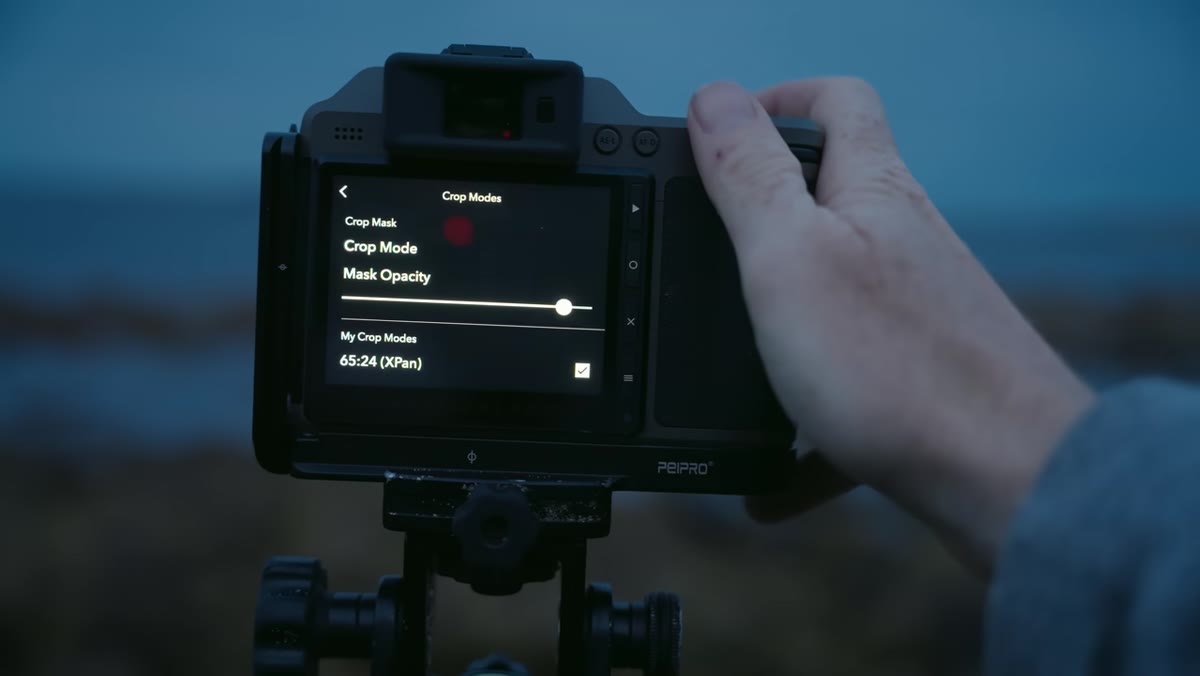 Camera screen showing panoramic aspect ratio framing selected
Heaton switches to a panoramic aspect ratio at his first location to work with what he has: a wide, calm rockpool with a distant lighthouse. This is a small decision that carries real weight. Blue hour scenes often have a lot of negative space in them, and a wider crop can use that negative space intentionally rather than letting it feel empty.
Camera screen showing panoramic aspect ratio framing selected
Heaton switches to a panoramic aspect ratio at his first location to work with what he has: a wide, calm rockpool with a distant lighthouse. This is a small decision that carries real weight. Blue hour scenes often have a lot of negative space in them, and a wider crop can use that negative space intentionally rather than letting it feel empty.
Don’t default to the aspect ratio your camera ships with. Look at your composition and ask whether a square, panoramic, or standard 3:2 frame actually serves the subject. Blue hour gives you time to think through those choices without feeling rushed, which is one of its quiet advantages.
Step 5: Review What Didn’t Work and Adjust Location
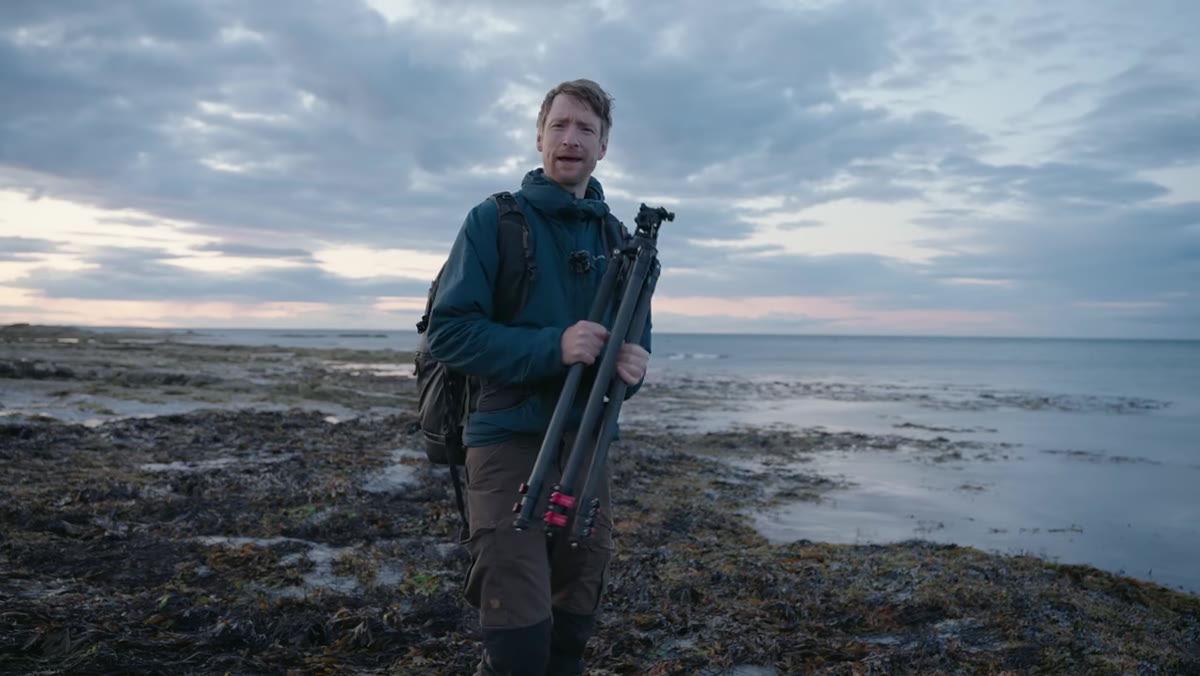 Photographer back out shooting at second coastal location after sunset
Heaton’s willingness to call his first set of images a partial failure and come back to shoot a second location is the move most tutorials skip. He identifies two specific problems: no artificial light to contrast the ambient blue, and a foreground full of seaweed he couldn’t work around. Then he goes out again with those two problems in mind.
Photographer back out shooting at second coastal location after sunset
Heaton’s willingness to call his first set of images a partial failure and come back to shoot a second location is the move most tutorials skip. He identifies two specific problems: no artificial light to contrast the ambient blue, and a foreground full of seaweed he couldn’t work around. Then he goes out again with those two problems in mind.
This is the practice. Blue hour gives you several usable sessions per week, especially in summer when twilight stretches long. Treat each one as a test. After you get home, write down what the scene was missing, not just technically but visually. Was there nothing to anchor the eye? Was the foreground unresolvable? Did you need to be higher or lower? That feedback loop, done honestly, improves your location instincts faster than almost anything else.
What I’d Add From My Own Experience
The one thing Heaton doesn’t dig into heavily here is white balance, and it’s worth spending a paragraph on. Your camera’s auto white balance will often try to neutralize the blue, pulling the image warmer to compensate. If you want to preserve that cool, saturated blue that makes blue hour distinct, shoot in RAW and set your white balance manually between 3200K and 4000K during the shoot. You can also lock it in post, but shooting with intention keeps you from being surprised when the auto-corrected JPEGs look nothing like what you saw.
I’ve started thinking of blue hour like a mood on one of my shooting playlists. It’s not the same energy as chasing a sunrise, and it shouldn’t be. It rewards patience, quiet observation, and location knowledge more than perfect timing. Some of my favorite frames from the past year came from moments when I was technically already headed back to the car.
The single most important thing this video will shift for you: stop treating sunset as the finish line. Blue hour is its own session, with its own rules and its own rewards. Give it a genuine attempt, with a real location, a tripod, and a plan for where your artificial light is coming from, and you’ll start to see why photographers who know about it guard it quietly.
Watch the full tutorial on YouTube and watch how Heaton thinks through composition and location problems in real time. That honest, unfiltered troubleshooting is worth more than a perfect demo.
Comments (2)
Would love to see a follow-up going deeper into this topic.
Been doing this wrong for years apparently. Thanks for the wake-up call.
Leave a Comment