I have a confession: I spent about six months telling myself I’d “get into drone photography eventually.” Every time I’d see a sweeping coastal shot or a top-down image of a forest trail, I’d save it to an inspiration folder and move on. The problem wasn’t motivation. It was that every time I researched where to start, I landed in a spiral of spec sheets, regulations, and forum arguments about which quadcopter brand was superior. I closed the tab more than once.
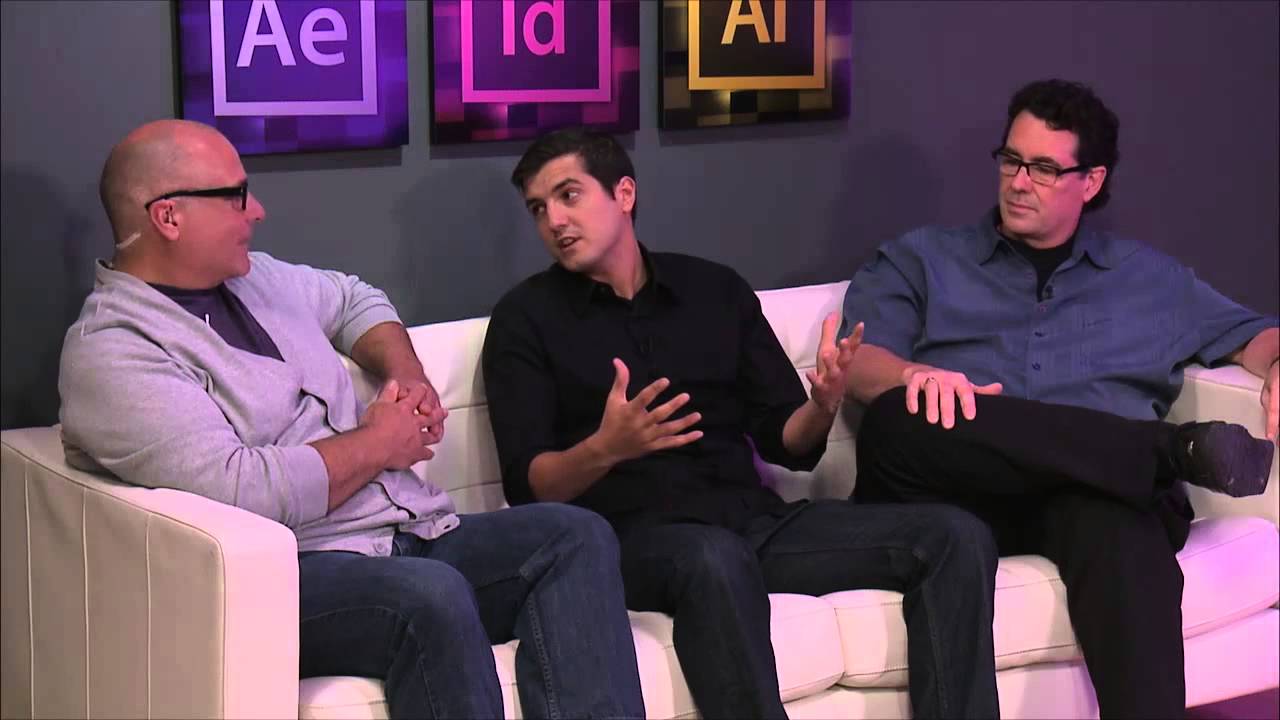
What actually helped me get unstuck was a CreativeLive tutorial led by photographer and visual media educator Jeff Foster, a working professional who came to aerial work through years of GoPro experimentation before partnering with DJI to review their early Phantom models. Watch the full tutorial on YouTube. His approach isn’t gear-obsessed or overly technical. It’s grounded in the creative instinct most of us already have, the desire to put a camera somewhere our arms can’t reach. What follows is my breakdown of the core things he covers, written so you can walk away with a real plan rather than another abandoned browser tab.
Step 1: Reframe What “Drone Photography” Actually Means
 Jeff Foster explaining the term drone on the couch
The word “drone” carries a lot of baggage. Military associations, privacy fears, neighbor complaints. Foster addresses this head-on and it’s worth sitting with for a moment. The aircraft being used for photography and video are more accurately called UAVs, unmanned aerial vehicles, and when you see the footage they actually capture, it’s almost always landscape-level work. Wide vistas, architectural overviews, sweeping nature shots. Not the surveillance-adjacent imagery the word “drone” conjures.
This reframe matters practically, not just semantically. When you think of yourself as an aerial photographer rather than a drone pilot, your creative priorities shift. You start asking: what can I see from up there that I can’t see from down here? That question leads to better shot planning from the start.
Step 2: Understand Why This Field Is Growing So Fast
 Discussion about the industry exploding in popularity
Foster notes that the aerial photography industry has moved from a niche specialty to something genuinely widespread in just a few years. The equipment became more affordable, the stabilization technology improved, and the barrier to entry dropped significantly. This is good news if you’re starting out now because the learning resources, community support, and gear options are all better than they’ve ever been.
But the growth also means more competition and, more importantly, more people making avoidable beginner mistakes in public. Understanding the landscape helps you approach your own learning with appropriate humility and realistic expectations.
Step 3: Start Small, Not Impressive
 Jeff advising to start small and slow with equipment
This is the single most actionable piece of advice in the tutorial, and I’d argue it applies to more than just aerial work. Foster is direct: it’s not a matter of if you’ll crash your aircraft. It’s when. Your first flights will involve mistakes, misjudgments, and moments where the wind does something you weren’t expecting. Starting with a lower-cost quadcopter means those inevitable lessons cost you a few hundred dollars instead of several thousand.
The temptation he describes is real. You see cinematic aerial footage online and you think: I need a hexacopter with a full-frame camera hanging underneath it, and I need it now. Foster’s counter to this is equally real: if you haven’t logged meaningful flight time, you don’t yet know how to recover from a gust of wind, a GPS hiccup, or a low battery warning at the worst possible moment. Buy the smaller, more forgiving aircraft first. Crash it, learn from it, and then scale up.
Step 4: Log Real Flight Time Before Anything Else
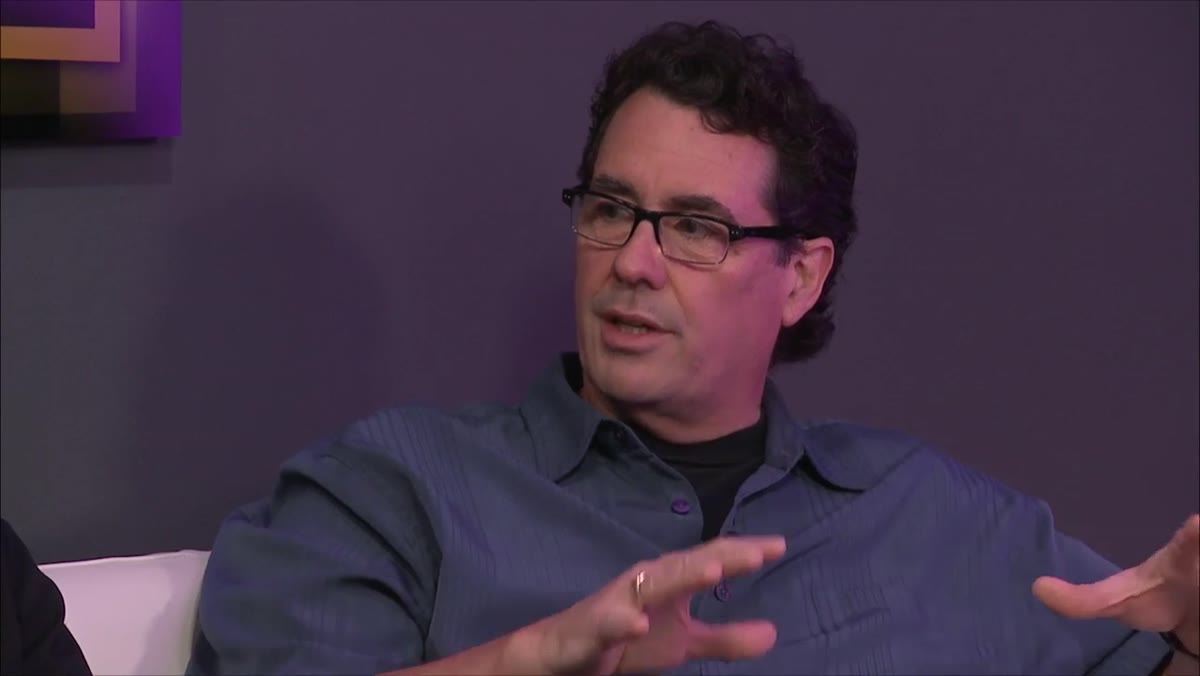 Jeff emphasizing learning to fly and navigate first
Flight time is not the same as ownership time. You can own an aircraft for months and still have almost no actual skill if you’re only flying it on calm days in open parks with no pressure. Foster emphasizes building genuine comfort with the controls, which means understanding how orientation changes when the aircraft is facing you versus facing away, how altitude affects your sense of speed, and how to bring the thing home safely when something goes sideways.
Think of it like learning to drive before trying to parallel park on a steep hill in the rain. The fundamentals need to be so automatic that you’re not thinking about them. Only then can you actually be thinking about your composition, your light, and your shot.
Step 5: Learn What Camera Angles Are Actually Possible
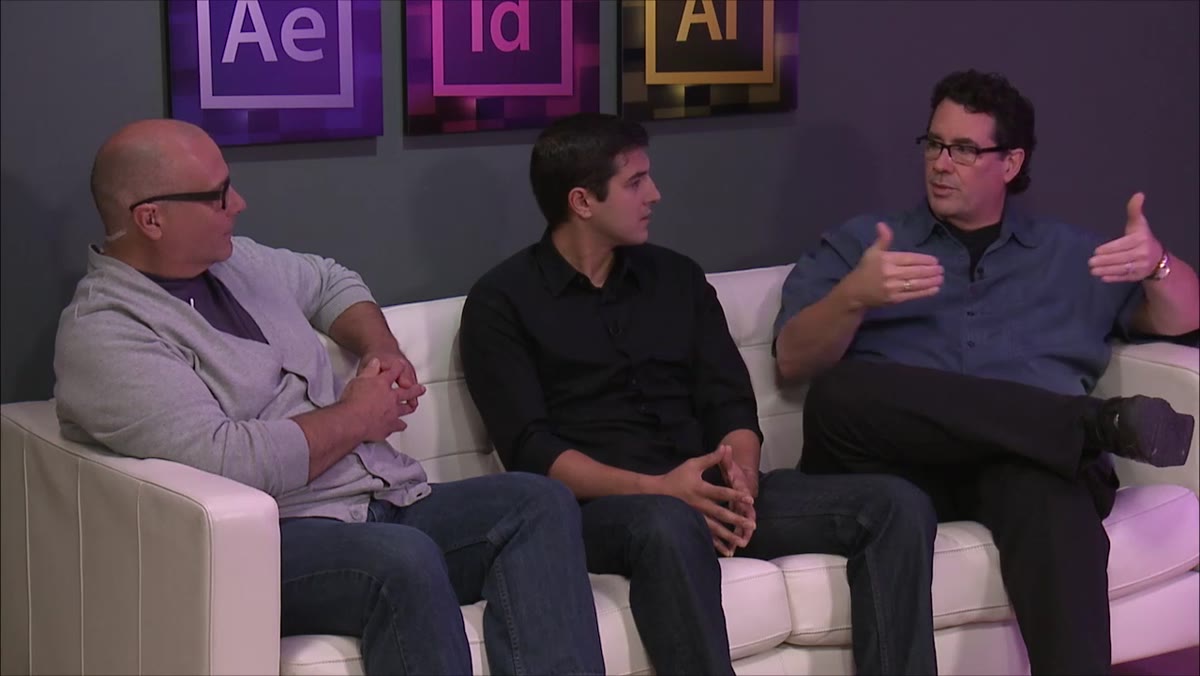 Discussion about camera angles achievable with aerial platforms
This is where the photographer’s brain needs to take over from the pilot’s brain. Foster points out that aerial platforms offer angles most photographers have never worked with before: true straight-down shots, low sweeping flyovers, slow reveals that move from ground level up to a wide establishing view. Each of these requires you to think about framing in a completely different way than standing behind a tripod.
Before you even buy equipment, spend time studying aerial footage and photography that you admire. Notice what the camera is doing, not just what the subject is. Is it moving toward the subject or away? Ascending or hovering? That visual vocabulary, built before you’re ever holding a controller, will make your first real flights dramatically more intentional.
What I’d Add: Give Yourself a Specific First Shot to Chase
One thing Foster doesn’t get into in this particular segment, but that I think is essential for beginners, is the value of having one concrete goal for your first flights rather than just “getting footage.” Before I ever went out with a new camera system, I’d identify one specific image I wanted to make. For aerial work, I’d suggest something simple: a top-down shot of a pattern in nature, a parking lot, a field, a pier. A fixed, overhead composition removes the pressure of movement and lets you focus purely on understanding your altitude, framing, and the light.
My Sunday photo walks have taught me that the photographers who improve fastest are the ones with a specific intention, not the ones who wander and hope something good happens. The same applies here. Give your early flight sessions a creative mission, even a small one, and you’ll build both skill and confidence at the same time.
The most important thing Foster communicates, and the thing I keep coming back to, is that aerial photography rewards patience and preparation more than almost any other specialty. The equipment is forgiving only if you respect the learning curve. Start small, fly often, and let your eye develop before you go chasing the epic shot.
Watch the full tutorial on YouTube and hear Jeff Foster walk through these ideas in his own words. If you’ve been sitting on the fence about aerial photography the way I was, this is the nudge worth taking.
Comments
Leave a Comment