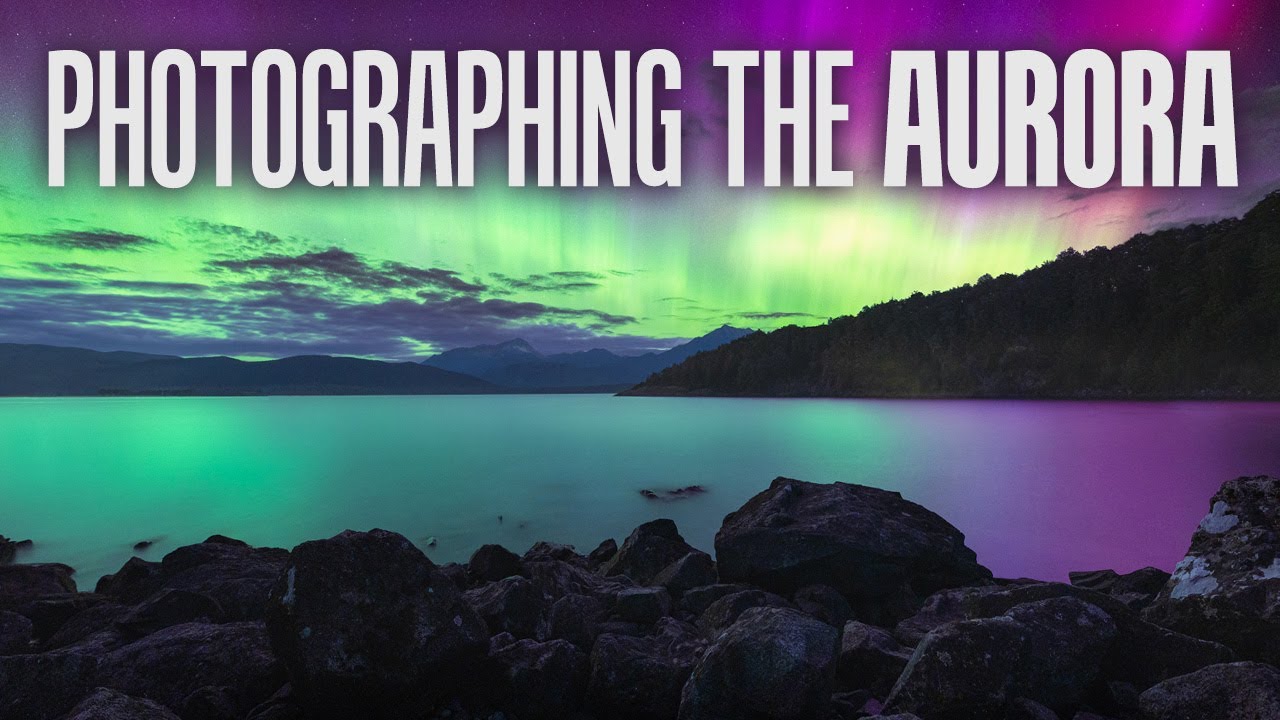
There’s a specific kind of frustration that comes from standing under a sky full of stars with your camera pointed in the right direction — and getting back nothing but a blurry, noisy mess. Night sky photography has a steep learning curve, and aurora photography adds another layer on top of that: you have to be in the right place, at the right time, with conditions that cooperate. Most of us don’t get many chances to practice.
That’s exactly why I keep coming back to this William Patino tutorial on chasing the Aurora Australis in New Zealand. Watch the full tutorial on YouTube. What I love about it is that William doesn’t just show you pretty footage. He walks you through the actual decision-making process in the field, from checking the forecast before you leave the house to choosing a shutter speed that preserves the movement in the aurora’s beams. It’s the kind of tutorial that makes you feel prepared rather than just inspired.
Whether you’re headed to New Zealand’s South Island or just want to sharpen your night sky fundamentals, the principles here apply broadly. Let me walk you through the key steps.
Step 1: Understand What You’re Actually Forecasting
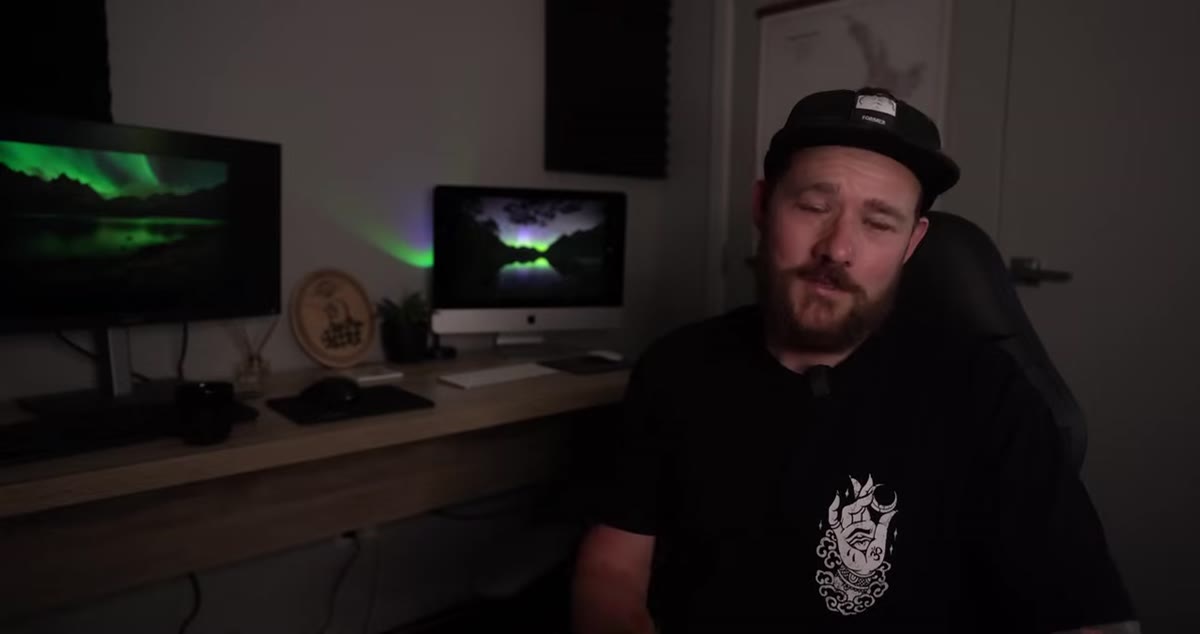 Explaining the KP index and aurora forecasting tools
Before you pack your bag, you need to understand two numbers: the KP index and the Bz. The KP index measures the strength of geomagnetic activity on a scale, and a higher number means more energy entering the atmosphere and a greater chance of a visible aurora. In high-latitude locations like Iceland, even a low KP reading can produce a stunning display. In New Zealand’s South Island, you’re further from the magnetic pole, so you generally want a KP of 4 or higher to have a realistic shot at seeing anything.
Explaining the KP index and aurora forecasting tools
Before you pack your bag, you need to understand two numbers: the KP index and the Bz. The KP index measures the strength of geomagnetic activity on a scale, and a higher number means more energy entering the atmosphere and a greater chance of a visible aurora. In high-latitude locations like Iceland, even a low KP reading can produce a stunning display. In New Zealand’s South Island, you’re further from the magnetic pole, so you generally want a KP of 4 or higher to have a realistic shot at seeing anything.
The Bz is the part most beginners skip over, and it’s arguably more important. Think of it as the gate. When the Bz value goes negative, that energy from the sun is actually able to enter Earth’s atmosphere and trigger the aurora. You can have a KP of 7 forecast and see nothing if the Bz stays positive. Conversely, a modest KP reading with a deeply negative Bz can produce a jaw-dropping show. Check both numbers, and don’t leave home until both are working in your favor.
Step 2: Use a Forecasting App and Wait for the Right Night
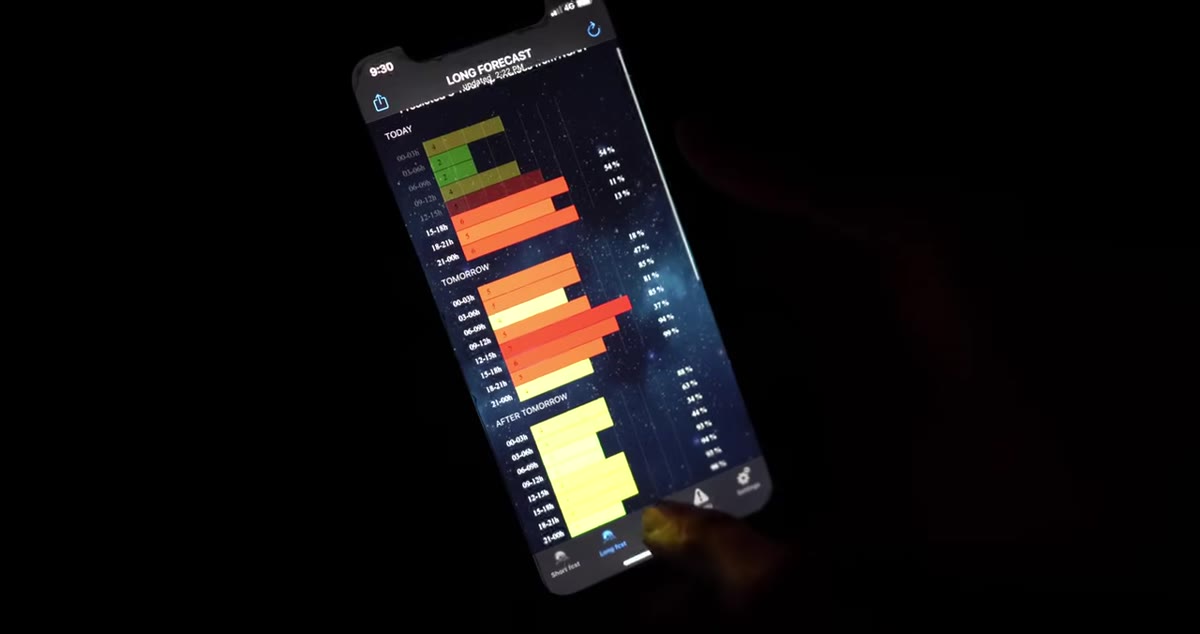 Clear skies, high KP index, and negative Bz confirmed before shooting
Several dedicated aurora forecasting apps and websites pull real-time data on both the KP index and the Bz. William uses these tools to confirm that his evening has everything lined up: high KP, negative Bz, and clear skies. That last one sounds obvious, but cloud cover kills more aurora shoots than bad space weather does.
Clear skies, high KP index, and negative Bz confirmed before shooting
Several dedicated aurora forecasting apps and websites pull real-time data on both the KP index and the Bz. William uses these tools to confirm that his evening has everything lined up: high KP, negative Bz, and clear skies. That last one sounds obvious, but cloud cover kills more aurora shoots than bad space weather does.
Build the habit of checking forecasts a few days out so you can plan around clear weather windows, and then monitor the Bz in real time on the night itself. The Bz can swing from positive to negative quickly, so even if conditions look uncertain when you arrive at your location, it’s worth waiting. Patience is part of the technique here.
Step 3: Set Up on a Tripod and Choose Your Shutter Speed Carefully
 Tripod setup shown before discussing long exposure shutter speeds
A tripod is non-negotiable for night sky work. You’ll be shooting exposures anywhere from 10 seconds to several minutes, and even the steadiest hands won’t save you. Once you’re locked in, the shutter speed question becomes more nuanced than you might expect.
Tripod setup shown before discussing long exposure shutter speeds
A tripod is non-negotiable for night sky work. You’ll be shooting exposures anywhere from 10 seconds to several minutes, and even the steadiest hands won’t save you. Once you’re locked in, the shutter speed question becomes more nuanced than you might expect.
For aurora specifically, longer isn’t always better. Exposures beyond 15 seconds start to blend the aurora’s beams into a flat glow, and you lose the dynamic structure that makes the aurora so dramatic. William settles on 10 to 15 seconds as his sweet spot for the sky. The other consideration is star trails: the wider your focal length, the more you can stretch that shutter before stars start streaking. A 14mm or 16mm lens gives you a lot more room than a 35mm.
Step 4: Handle the Foreground with a Separate Long Exposure
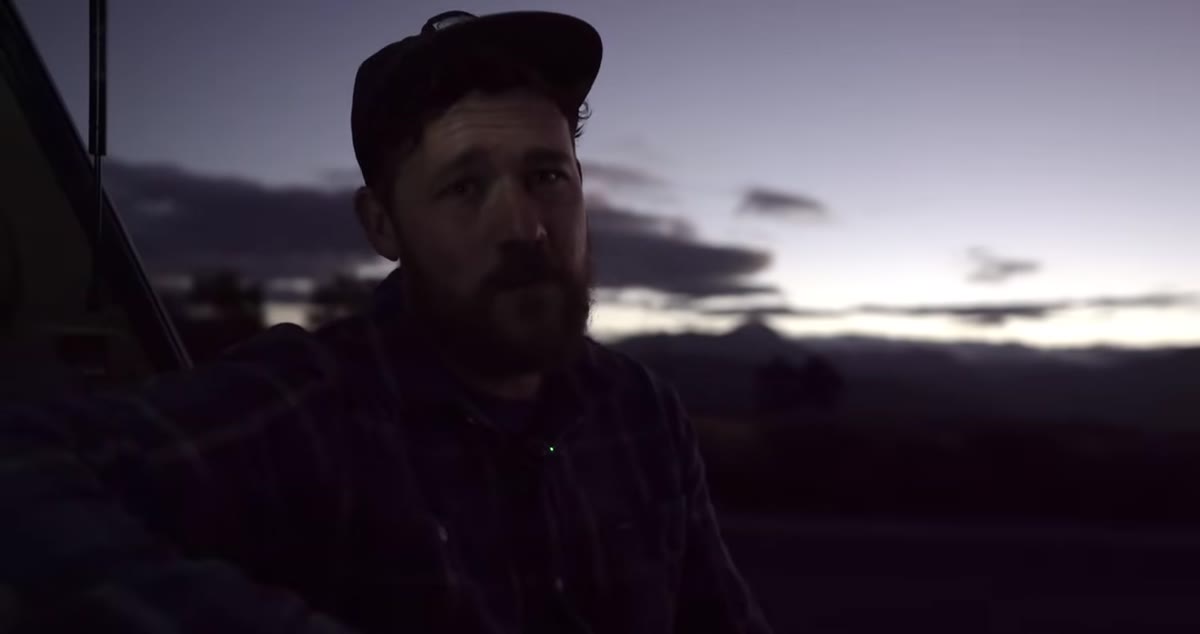 Discussing low ISO long exposure technique for foreground detail
Here’s a technique that separates polished aurora shots from snapshots: expose the foreground separately. Your sky exposure needs a high ISO and a shorter shutter speed to preserve detail in the aurora’s movement. But the foreground at night is extremely dark, and those same settings will render it as a muddy shadow.
Discussing low ISO long exposure technique for foreground detail
Here’s a technique that separates polished aurora shots from snapshots: expose the foreground separately. Your sky exposure needs a high ISO and a shorter shutter speed to preserve detail in the aurora’s movement. But the foreground at night is extremely dark, and those same settings will render it as a muddy shadow.
William’s approach is to dial the ISO down to something like 500 and shoot a three to four minute exposure just for the foreground. At that length, star trails do start to appear, but they won’t show in the foreground elements themselves. The result is a clean, detailed landscape that you can blend with your aurora sky in post. Think of it as shooting two separate images that will live together in the final photo.
Step 5: Open Your Aperture and Raise Your ISO for the Sky
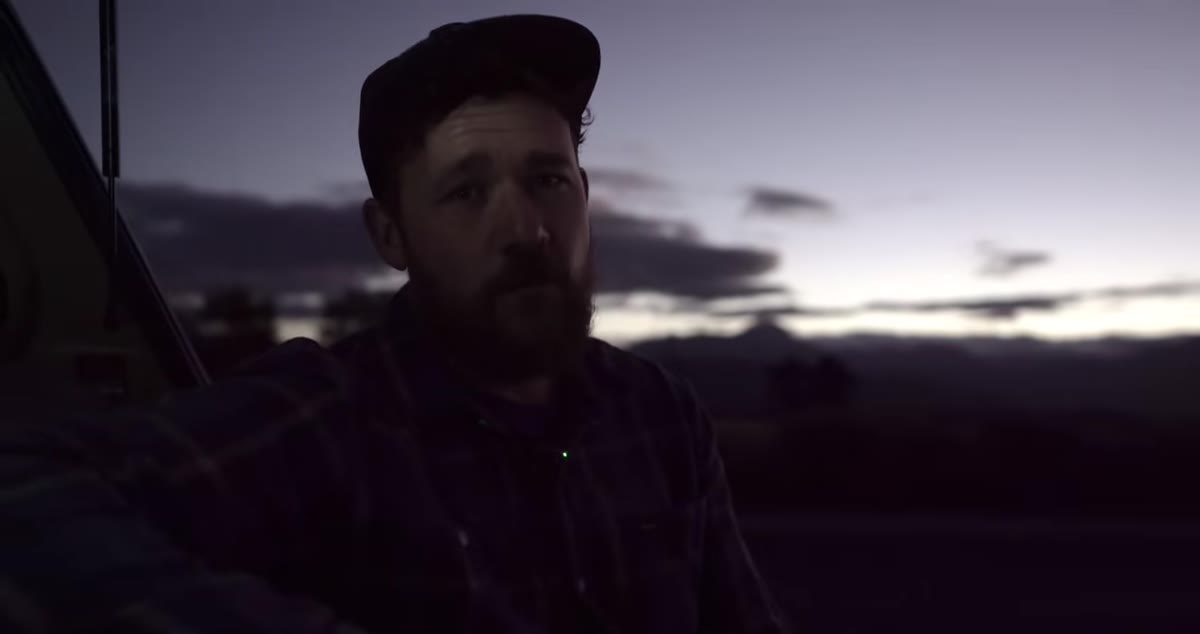 F/2.8 aperture and ISO 2000-3200 settings for night sky exposure
For the aurora itself, you need to let in as much light as possible. Open your aperture to its widest setting. F/2.8 is ideal, and F/4 is workable if that’s the fastest lens you have. Going wider than F/2.8 starts to introduce optical issues on many lenses, so don’t chase a number that your glass can’t cleanly deliver.
F/2.8 aperture and ISO 2000-3200 settings for night sky exposure
For the aurora itself, you need to let in as much light as possible. Open your aperture to its widest setting. F/2.8 is ideal, and F/4 is workable if that’s the fastest lens you have. Going wider than F/2.8 starts to introduce optical issues on many lenses, so don’t chase a number that your glass can’t cleanly deliver.
ISO should be pushed to around 2000 to 3200 for the sky exposure. Yes, this introduces noise, but that’s a trade-off you manage in post rather than avoid in the field. A noisy shot of a real aurora beat is infinitely better than a clean shot of nothing. Modern sensors handle high ISO remarkably well, and noise reduction tools have gotten very good.
Step 6: Focus Manually on the Infinity Point
Autofocus is unreliable in near-darkness, and it can hunt and miss entirely when you’re trying to lock onto stars. Switch to manual focus and aim at the most distant point you can identify, a far ridge line, a bright star, or a light on the horizon. The goal is to hit what’s called the infinity focus point on your lens, where everything at distance becomes sharp.
Don’t just twist the focus ring to the end of its travel and call it done. Many lenses can actually overshoot infinity, so use your camera’s live view at high magnification to check that a bright star looks like a clean pinpoint and not a soft blob. Make a small mark with tape once you find it so you can return to it quickly if the ring moves during the shoot.
A Note from the Pacific Northwest
Living in Seattle, I don’t often get aurora opportunities without booking a flight, so I’ve applied these same principles to Milky Way shoots along the Washington coast. The two-exposure approach for sky and foreground has been one of the most immediately useful techniques I’ve picked up, not just for dramatic conditions but for any low-light landscape work. If you find yourself frustrated by foregrounds that look like black holes in your night shots, this is the fix. It’s a small mental shift, treating night photography as a compositing exercise from the start, but it changes how you plan and execute the entire shoot.
The single most important thing to take away from this tutorial is that aurora photography rewards preparation over luck. Understanding the Bz value alone will save you from wasted nights and help you recognize when a genuinely great opportunity is in front of you. Get that right, and the camera settings are just execution.
Watch the full tutorial on YouTube to see William work through all of this in the field, with real footage of the Southern Lights over New Zealand.
Comments
Leave a Comment