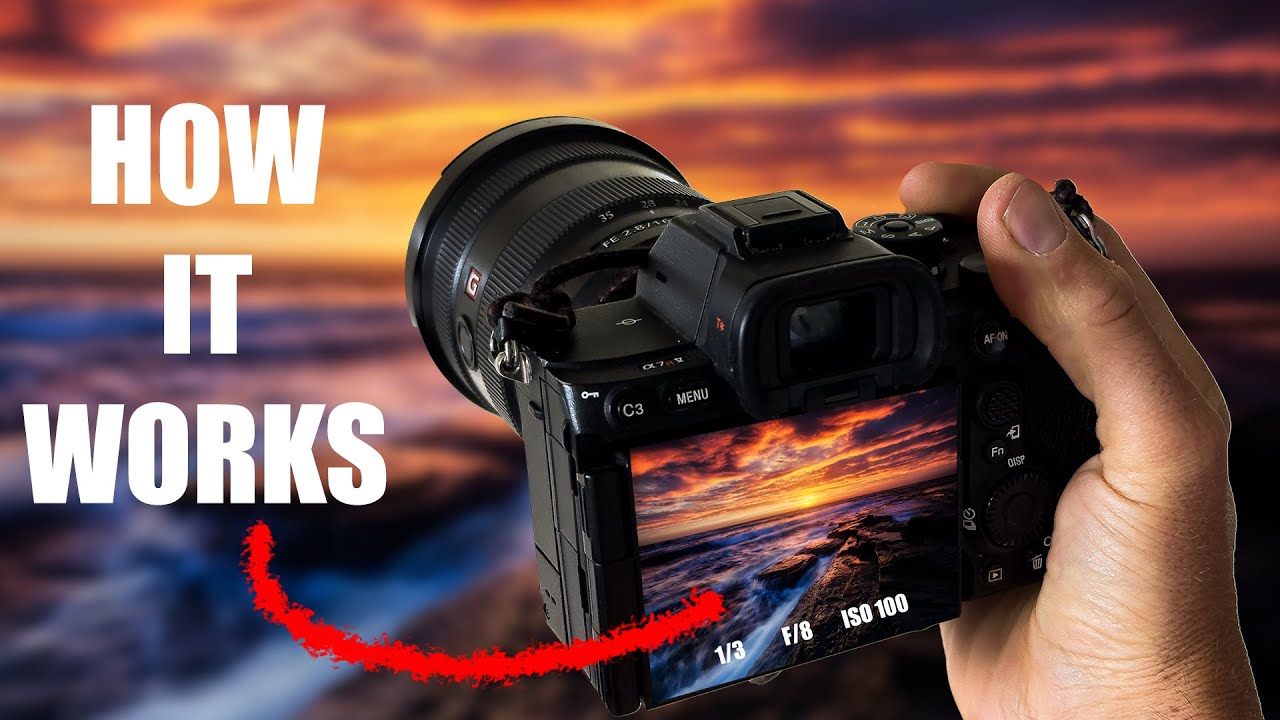
Every Sunday morning I’m out walking with my camera, and I still run into beginners who are shooting in full auto because aperture confuses them. Not bores them. Confuses them. The numbers go the wrong direction, the results feel unpredictable, and nobody ever explains what’s actually happening inside the lens. I get it. It tripped me up too.
That’s exactly why I appreciated stumbling onto this William Patino tutorial on aperture and depth of field. Watch the full tutorial on YouTube. Will shoots from a landscape photography perspective, which actually makes this easier to follow than most beginner explainers. Landscapes give you obvious depth to work with - a foreground subject, a background, and a lot of distance in between - so the effects of aperture changes are impossible to miss. By the time he’s done showing three comparison shots, the concept clicks in a way that reading a camera manual never quite achieves.
Here’s a step-by-step breakdown of what he covers, with enough detail that you can take your camera outside and apply this today.
Step 1: Understand What Aperture Actually Is
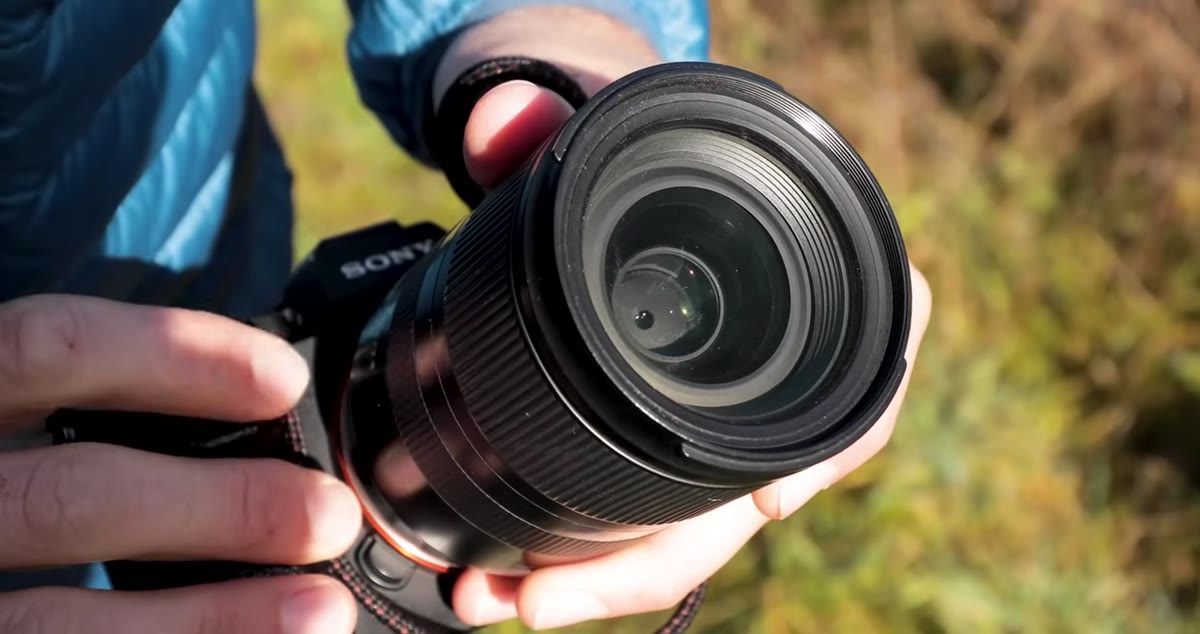 Diagram or lens view showing the aperture blade opening and closing
Aperture is a physical blade mechanism inside your lens, not your camera body. Think of it like the iris of an eye. It opens and closes to control how much light enters the sensor. That’s one job. The second job, and the one most beginners underestimate, is controlling depth of field - meaning how much of your scene appears sharp from front to back.
Diagram or lens view showing the aperture blade opening and closing
Aperture is a physical blade mechanism inside your lens, not your camera body. Think of it like the iris of an eye. It opens and closes to control how much light enters the sensor. That’s one job. The second job, and the one most beginners underestimate, is controlling depth of field - meaning how much of your scene appears sharp from front to back.
These two functions are always happening at the same time. Open the aperture and you get more light and a shallower focus area. Close it down and you get less light but more of the scene in sharp focus. Once you understand that aperture is doing both things simultaneously, you can start making intentional decisions instead of just guessing.
Step 2: Learn the F-Stop Scale (and Why It Feels Backward)
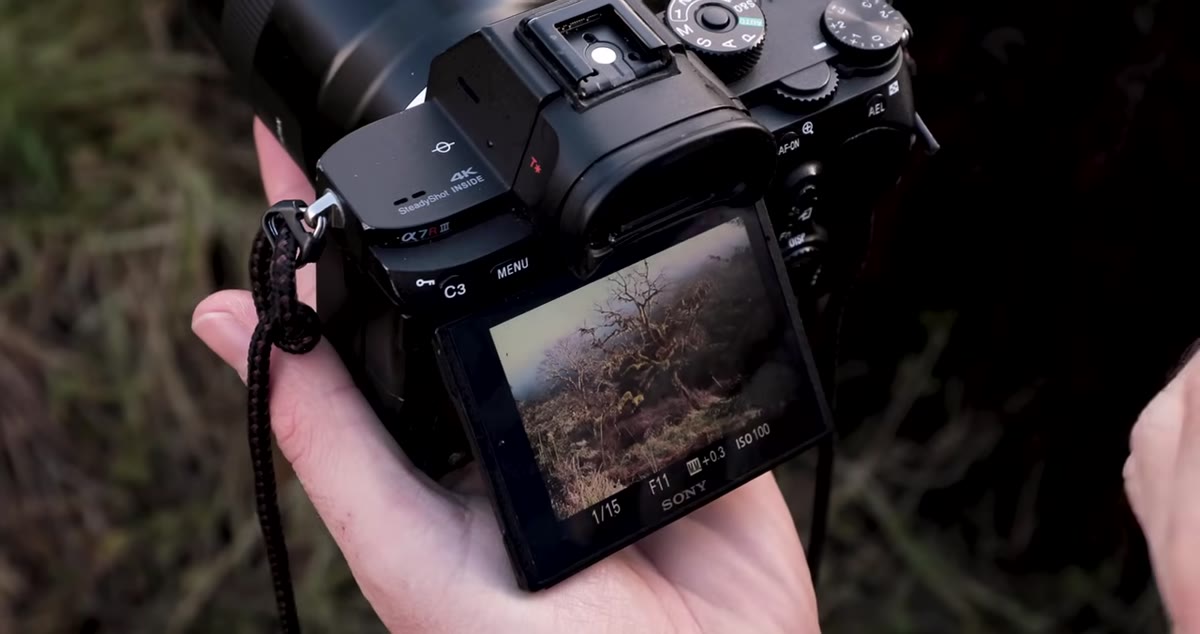 Camera display showing f-stop number changing as aperture adjusts
Aperture is measured in f-stops, and this is where a lot of people get frustrated. A smaller f-number like f/2.8 means the aperture blade is wide open, letting in a lot of light. A larger f-number like f/16 means the blade is mostly closed, letting in less light. So higher number equals smaller opening. It feels counterintuitive because it is, but once you say it out loud a few times it becomes automatic.
Camera display showing f-stop number changing as aperture adjusts
Aperture is measured in f-stops, and this is where a lot of people get frustrated. A smaller f-number like f/2.8 means the aperture blade is wide open, letting in a lot of light. A larger f-number like f/16 means the blade is mostly closed, letting in less light. So higher number equals smaller opening. It feels counterintuitive because it is, but once you say it out loud a few times it becomes automatic.
On your camera in manual mode, you’ll see the f-stop displayed at the bottom of your viewfinder or on your LCD screen. As you scroll to increase the number, watch the exposure preview darken. As you scroll down toward f/2.8 or lower, the frame gets brighter. That live feedback is your best teacher. Spend five minutes just scrolling back and forth and watching what happens before you shoot a single frame.
Step 3: See the Difference with Three Comparison Shots
 Side-by-side shots at different f-stops showing blur and sharpness
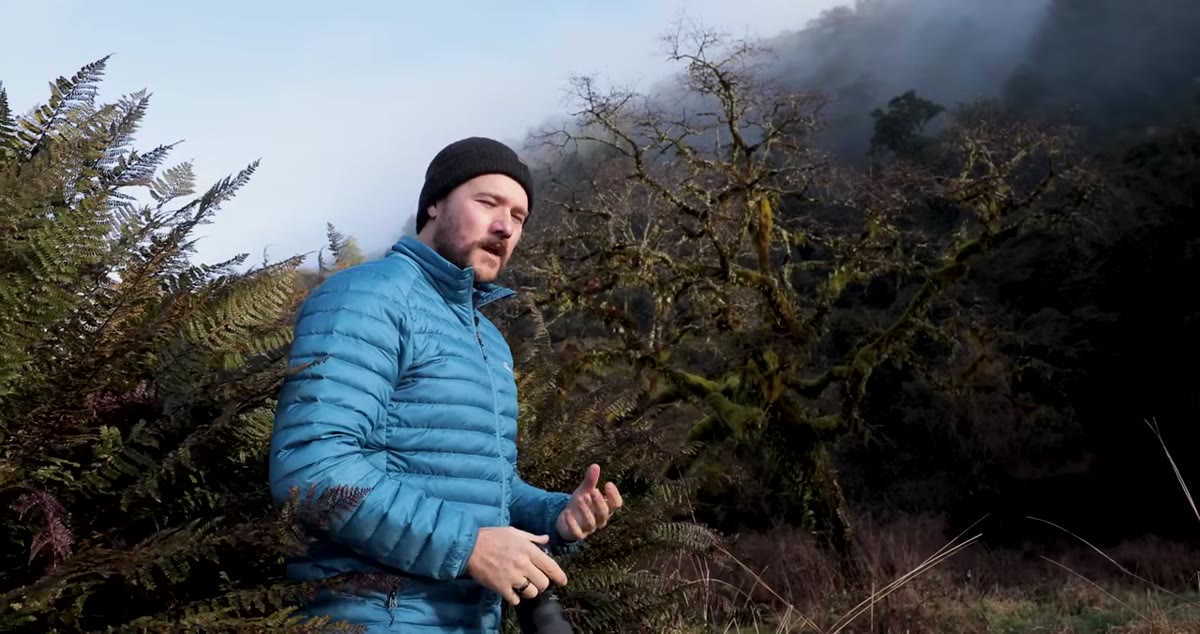
Will demonstrates this with a practical scene - ferns in the foreground and a tree in the background - which gives the viewer a scene with real depth to evaluate. He shoots the same composition at f/2.8, f/8, and f/16, focusing on the foreground ferns each time.
Side-by-side shots at different f-stops showing blur and sharpness
Will demonstrates this with a practical scene - ferns in the foreground and a tree in the background - which gives the viewer a scene with real depth to evaluate. He shoots the same composition at f/2.8, f/8, and f/16, focusing on the foreground ferns each time.
At f/2.8 the background blurs out almost completely. At f/8 you get a middle ground where much of the scene is acceptably sharp but the edges of the depth range start to soften. At f/16 nearly everything from the foreground to the distant background holds focus. Try this yourself before anything else. Set up any scene with something in the near foreground and something 10 to 20 feet back. Shoot at three stops - wide open, mid-range, and stopped down - and compare on your camera’s LCD by zooming in on both the near and far subjects.
Step 4: Factor in How Close You Are to Your Foreground
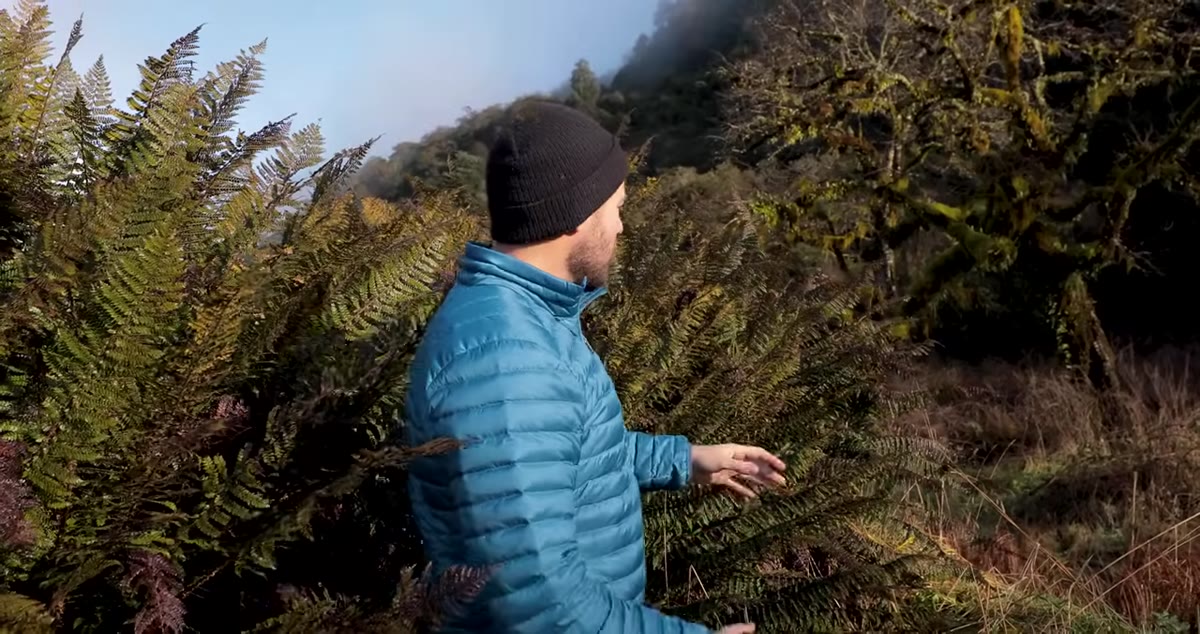 Photographer close to foreground subject with camera, demonstrating proximity
Here’s the part most tutorials skip. F-stop alone does not tell the whole story. Your physical distance from the nearest subject dramatically affects how deep your focus can reach. Get very close to something in the foreground and even f/16 might not be enough to keep the whole scene sharp.
Photographer close to foreground subject with camera, demonstrating proximity
Here’s the part most tutorials skip. F-stop alone does not tell the whole story. Your physical distance from the nearest subject dramatically affects how deep your focus can reach. Get very close to something in the foreground and even f/16 might not be enough to keep the whole scene sharp.
When you find yourself right on top of a foreground subject - say a flower, a rock, or a tide pool - you may need to use a technique called focus stacking. You take one shot focused on the near subject, another focused further back, and then blend the two images together in editing. Most photo editors, including Photoshop and Lightroom, have tools to help with this. It’s an extra step, but it gives you maximum sharpness when close-up foreground detail is essential to the composition.
Step 5: Account for Your Focal Length
 Camera with different lenses, showing focal length markings on lens barrel
The focal length of your lens changes how depth of field behaves, even at the same f-stop. A 16mm wide-angle lens at f/11 will render almost everything sharp, from what’s practically at your feet to the distant horizon. That same f/11 on a 50mm lens produces a noticeably shallower result. Go longer - say 100mm or more - and that compression gets even more dramatic.
Camera with different lenses, showing focal length markings on lens barrel
The focal length of your lens changes how depth of field behaves, even at the same f-stop. A 16mm wide-angle lens at f/11 will render almost everything sharp, from what’s practically at your feet to the distant horizon. That same f/11 on a 50mm lens produces a noticeably shallower result. Go longer - say 100mm or more - and that compression gets even more dramatic.
This means there is no universal “sharp landscape” setting. F/11 might be perfect on your wide-angle kit lens and completely insufficient on a telephoto. The practical solution is to take a shot, zoom into the review image on your LCD, and check both the near and far parts of the frame for softness. Adjust from there. This habit - shoot, review, adjust - removes the guesswork entirely.
Step 6: Review on the Back of Your Camera Before Moving On
 Photographer reviewing image on camera LCD, zooming in to check sharpness
This is the step that separates people who come home frustrated from people who come home with keepers. After each shot, zoom into the back of the camera and check the critical focus areas. Not a quick glance at the thumbnail. An actual zoom-in to the sharpest-looking part of your frame and the edges of your depth range.
Photographer reviewing image on camera LCD, zooming in to check sharpness
This is the step that separates people who come home frustrated from people who come home with keepers. After each shot, zoom into the back of the camera and check the critical focus areas. Not a quick glance at the thumbnail. An actual zoom-in to the sharpest-looking part of your frame and the edges of your depth range.
If the background is soft and you wanted it sharp, stop down and reshoot. If you wanted that creamy background blur and it isn’t blurred enough, open up and try again. The exposure preview and live view on modern cameras make this feedback loop very fast. Use it every time until the right f-stop for a given scene becomes second nature.
What I’d Add from My Own Experience
Focal length is where I see the most confusion in the field. I’ve watched people struggle to get a sharp landscape shot at f/8 on a 70mm lens and then blame their camera. The lens is doing exactly what it’s supposed to do at that focal length - the f-stop just needs to come down further, usually to f/13 or f/16, to pull in enough depth of field. If you shoot landscapes with a zoom lens, do yourself a favor and run a simple test at home. Set up a scene, shoot the same composition at 18mm, 35mm, and 55mm, all at f/8, all focused on the same point. The difference in depth of field will be obvious, and you’ll have a personal reference point for every shoot after that.
The single most transferable idea from this tutorial is that aperture is always doing two things at once - controlling light and controlling sharpness - and those two effects move in opposite directions. Get comfortable working that tradeoff intentionally, and you’ll stop fighting your camera and start using it. Watch the full tutorial on YouTube to see Will’s comparison shots in motion and get a feel for just how dramatic these differences can be.
Comments (3)
Great breakdown. The step-by-step approach really helps.
Excellent tutorial. I'd add that from a gear standpoint, this technique is incredibly versatile.
This saved me so much time on my last edit. Wish I'd found this sooner.
Leave a Comment