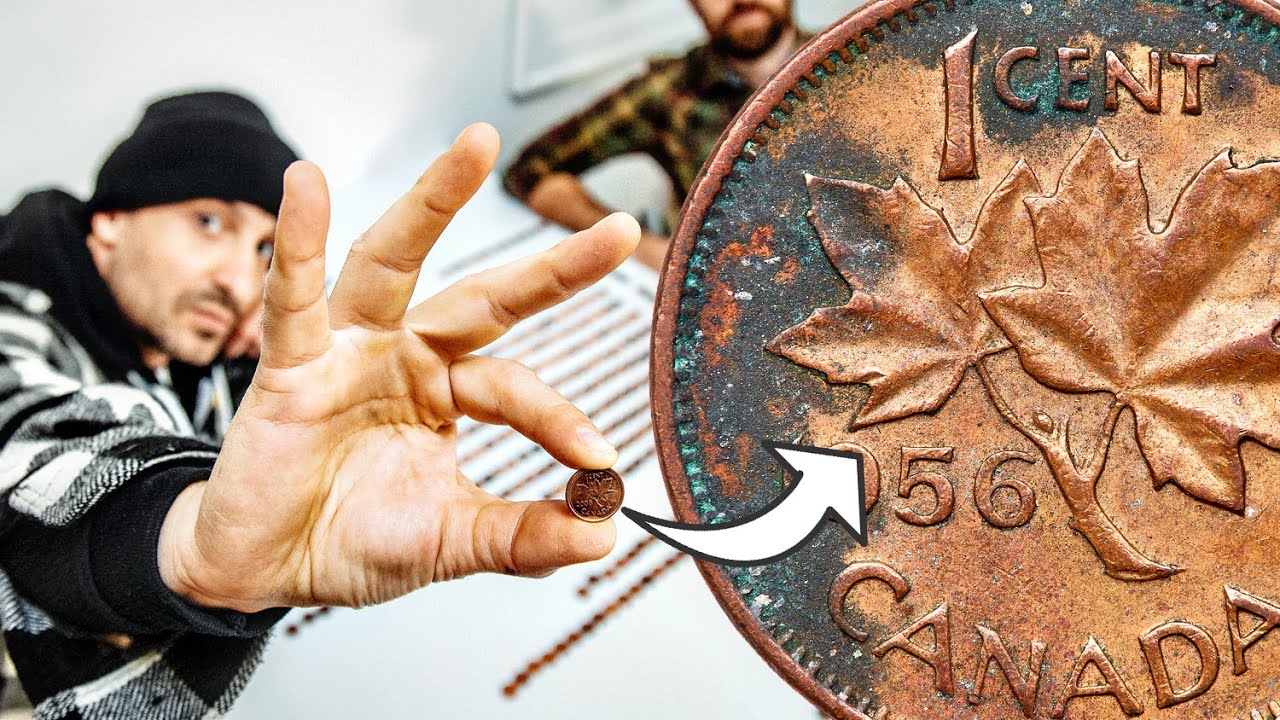
There’s a specific frustration I know a lot of photographers feel somewhere around year two or three of doing this seriously: you’ve got the technical basics down, you’re making decent images, but you can’t quite figure out how to turn any of it into a career. Or maybe you’re stuck shooting the same angles as everyone else and wondering why your work doesn’t stand out. I’ve been in both of those places. What helped me most wasn’t another tutorial on Lightroom presets. It was watching working professionals talk honestly about how they think, not just what buttons they press.
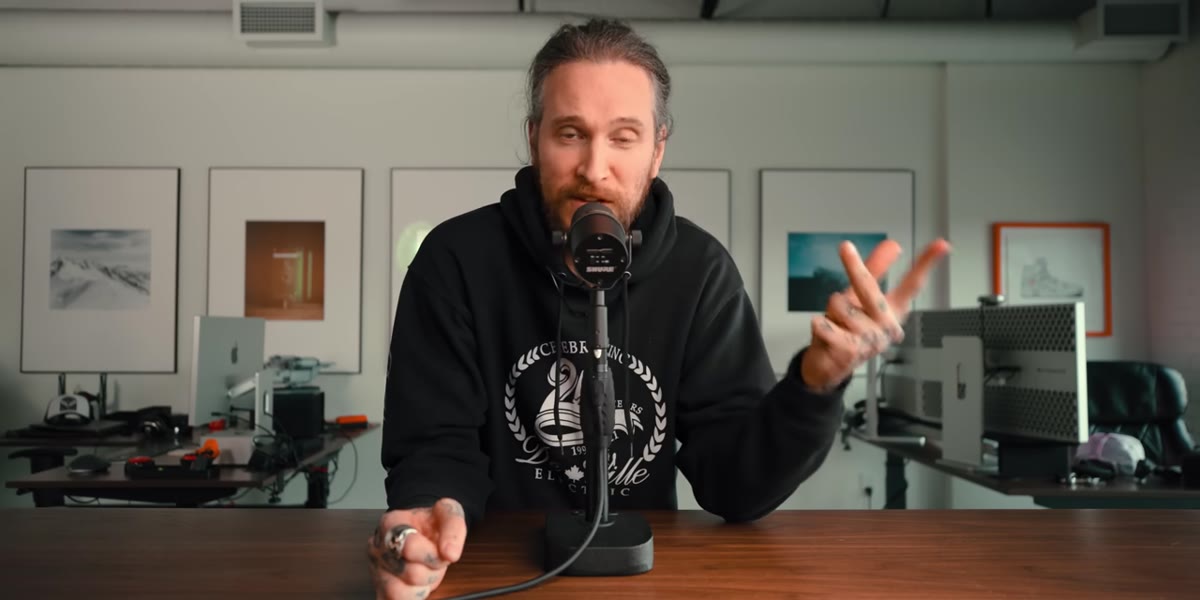
That’s exactly what happens in this Peter McKinnon tutorial, where he sits down with Toronto-based photographer Peter Andrew (full name Peter Andrew Luczyk - he goes by Peter Andrew because the last name trips people up). The conversation covers aerial photography, shooting on white backgrounds, focus stacking, and building a real photography business. It’s one of those rare interviews where every few minutes something lands and you find yourself reaching for a notebook. Watch the full tutorial on YouTube and come back to use this breakdown as your reference guide.
Step 1: Develop a Series Around a Unique Perspective
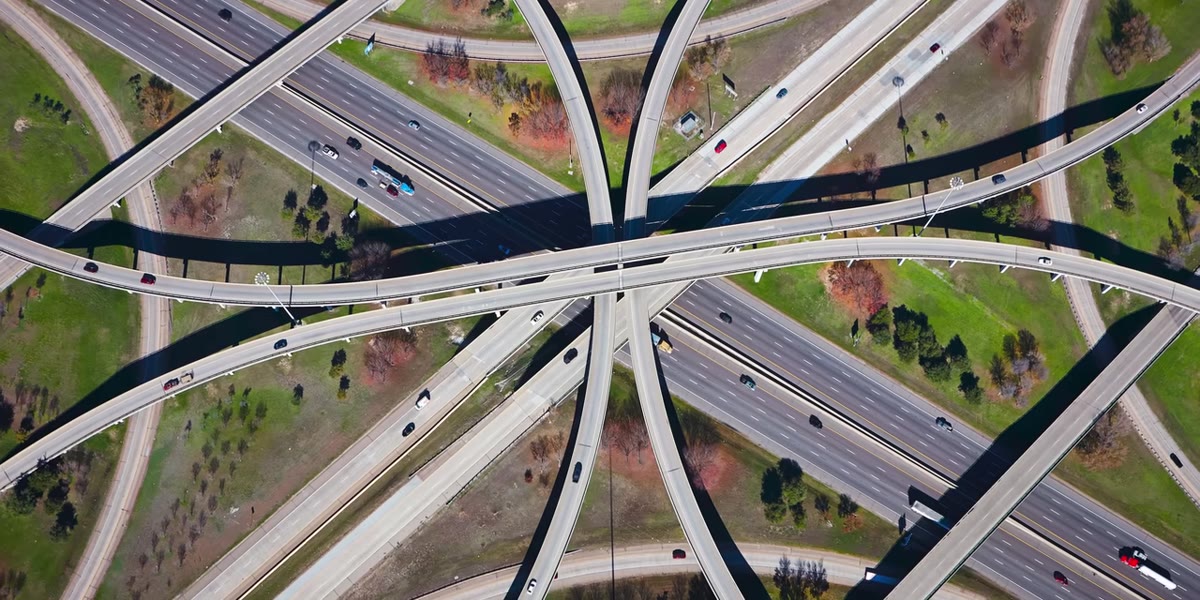
 Aerial photograph of highway interchange shot from small plane
Before you worry about gear or technique, the conversation starts with something more foundational: the idea of building a cohesive body of work around a perspective nobody else is using. Peter Andrew’s breakout series was aerial shots of highway interchanges, started around 2008 when a friend in flight school offered to take him up in a Cessna with the door removed. The plane would bank into a full roll so the wings were perpendicular to the ground, giving a straight-down view of the road systems below.
The practical takeaway here isn’t “go rent a plane.” It’s the mindset: look for a vantage point that changes how familiar subjects read. Highway interchanges are mundane from the ground. From directly above, they become abstract geometry. Ask yourself what ordinary subject in your city would transform completely with a 90-degree shift in angle. That question is what launched an entire career for him.
Step 2: Shoot Aerials with High-Resolution Camera Bodies, Not Just Drones
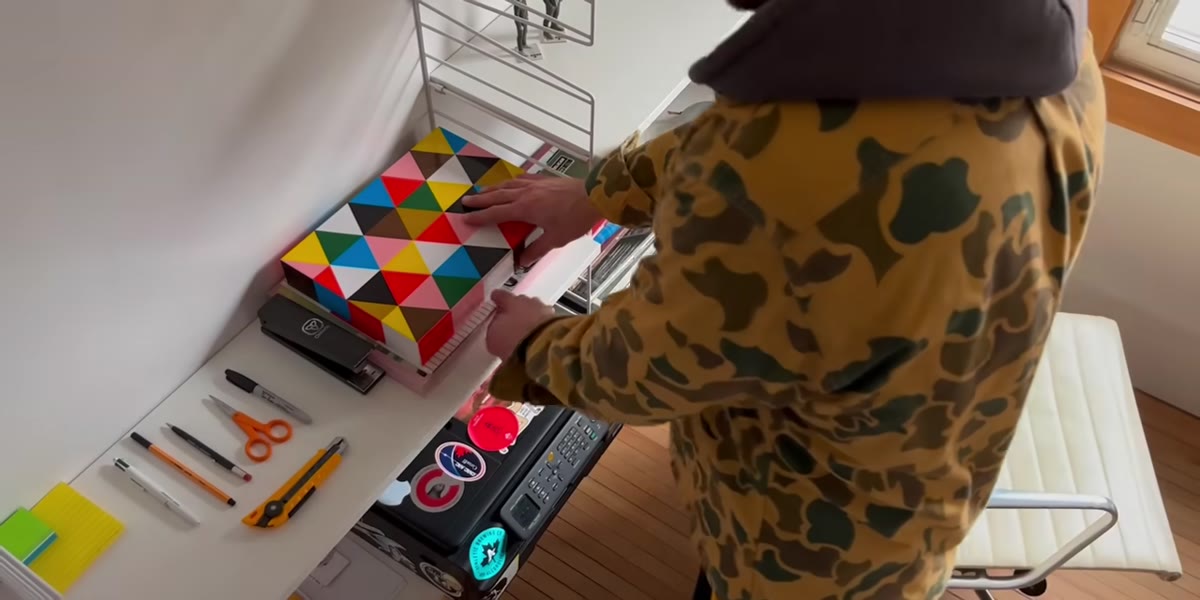
 Discussion of camera gear choices for aerial photography
When Peter McKinnon asks whether Peter Andrew would swap to a drone now that they’re accessible, the answer is instructive. He says he’d still reach for a professional DSLR or medium format camera with a high megapixel count, shooting handheld from a plane or helicopter. The reason comes down to resolution. Drone sensors, particularly in the consumer tier, can’t match what you get from a 50-megapixel medium format sensor when you need to print large or license for editorial use.
If you’re planning aerial work for commercial clients or large-format prints, megapixels matter more than convenience. A drone is a great scouting tool and works well for video and social content. But for a client like Audi, who eventually licensed one of Peter Andrew’s interchange images for a catalog centerfold, you need files that hold up under scrutiny. Shoot in RAW, use a fast shutter speed to counter vibration from the aircraft, and if the pilot is cooperative, ask about removing doors or windows to eliminate glass interference.
Step 3: Understand How Licensing Can Compound Over Time
 Conversation about Audi catalog licensing and National Geographic usage
One of the most useful things covered is how a single series of images, shot years earlier, kept generating income long after the shutter clicked. The interchange series landed in an Audi catalog, got picked up by National Geographic, and appeared as set dressing in multiple TV productions. None of that happened immediately. It built over time as the work circulated and found the right eyes.
The lesson for working photographers is to think about longevity when you’re building a series. Images that are visually distinctive and belong to a cohesive body of work are easier to pitch, easier to license repeatedly, and easier to remember. A single strong image in a vacuum is harder to sell than image twelve in a series that tells a visual story. Build series with intention, keyword your files thoroughly in your digital asset management system, and register your work with a copyright office so you’re protected when licensing conversations start happening.
Step 4: Shoot on White Backgrounds with Proper Exposure Control
 Studio setup for shooting against a white background
Shooting against a true white background, not a blown-out gray one, requires deliberate exposure control. The key is lighting the background separately from your subject. Use at least two lights aimed at the backdrop, metered to expose roughly one stop brighter than your subject. This ensures the background reads as pure white in camera without blowing out your subject’s edges.
For small product work, a lightbox or seamless paper with an overexposed background light works fine. For portrait or larger product setups, use strobes with a consistent output and check your histogram after each test shot. You want the right edge of the histogram touching the wall without clipping the subject tones. If you see halo or bleed around your subject’s outline, your background is overexposed relative to the subject. Pull it back and re-meter.
Step 5: Use Focus Stacking for Extreme Sharpness
 Reference to focus stacking technique during introduction
Focus stacking is the process of combining multiple images taken at different focus distances into one composite where everything is sharp front to back. It’s the technique that makes macro and product photography look almost hyperreal. You shoot a sequence of frames, shifting focus slightly between each one, then merge them in software like Photoshop (Edit > Auto-Blend Layers > Stack Images) or dedicated tools like Helicon Focus or Zerene Stacker.
The number of frames you need depends on your depth of field per shot and the total range you need to cover. At f/8 on a macro lens, you might need 20 or 30 frames to cover a one-inch subject completely. Use a focusing rail for precision rather than manually turning the focus ring, which introduces inconsistency. Shoot on a tripod with a remote shutter release, and keep your lighting consistent across every frame so the software has an easier time blending.
What I’d Add: Document the Thinking, Not Just the Shot
I’m a big believer in the idea that your creative process is part of your product, especially if you’re building an audience or trying to attract clients. Peter Andrew’s story about flying over Toronto with a friend in a Cessna, door off, wings perpendicular to the ground, is as compelling as the photograph itself. When I started teaching photography after a stranger at a coffee shop asked how I got a particular shot, I realized that people are hungry for the story behind the image, not just a technical breakdown.
So alongside whatever series you’re building, keep notes. Write down why you went to that location, what you were hoping to find, what surprised you. That material becomes your artist statement, your pitch to clients, your social captions, and eventually the kind of conversation that makes licensing calls go from cold to warm before you even show your portfolio.
The most important thing this tutorial reinforced for me: longevity in photography comes from building something recognizable over time, not from chasing individual viral shots. A series with a clear perspective and consistent craft is what gets licensed, what gets remembered, and what turns a penny into six figures. Watch the full conversation with Peter Andrew and Peter McKinnon here: Watch the full tutorial on YouTube
Comments (4)
Finally someone explains this in a way that actually makes sense.
Love how you break down complex stuff into manageable steps.
Been doing this wrong for years apparently. Thanks for the wake-up call.
Love this. I referenced a similar technique in one of my recent posts. Always good to see other perspectives.
Leave a Comment