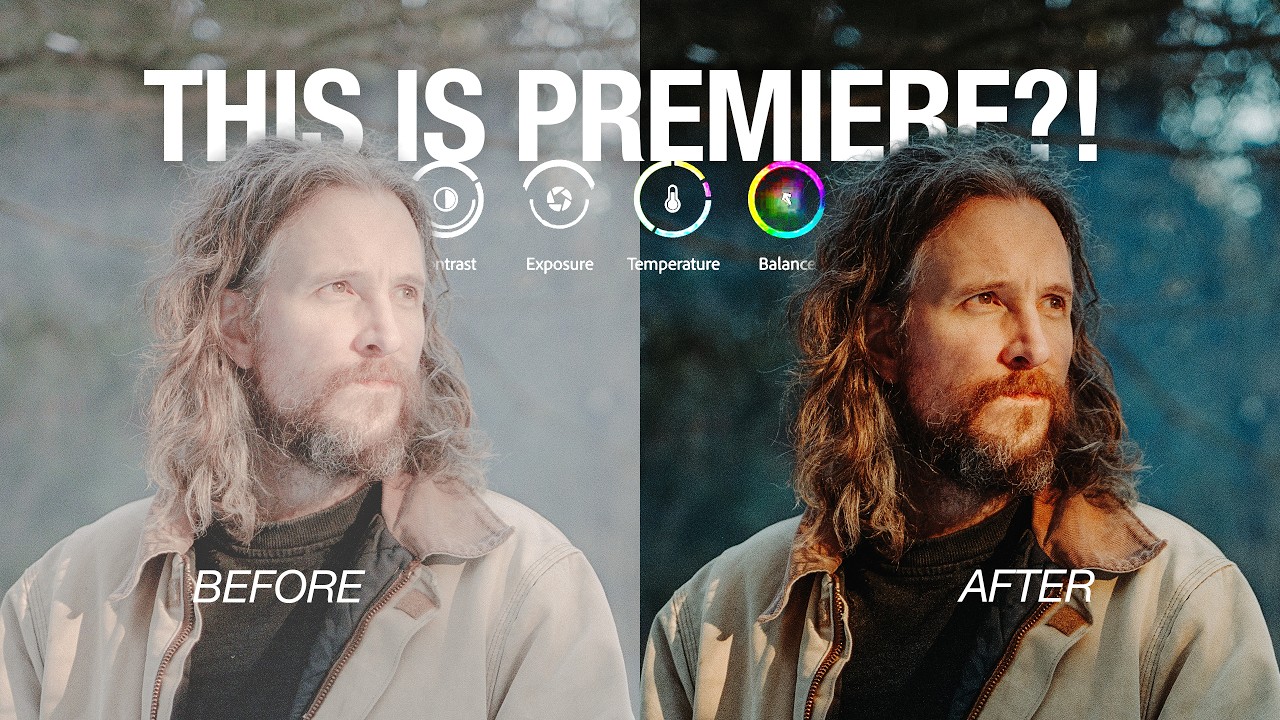
I have a confession that will probably resonate with anyone who edits video in Premiere Pro. My color grading workflow has always been, to put it kindly, a disaster. Adjustment layers stacked on top of adjustment layers, clips mysteriously missing color on export, then hunting through a timeline that looks like it survived an earthquake to figure out which seven clips I forgot. If you shoot travel or lifestyle content and you’re cutting together 40-plus clips from a single shoot day, that chaos compounds fast.
So when I came across this Peter McKinnon tutorial on Adobe’s new Color Mode, I watched it twice in one sitting. Not because it’s flashy, but because McKinnon is genuinely honest about being a messy editor, and the solution he walks through is one of those rare updates that actually changes the architecture of how you work, not just adds a button. Watch the full tutorial on YouTube if you want to follow along with the video. Otherwise, here’s a full breakdown of every step so you can move at your own pace.
Step 1: Access Color Mode Through the New Tab
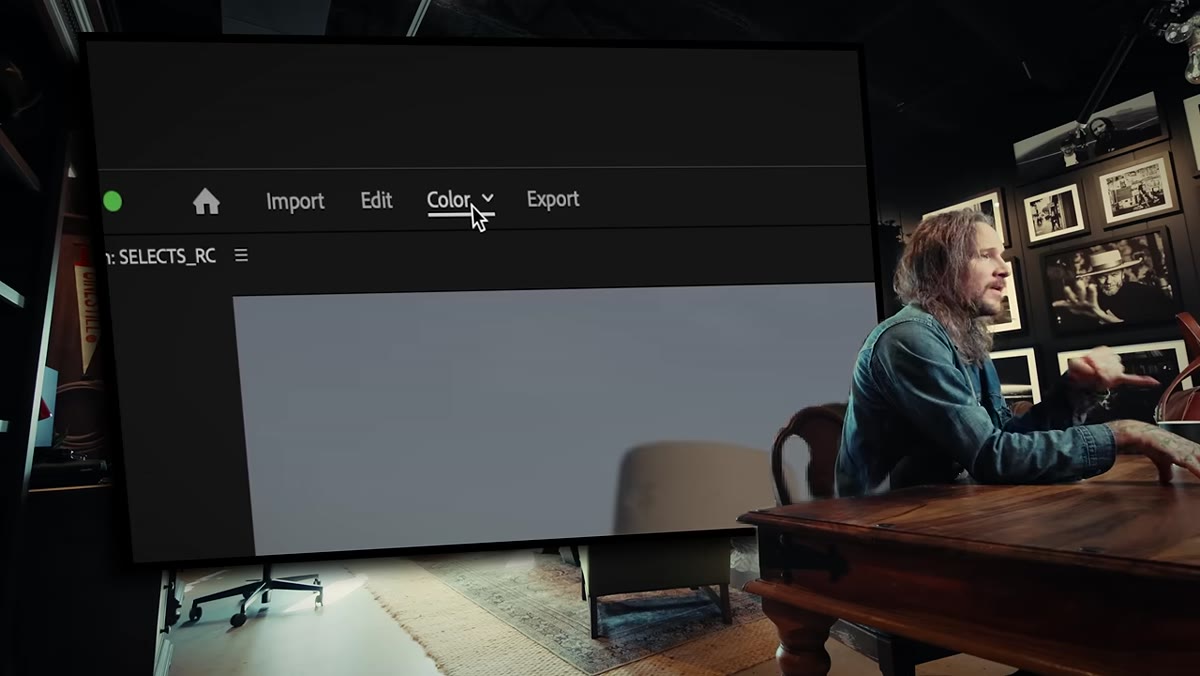 Premiere Pro interface showing the new Color tab at top navigation
Color Mode lives right at the top of your Premiere Pro interface, next to the Edit and Export tabs you already know. If you don’t see it yet, it’s currently in beta, which means you need to download the Premiere Pro beta build through Adobe Creative Cloud. Go to Creative Cloud, find Premiere Pro in your app list, click the dropdown next to the Open button, and select “Beta.” Install it, and Color Mode will be waiting for you.
Premiere Pro interface showing the new Color tab at top navigation
Color Mode lives right at the top of your Premiere Pro interface, next to the Edit and Export tabs you already know. If you don’t see it yet, it’s currently in beta, which means you need to download the Premiere Pro beta build through Adobe Creative Cloud. Go to Creative Cloud, find Premiere Pro in your app list, click the dropdown next to the Open button, and select “Beta.” Install it, and Color Mode will be waiting for you.
This is not a panel you open inside your existing workspace. It is a completely separate workspace that Adobe built from scratch. Once you click the Color tab, your environment changes entirely.
Step 2: Get Familiar With the Three-Panel Layout
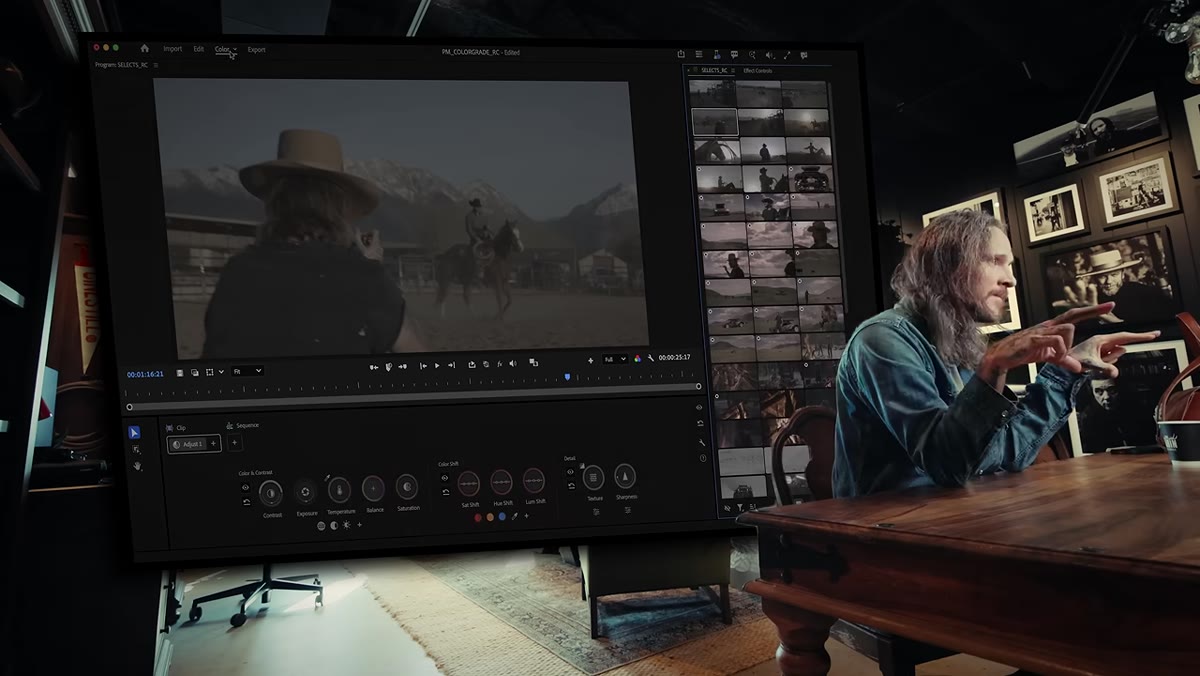 Color Mode workspace showing timeline, preview, and clip grid panels
Color Mode is organized into three main areas. The bottom is your familiar timeline. The top center is a large preview window showing your active clip. The right side is the clip grid, which is the feature that most editors, including McKinnon, find most immediately useful.
Color Mode workspace showing timeline, preview, and clip grid panels
Color Mode is organized into three main areas. The bottom is your familiar timeline. The top center is a large preview window showing your active clip. The right side is the clip grid, which is the feature that most editors, including McKinnon, find most immediately useful.
The clip grid displays every clip in your sequence as a thumbnail mosaic. Think of it like a contact sheet for your video. What makes it genuinely powerful is that it updates in real time as you make color adjustments. If you warm up a shot, you see that warmth ripple across every thumbnail in the grid instantly, so you can immediately tell whether your grade is landing consistently or creating jarring mismatches between clips. That live feedback loop is what was missing from the stacked-adjustment-layer approach.
Step 3: Apply a Base Look Across Your Entire Sequence
 Applying a base LUT or color adjustment to the full sequence in Color Mode
Before you touch individual clips, start with a base grade applied to the whole sequence. In Color Mode, you can select all clips and apply a foundational look: your LUT, a general exposure and white balance correction, whatever establishes the overall feel of the piece. This is your starting point, not your finishing point.
Applying a base LUT or color adjustment to the full sequence in Color Mode
Before you touch individual clips, start with a base grade applied to the whole sequence. In Color Mode, you can select all clips and apply a foundational look: your LUT, a general exposure and white balance correction, whatever establishes the overall feel of the piece. This is your starting point, not your finishing point.
Working this way means every clip in your sequence begins from the same color baseline. That alone eliminates the most common problem with the adjustment-layer approach, where clips get missed entirely or inherit the wrong layer. You are building from a clean, consistent foundation before you go anywhere near clip-specific tweaks.
Step 4: Use Groups to Grade Scenes With Different Lighting
 Creating a clip group from selected warm-toned footage in the clip grid
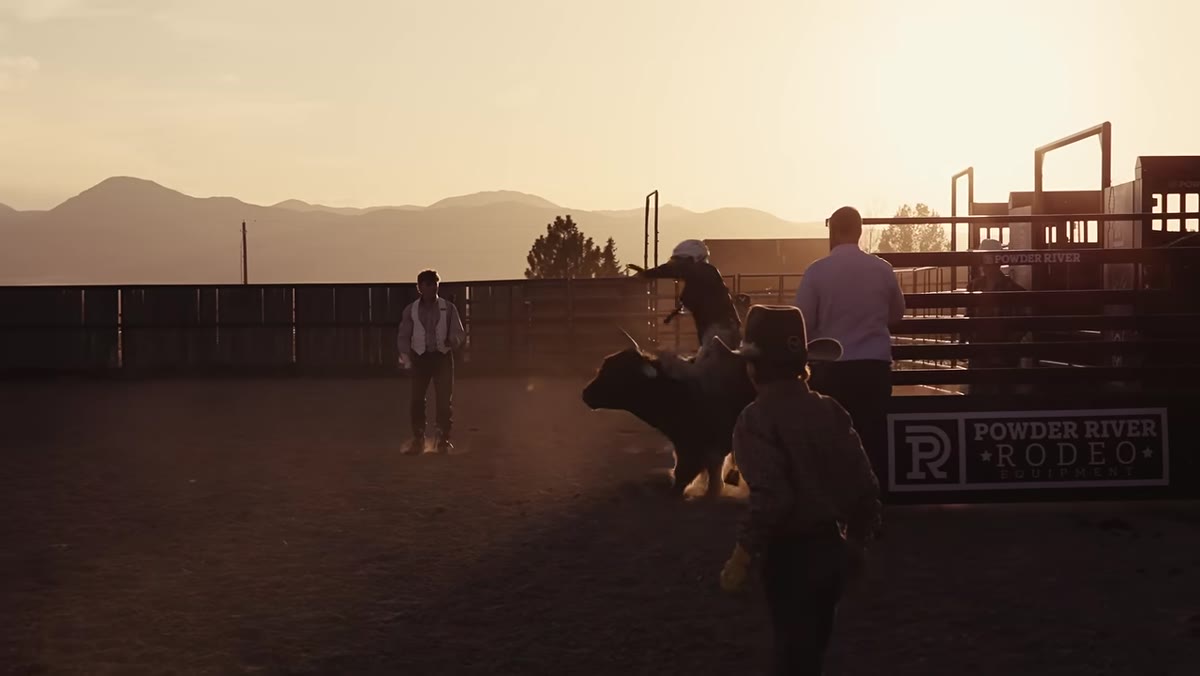
Here is where Color Mode starts to feel genuinely smart. You can select a subset of clips in the clip grid and assign them to a group. McKinnon’s example is a golden hour sequence, about seven clips all shot in warm afternoon light, that need a different treatment than the cooler, bluish footage from a different location.
Creating a clip group from selected warm-toned footage in the clip grid
Here is where Color Mode starts to feel genuinely smart. You can select a subset of clips in the clip grid and assign them to a group. McKinnon’s example is a golden hour sequence, about seven clips all shot in warm afternoon light, that need a different treatment than the cooler, bluish footage from a different location.
Group those seven warm clips together. Now any adjustments you make to that group only affect those clips and leave everything else untouched. You are not working around other footage or building complicated layer hierarchies to isolate a scene. You just group it and grade it. If your travel shoot includes both a sunny beach afternoon and a foggy forest morning, those two scenes now live in separate groups and you can push each one in completely different directions without any bleed-over.
Step 5: Fine-Tune Individual Clips Within a Group
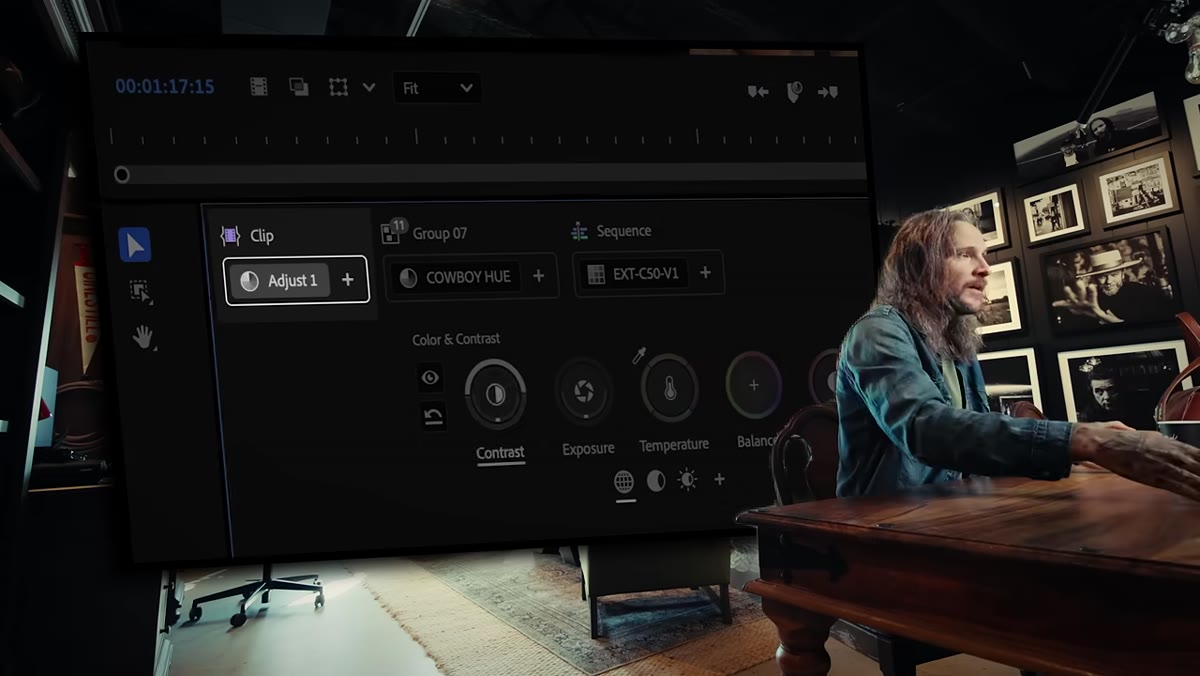 Individual clip selected within a group for targeted adjustments
Once your group has a shared look, you can go one level deeper and make clip-level adjustments inside that group. Say one of your seven golden hour clips was shot slightly in shade, so it’s a bit cooler than the others. Select just that clip in the grid and bring it into alignment without moving the group grade underneath it.
Individual clip selected within a group for targeted adjustments
Once your group has a shared look, you can go one level deeper and make clip-level adjustments inside that group. Say one of your seven golden hour clips was shot slightly in shade, so it’s a bit cooler than the others. Select just that clip in the grid and bring it into alignment without moving the group grade underneath it.
This layered approach, sequence grade, then group grade, then clip grade, is actually how professional colorists have always worked in dedicated grading software like DaVinci Resolve. Color Mode is essentially bringing that structure into Premiere for editors who live there and don’t want to round-trip their footage to another application.
Step 6: Use Masking Without Being Terrified of It
 Masking tools visible within Color Mode for selective adjustments
McKinnon is candid about avoiding masking in video for years, and I completely understand that instinct. In Lightroom, masking a subject feels effortless. In Premiere, the phrase “track a mask” used to mean a whole afternoon of frustration. Color Mode does not eliminate that complexity entirely, but it makes the entry point much lower.
Masking tools visible within Color Mode for selective adjustments
McKinnon is candid about avoiding masking in video for years, and I completely understand that instinct. In Lightroom, masking a subject feels effortless. In Premiere, the phrase “track a mask” used to mean a whole afternoon of frustration. Color Mode does not eliminate that complexity entirely, but it makes the entry point much lower.
Within Color Mode, you can apply a mask to a specific region of a clip and then use tracking to keep that mask attached to a moving subject. The practical use case McKinnon describes is brightening a car without blowing out the rest of the frame’s highlights. Instead of making a compromise adjustment to the whole clip, you isolate the subject, adjust just that area, and let the rest of the exposure sit where it needs to be. Start simple: try a basic shape mask on a static shot before you attempt motion tracking.
A Note From My Own Editing Sessions
The thing I keep coming back to after working with Color Mode is how much mental energy the old workflow was costing me. Every time I opened a timeline full of stacked adjustment layers, I had to hold the entire organizational logic of that stack in my head. Where does this layer start and stop? Did I copy attributes to that B-roll insert? Color Mode externalizes that structure so the software holds it, not your memory.
One practical addition I’d suggest: build your groups before you start grading, not after. Take five minutes at the start of your color session to look at your clip grid, identify the distinct scenes or lighting environments in your edit, and group them right then. It takes almost no time and saves you from discovering mid-grade that you’re accidentally adjusting footage you didn’t mean to touch.
The single most important shift this tutorial communicates is moving from a reactive workflow, fixing problems as you notice them, to a structured, hierarchical one where every level of your grade has a clear purpose. That shift alone is worth the ten minutes. Watch the full tutorial on YouTube to see McKinnon walk through the interface live and catch the details that are easier to understand in motion.
Comments
Leave a Comment