
There’s a specific kind of frustration that comes from driving 45 minutes to a scenic overlook, setting up your tripod in the dark, waiting through the whole sunrise – and then coming home with nothing you’re proud of. I’ve been there more times than I’d like to admit, and for a long time I blamed the light, or the location, or my gear. The real problem, it turns out, was almost always my behavior on location. How I moved, when I arrived, when I packed up, and where I pointed my camera.
That’s why I keep coming back to this tutorial from landscape photographer Mark Denney. Watch the full tutorial on YouTube. In it, he walks through nine pieces of beginner advice that he says genuinely shaped both his skills and his enjoyment of landscape photography. What makes it worth your time is that he isn’t just listing generic rules. He’s sharing things he heard early on and actually tested, ranked in order of how much they mattered. The tips toward the end of the list are the ones he considers most important, so I’ve structured this breakdown the same way.
Here’s what he covers, and how to put each tip to work.
Step 1: Shoot More While You’re On Location
 Photographer shooting continuously through a dawn sequence
Most beginners arrive at a location and try to anticipate the single best moment – the peak of sunrise color, the deepest sunset glow – and then fire off a handful of shots right then. The problem is that peak light is nearly impossible to predict, and it rarely lands exactly when you expect it. A better approach is to start shooting before the light looks “ready” and keep shooting after you think the moment has passed.
This doesn’t mean spraying frames randomly. It means committing to the full arc of the event. Set your composition early, get your exposure dialed in, and work through the sequence. When you’re back home editing, you’ll have a real spread to choose from instead of five frames from one narrow window. One of those in-between moments – the softer light just before peak color, the afterglow ten minutes after sunset – is often the keeper.
Step 2: Arrive Earlier or Stay Later Than Everyone Else
 Blue hour scene with cool tones over a landscape, no other photographers present
If you’ve ever shot at a popular viewpoint during sunset, you know the sound: as soon as the sun drops below the horizon, tripod legs start collapsing and people head for the parking lot. Most of the crowd leaves right before the blue hour begins – and that’s exactly the window Denney says produces some of his favorite images.
Blue hour happens in the 20-30 minutes after sunset or before sunrise, when the sky shifts to a deep, even blue and the light becomes incredibly soft and diffused. There’s no harsh contrast, colors read beautifully, and the scene tends to feel calm in a way that golden hour shots don’t always capture. If you’ve already committed to the drive and the early wake-up, staying an extra half hour costs you almost nothing and often pays off more than the main event.
Step 3: Turn Around
 Photographer pivoting away from main composition to see colorful sky behind them
This one sounds almost too simple, but I still catch myself making this mistake. You lock onto a composition, you work it, and meanwhile the light behind you does something spectacular and you miss it entirely. Denney makes the point that incredible light doesn’t always cooperate with the direction your camera happens to be facing.
The fix is just to build a habit: every few minutes during golden or blue hour, physically turn around and look at the full 360 degrees around you. You don’t have to abandon your original composition. But if the light behind you is doing something your primary shot can’t match, you want to know about it while you still have time to react. Some of the most memorable landscape images come from a quick pivot, not a careful plan.
Step 4: Shoot in RAW Format
 Camera menu showing RAW file format selection
This one comes up in almost every beginner guide, and there’s a reason for that. Shooting JPEG means your camera is making permanent decisions about color, contrast, sharpness, and exposure baking those decisions into the file before you even see it. RAW files preserve all the data your sensor captured, which means significantly more room to recover highlights, lift shadows, and correct a slightly off white balance without destroying image quality.
The practical downside is file size and the requirement to edit your images rather than use them straight out of camera. But if you’re shooting landscapes – scenes with wide dynamic range, complex skies, and conditions that change by the second – RAW gives you a much better chance of rescuing a shot that looked almost right in the field. Set your camera to RAW before your next shoot and don’t look back.
Step 5: Slow Down and Be Intentional With Every Frame
 Photographer pausing at tripod, studying scene before pressing shutter
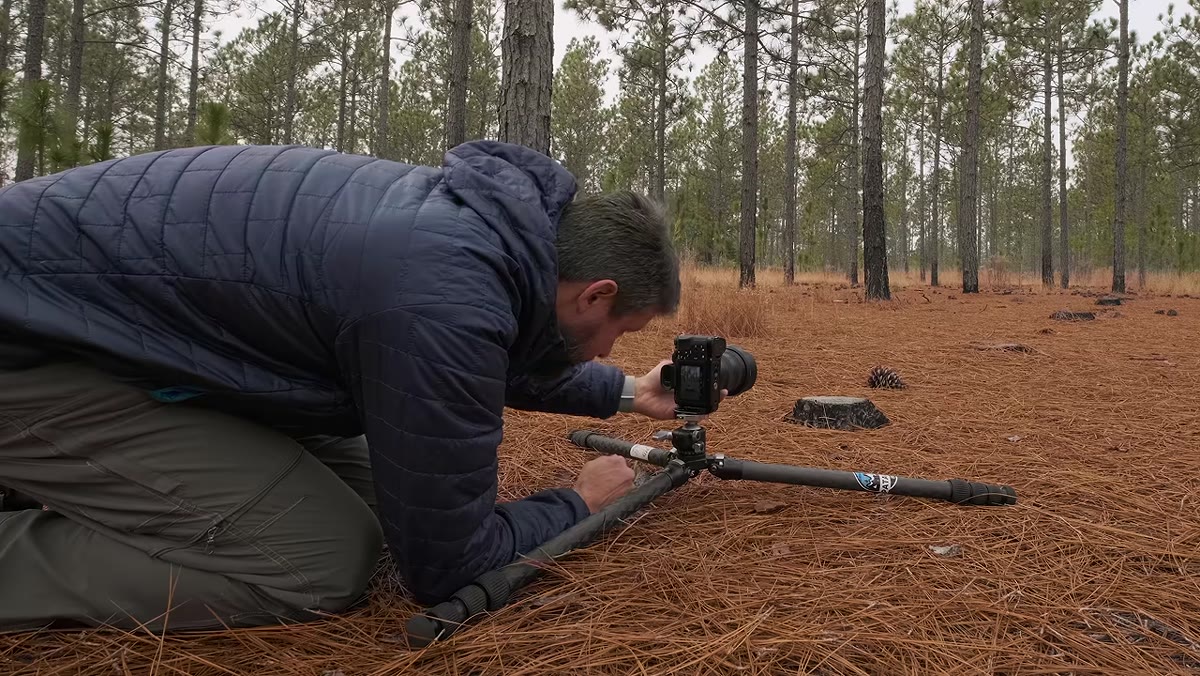
One of the quieter points Denney makes is about pace. Beginners tend to shoot reactively – something looks interesting and they fire. Working more slowly means asking yourself before you press the shutter: what is the subject here, where is the light coming from, what does the foreground add, and is everything in this frame doing a job. It takes practice to make that checklist feel natural, but it changes the quality of your images faster than almost any gear upgrade.
A useful exercise: after you take a shot, look at the preview and ask what you’d change before taking the next one. This keeps you actively evaluating rather than just accumulating frames.
A Note From My Own Shooting Practice
The tip that took me the longest to actually internalize was staying later. My Sunday morning photo walks usually end when I start feeling the pull of coffee and breakfast, which means I’ve probably packed up early during blue hour more times than I’d like to count. What finally fixed it was setting a phone alarm for 25 minutes after sunrise – a hard stop that prevented me from leaving based on feeling rather than actual light conditions. It sounds mechanical, but it worked. Sometimes you need a system to override the instinct to wrap up early.
If you shoot in a location with variable weather, here’s an extension worth trying: overcast days during blue hour can produce a quality of light that clear-sky blue hour can’t replicate. The clouds diffuse the color across the whole sky evenly, and the results can look almost like a studio setup in the best possible way. Don’t write off cloudy mornings before you try one.
The single most transferable idea from this entire tutorial is the simplest one: your behavior on location matters more than your gear. Arriving earlier, staying longer, turning around, shooting more – none of those things cost anything. They just require intention.
Watch the full tutorial on YouTube to hear all nine tips in Denney’s own words, including the ones he ranks as most important. The top few on his list are worth the watch on their own.
Comments
Leave a Comment