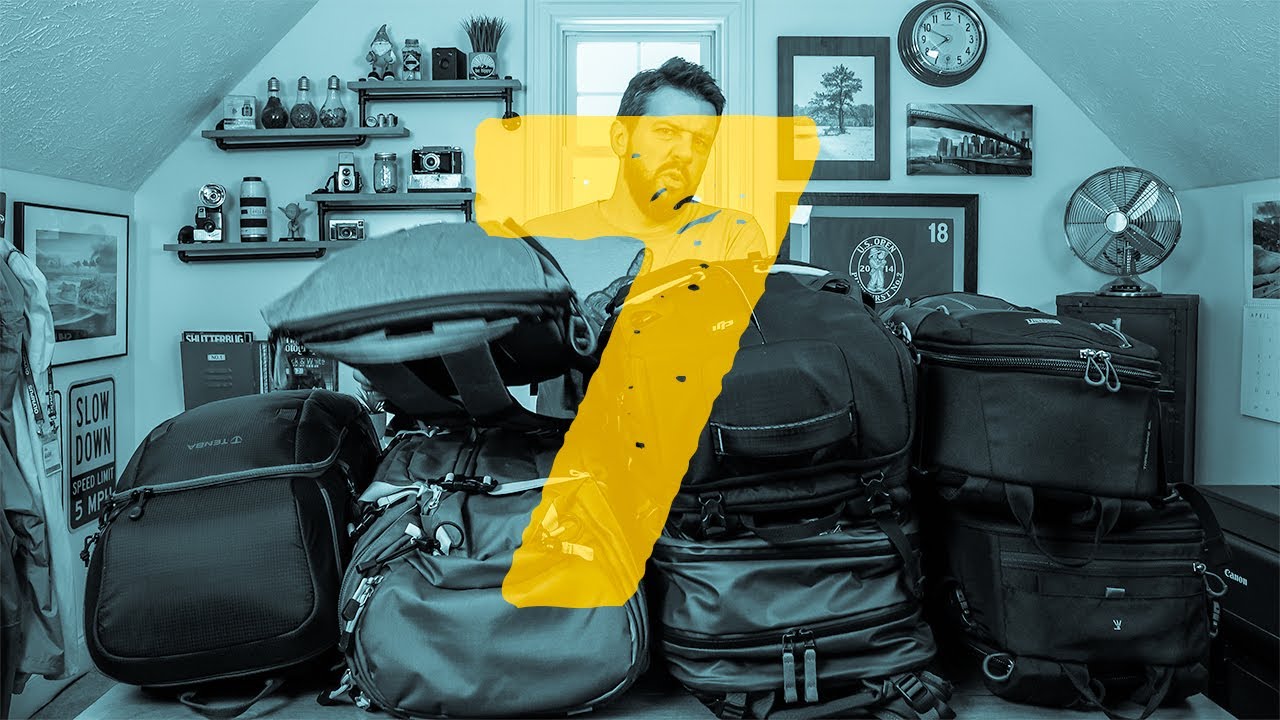
I’ve been through more camera bags than I’d like to admit. There was the cheap Amazon backpack that soaked through in a light drizzle in Olympic National Park. The shoulder bag that slid off my arm every time I bent down to frame a low shot. The slick-looking messenger bag that looked great on Instagram and destroyed my spine on a three-mile hike. Every bag taught me something, but none of them felt like the one. If you’ve been in this hobby or profession for more than a year, you probably have your own bag graveyard and your own wishlist of features you’ve never quite found in a single product.
Watch the full tutorial on YouTube
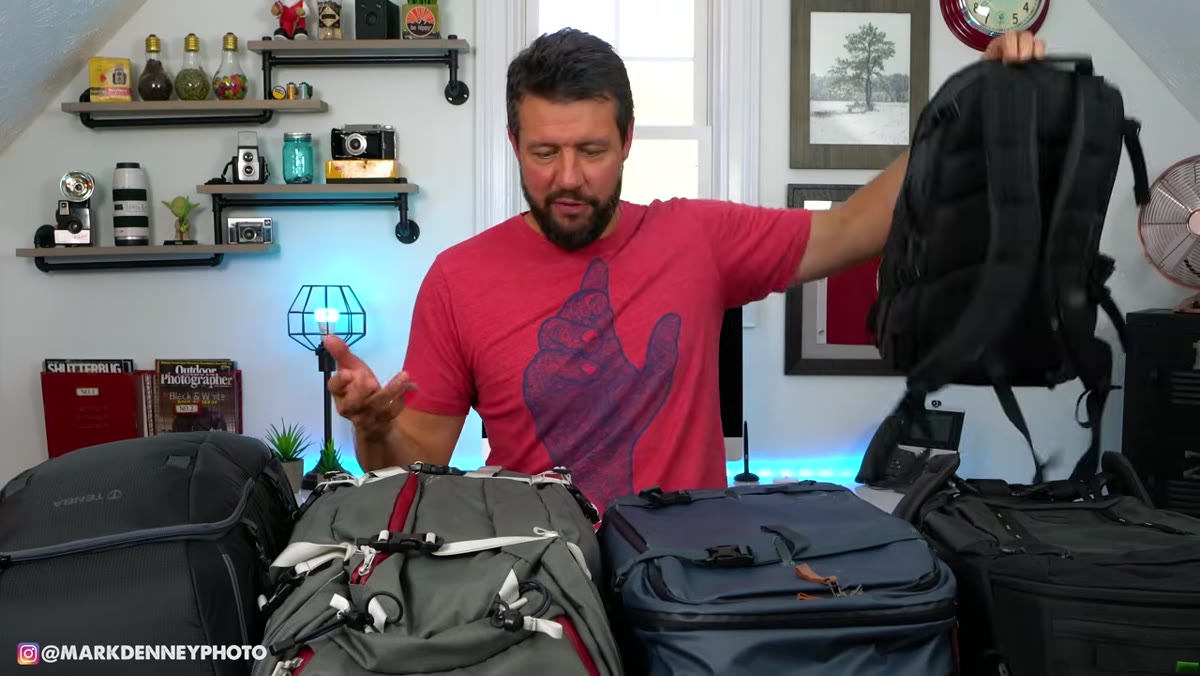
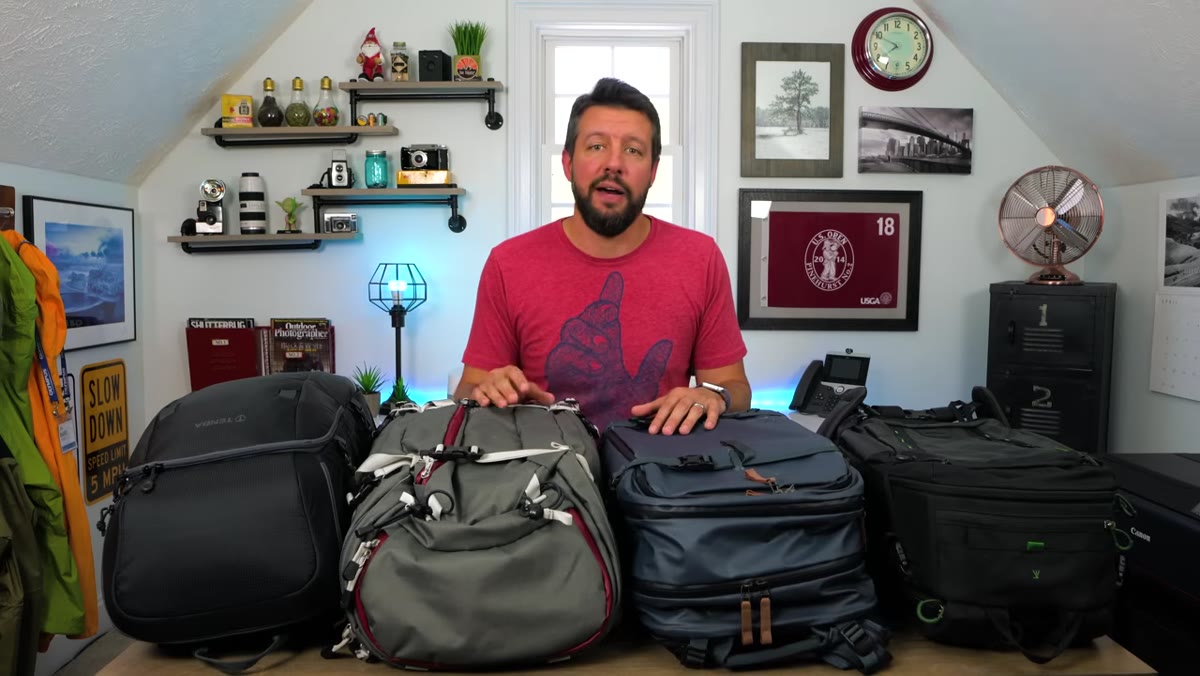
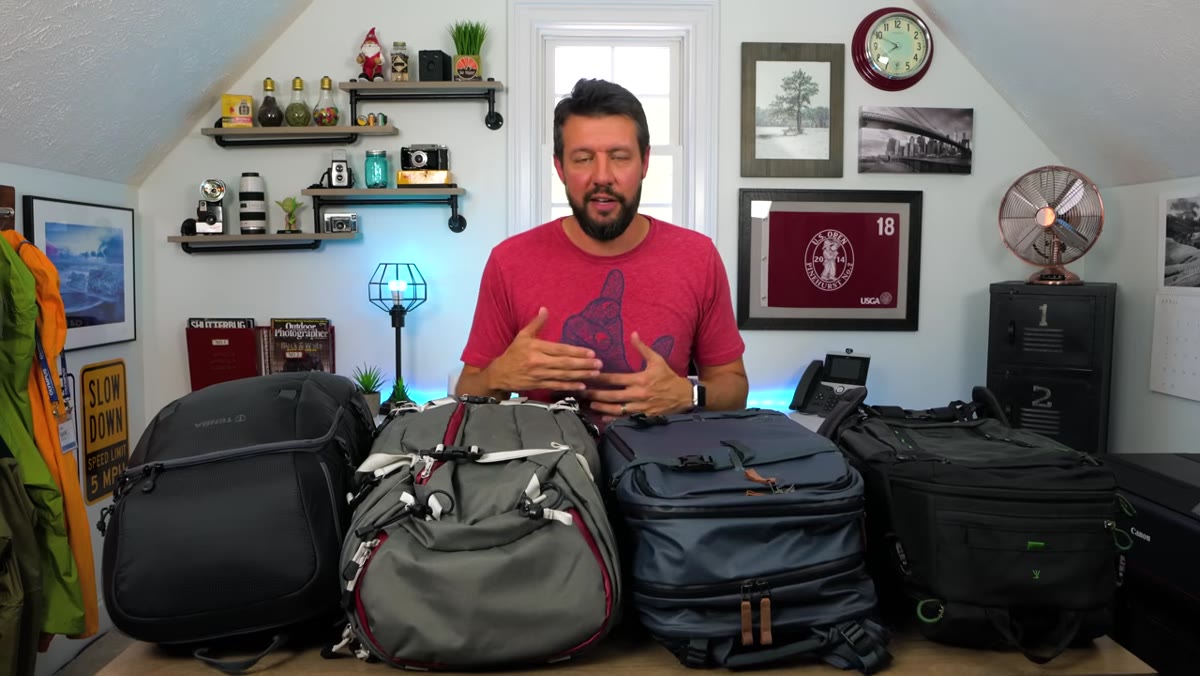
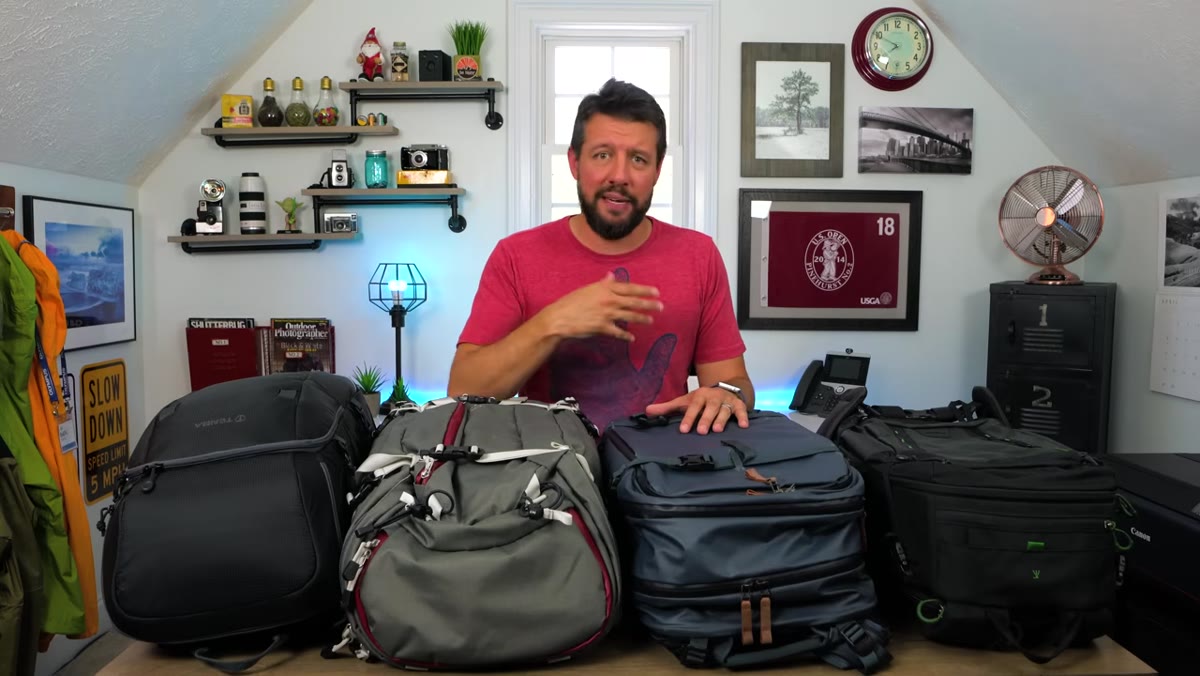
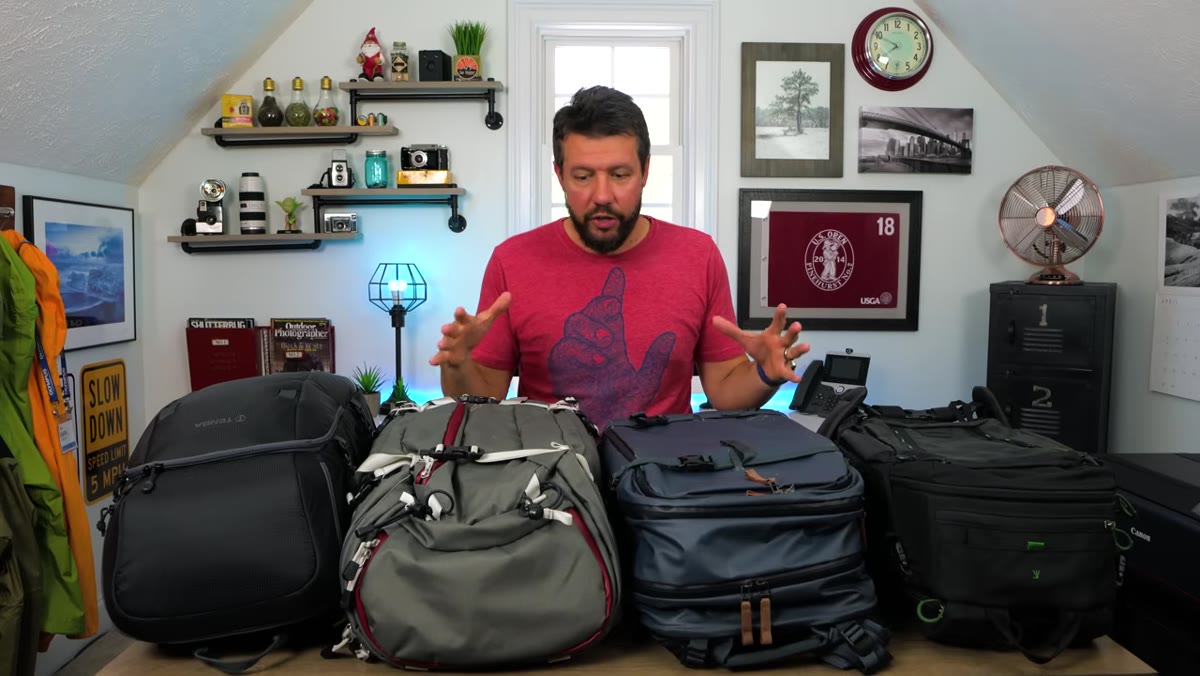
In this Mark Denney tutorial, he lays out the seven features that would together create his ideal landscape photography camera backpack. The video is framed as a wishlist rather than a single product review, which is actually more useful, because it gives you a framework to evaluate any bag you’re considering. Whether you’re buying your first serious camera backpack or finally upgrading from something that’s been duct-taped together for two years, these criteria will save you money and frustration.
Step 1: Start With the Exterior Build Quality
 Closeup of camera bag exterior material and zippers
The shell of your bag is doing hard labor. It sits on wet rocks, gets dragged across sandy riverbanks, and gets crammed into overhead bins. Denney’s first requirement is that the outer material be genuinely durable and weather-resistant, not just water-resistant-ish. He specifically calls out the importance of large, weather-sealed zippers alongside the fabric itself. A bag where only the material is treated but the zipper channels let water funnel straight in is a bag that will fail you when it matters.
Look for materials that age well under use. A bag that looks beat up after three months of field work is going to undermine your confidence in it and, honestly, your confidence in yourself when you show up at a location. You want something that develops character, not one that just falls apart.
Step 2: Make Sure It’s Airline Compatible
 Bag being compared to airline overhead bin size restrictions
This one is non-negotiable if you travel to shoot. Denney uses 40-liter bags and describes that volume as the edge of what most airlines will accept as carry-on without hassle. Go above 40 liters and you’re gambling. He describes doing the classic gate-agent shuffle where you sling the bag over the shoulder farthest from the ticket scanner and walk with purpose, hoping nobody stops you to measure the thing.
For traveling photographers, gate-checking a camera bag is a real risk. Camera bodies, glass, and filters in the hands of baggage handlers is a nightmare scenario. If your dream bag tops out at 45 liters, make sure the exterior dimensions still technically fall within your airline’s carry-on policy, not just the volume number. Measure it before you buy.
Step 3: The Bag Must Stand On Its Own
 Fully loaded bag standing upright on its own on the ground
This sounds like a small thing until you’re shooting at golden hour on a rocky overlook and your bag tips sideways every time you set it down to pull out a lens. Denney flags this as a separate point from general build quality because some bags are constructed beautifully but have no structural rigidity when fully loaded. A bag that holds its shape and stands upright independently is one you can actually work out of in the field without using a third hand to keep it from falling.
Check the base of any bag you’re considering. Reinforced or semi-rigid bottoms make a big difference. If you’re buying in person, load it up in the store before you commit.
Step 4: Prioritize the Harness and Hip Belt System
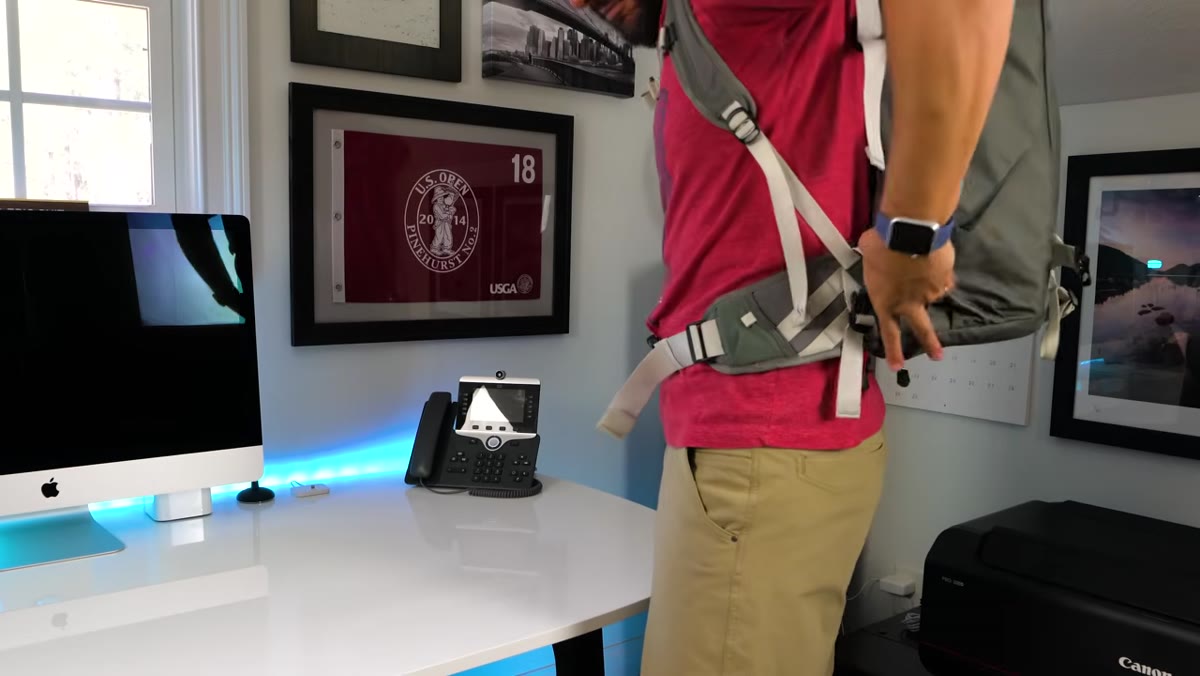
 Padded hip belt and shoulder harness system shown on bag
A bag can be perfect in every other way and still wreck you physically if the suspension system is poorly designed. Denney emphasizes a well-padded, adjustable harness with a functional hip belt, not a decorative one. The hip belt should actually transfer weight from your shoulders to your hips, which is how you survive longer hikes without your neck and shoulders staging a protest.
The fit adjustment matters too. Torso length varies, and a bag calibrated for someone four inches taller than you will ride wrong no matter how many straps you cinch. If you can try the bag on in person with weight in it, do that. If you’re ordering online, confirm the return policy before you buy.
Step 5: Side and Top Access Points Are Non-Negotiable
 Side zipper panel opening to access camera body quickly
Rear-access-only bags are a security feature, not a photography feature. If the only way into your bag is through the back panel, you’re setting the bag down on the ground and crouching behind it every time you need to switch lenses. Denney wants side and top access so you can grab a camera or lens while the bag is still on your back or hanging from your shoulder.
For landscape shooters especially, light changes fast. You need to be able to reach your camera without a production. Side zippers that allow quick access to the main compartment are one of the features I always test before committing to a bag. If the zipper path is awkward, narrow, or catches, it’s going to frustrate you every single time you use it.
Step 6: Internal Organization Has to Be Flexible
 Adjustable internal dividers being repositioned inside the bag
Denney’s ideal bag uses a modular internal system, the kind where you can reconfigure the dividers based on what you’re carrying that day. A fixed-layout interior sounds organized in theory but locks you into someone else’s idea of how your gear should fit. On a day you bring three lenses and no tripod head, you want different divisions than on a day you’re packing light for a long hike.
Velcro-based divider systems are the standard solution and they work well when the materials are thick enough to stay put under weight. Thin dividers collapse and bunch. Pay attention to the density of the padding, not just the number of dividers.
Step 7: A Dedicated Tripod Carry System
 Tripod attached securely to side or front of camera backpack
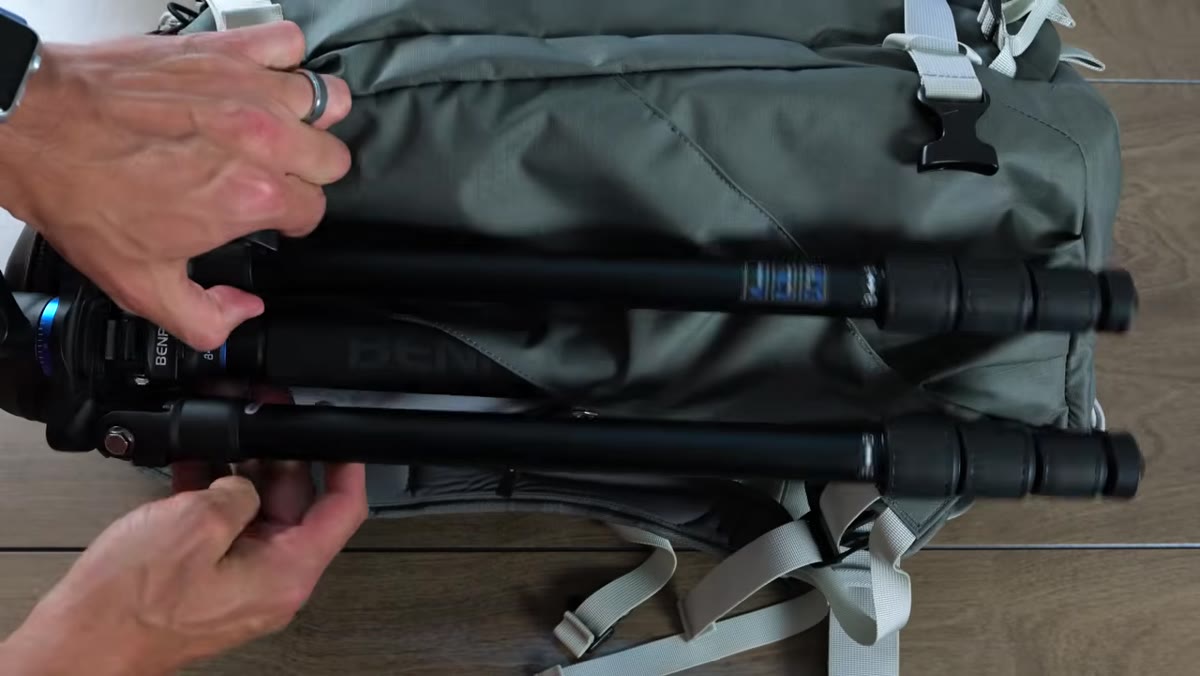
Holding a tripod while also wearing a loaded backpack while also navigating a trail is an exercise in mild misery. Denney’s final feature is a reliable, integrated tripod attachment system, either on the side or front of the bag, with straps or bungee loops that actually keep the tripod secure without it swinging or shifting during the hike.
The details here matter: the attachment point should be low enough that the tripod doesn’t turn into a counterbalance that pulls the bag backward, and it should be easy to attach and detach with one hand or gloves on.
My Addition: Don’t Overlook the Rain Cover Situation
Denney mentions weather-sealed materials and I agree completely, but I’d add one extra consideration from my own experience. Even a well-sealed bag benefits from having a packable rain cover included or at least a compatible one available. For anything beyond a light shower, seam tape and treated zippers only go so far. I keep a lightweight rain cover stuffed in the bottom pocket of my bag on every shoot, and I’ve pulled it out more than I expected during my Sunday morning photo walks around Seattle. The weather-sealing buys you time; the rain cover is your actual insurance.
The single most useful idea in this tutorial is the concept of building your personal feature checklist before you shop, not after. Most of us buy bags reactively and then discover the gap. Write down the three things that have actually frustrated you about your current bag, and treat those as your non-negotiables for the next one.
Watch the full tutorial on YouTube - Mark Denney also discusses specific bags he’s used that come closest to hitting all seven marks, which is worth watching if you’re actively in the market right now.
Comments
Leave a Comment