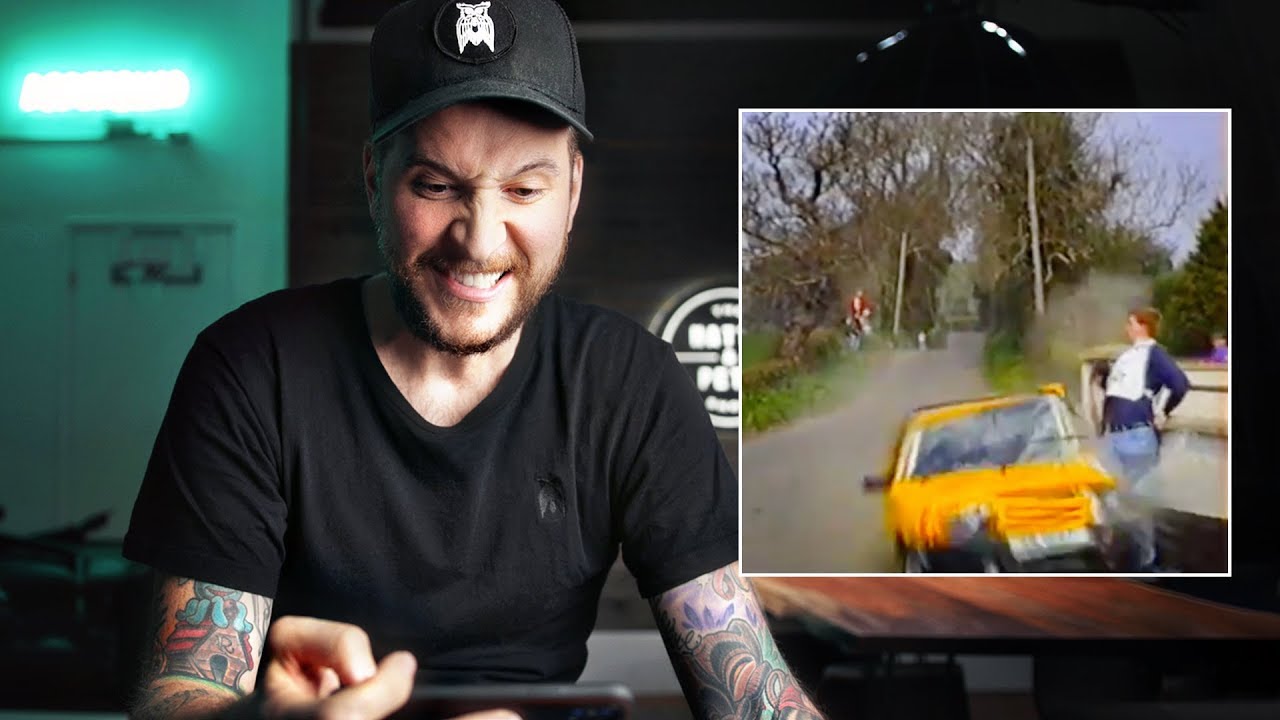
I have a rule I share with every beginner who asks me how I got good at photography: watch people mess up, and pay close attention. Not to feel superior, not to laugh, but because failures are honest in a way that polished tutorials rarely are. A stumble in a real shooting environment tells you exactly what the pressure points are. That’s why when I sat down with this Peter McKinnon video, I kept stopping and rewinding. Not because it’s funny (okay, it’s a little funny), but because every single clip in it maps directly to a decision point that working photographers face on every job.
Watch the full tutorial on YouTube
Wedding photography is the sharpest test case for these lessons because the stakes are irreversible. You get one ceremony, one first dance, one moment. There’s no reshooting the vows because your flash recycled too slowly. In this Peter McKinnon reaction video, he walks through a series of real on-location fails, and if you look past the cringe, there’s a complete masterclass in situational awareness hiding inside each clip. Here’s what I pulled out.
Step 1: Understand your flash recycle time before the ceremony starts
 Photographer firing flash rapidly during wedding vows
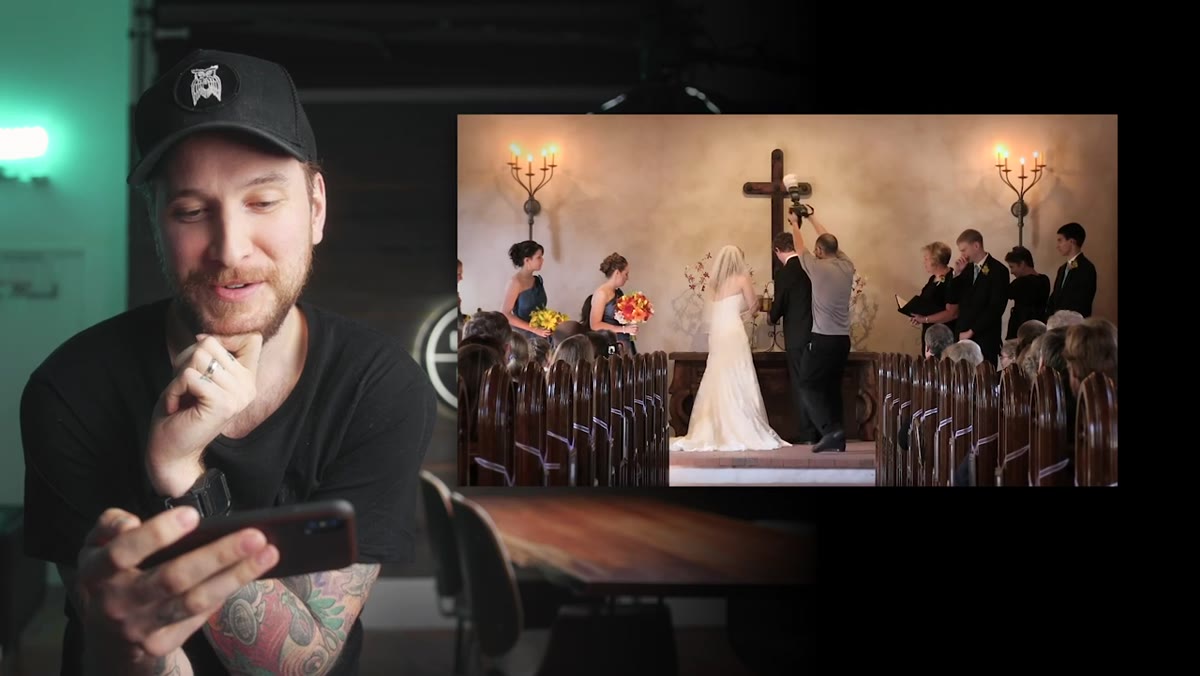
A photographer in the first clip fires their flash over and over during the vows, checking the LCD after nearly every single shot. The problem isn’t eagerness. The problem is not knowing the tool. Every flash unit has a recycle time, the gap between when it fires and when it’s ready to fire again at full power. If you shoot before it’s ready, you get an underexposed frame, so you check, then shoot again. That loop compounds and suddenly you’ve burned 30 seconds of vow coverage chasing a correctly exposed image.
Photographer firing flash rapidly during wedding vows
A photographer in the first clip fires their flash over and over during the vows, checking the LCD after nearly every single shot. The problem isn’t eagerness. The problem is not knowing the tool. Every flash unit has a recycle time, the gap between when it fires and when it’s ready to fire again at full power. If you shoot before it’s ready, you get an underexposed frame, so you check, then shoot again. That loop compounds and suddenly you’ve burned 30 seconds of vow coverage chasing a correctly exposed image.
Test your flash at home. Time it. Know whether you’re working with a 1-second recycle or a 4-second one, and build your shooting rhythm around that. If you’re shooting a ceremony, consider dialing your flash power down to 1/2 or 1/4 so it recycles faster, then compensate by bumping your ISO. A slightly noisier image from a real moment beats a technically clean frame of someone looking at the photographer.
Step 2: Anticipate movement during posed and candid moments
 Father lifting daughter during wedding dance, nearly dropping her
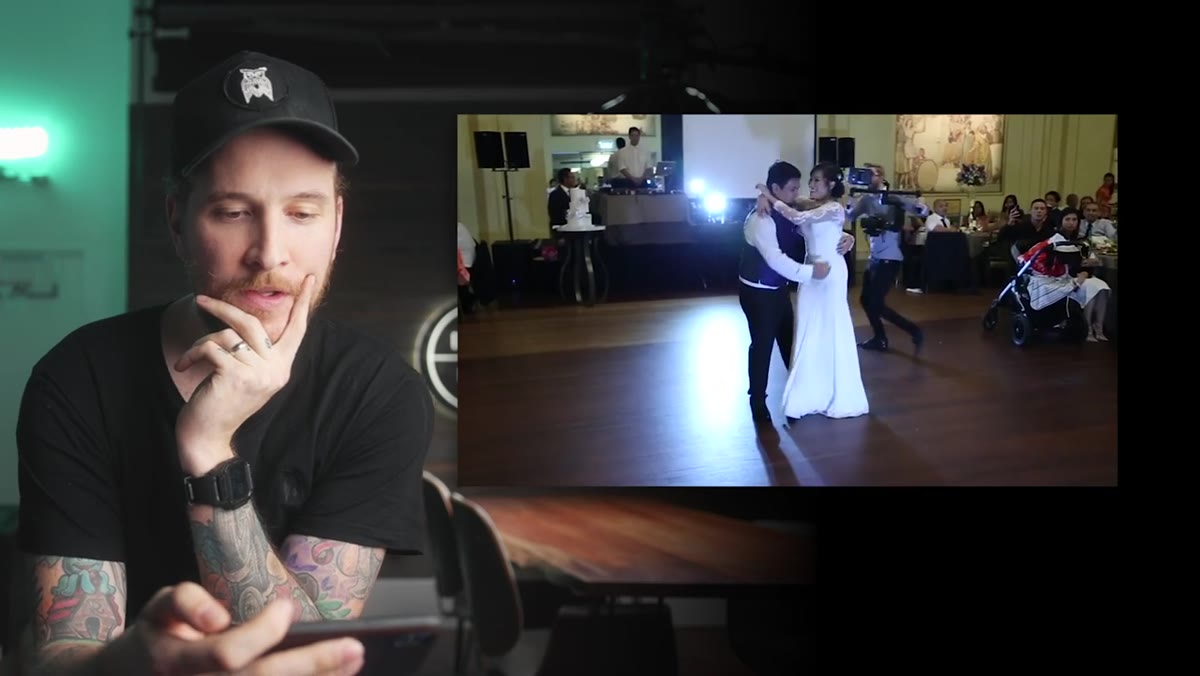
The father-daughter dance clip is the one that gets me every time. A guest lifts the bride during the dance, she nearly gets dropped, and the photographer keeps shooting. The shot itself might be chaos, but the lesson is about prediction. At a wedding, you often know what’s coming. The playlist, the timeline, the family dynamics you picked up during the cocktail hour. Use that information.
Father lifting daughter during wedding dance, nearly dropping her
The father-daughter dance clip is the one that gets me every time. A guest lifts the bride during the dance, she nearly gets dropped, and the photographer keeps shooting. The shot itself might be chaos, but the lesson is about prediction. At a wedding, you often know what’s coming. The playlist, the timeline, the family dynamics you picked up during the cocktail hour. Use that information.
When you see a moment building, position yourself so that whatever happens next, you’re covered. If someone looks like they’re about to do something physical and spontaneous, widen your focal length, get a stable footing, and make sure you have enough shutter speed to freeze motion. I generally stay above 1/200s during receptions for exactly this reason. You can’t control what happens, but you can absolutely control whether you’re ready for it.
Step 3: Protect your gear from water and unstable surfaces
 Photographer splashing and falling into water while shooting
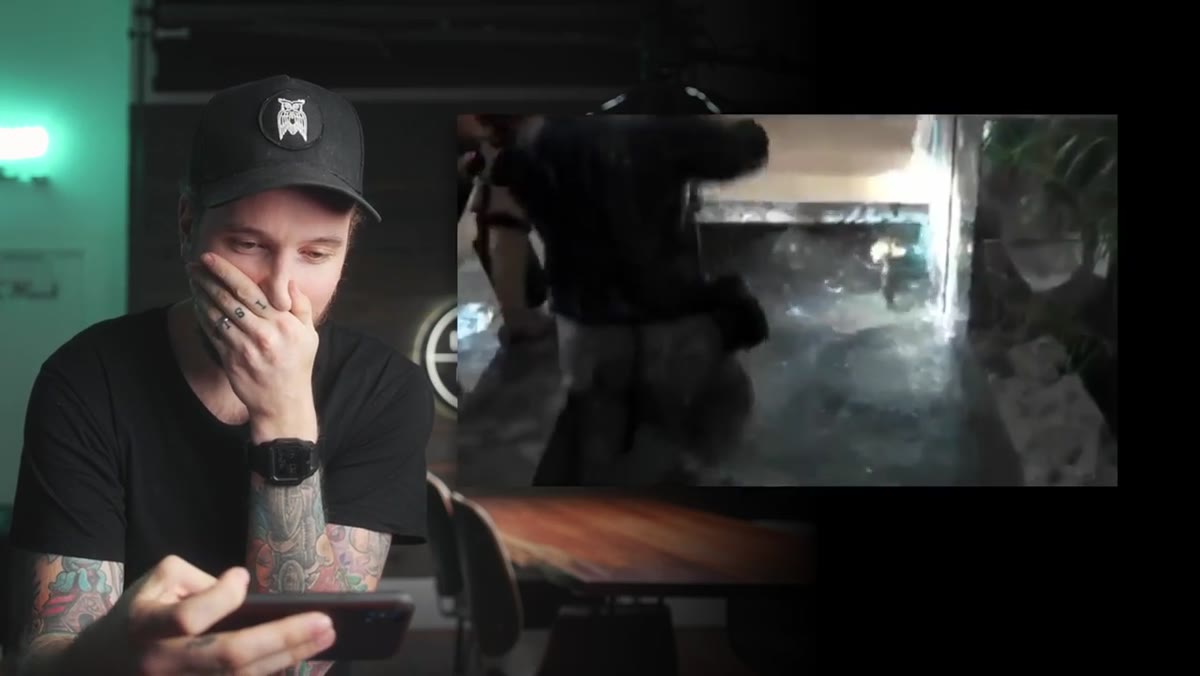
A photographer falls into what looks like a fountain or shallow pool while backing up during a shoot, camera raised, flash still firing. McKinnon’s honest reaction cuts right to it: the first thought is embarrassment, the second is the gear. Both are valid.
Photographer splashing and falling into water while shooting
A photographer falls into what looks like a fountain or shallow pool while backing up during a shoot, camera raised, flash still firing. McKinnon’s honest reaction cuts right to it: the first thought is embarrassment, the second is the gear. Both are valid.
Scout your shooting area before the formal coverage begins. Walk the perimeter. Note where the drop-offs, wet grass, stairs, and uneven pavers are. During outdoor sessions, I always do one slow lap around the venue while guests are at cocktail hour. I’m not just looking for backgrounds. I’m looking for hazards. If you’re near water, use a camera strap with a wrist attachment as a backup. And yes, keep your memory cards in a waterproof case in your bag. Losing the moment is bad. Losing the files is catastrophic.
Step 4: Spot a staged demo vs. a real technique
 Photographer demonstrating lens flip technique on camera
McKinnon pauses on a clip of someone showing off a lens-changing technique and calls it almost immediately: the setup feels rehearsed in the wrong way, the movements are slightly off, and the “fail” at the end doesn’t move the way physics would suggest. His instinct is that it’s staged.
Photographer demonstrating lens flip technique on camera
McKinnon pauses on a clip of someone showing off a lens-changing technique and calls it almost immediately: the setup feels rehearsed in the wrong way, the movements are slightly off, and the “fail” at the end doesn’t move the way physics would suggest. His instinct is that it’s staged.
This step is more about media literacy than technique, but it matters. As you watch tutorial content online, train yourself to notice what real workflow looks like versus what’s been constructed for impact. Real techniques have friction. Real photographers fumble with lens caps. When a demo looks too smooth right up until the dramatic moment, take the lesson with some skepticism. Apply the principle, ignore the theatrics.
Step 5: Know your limits for low-light movement
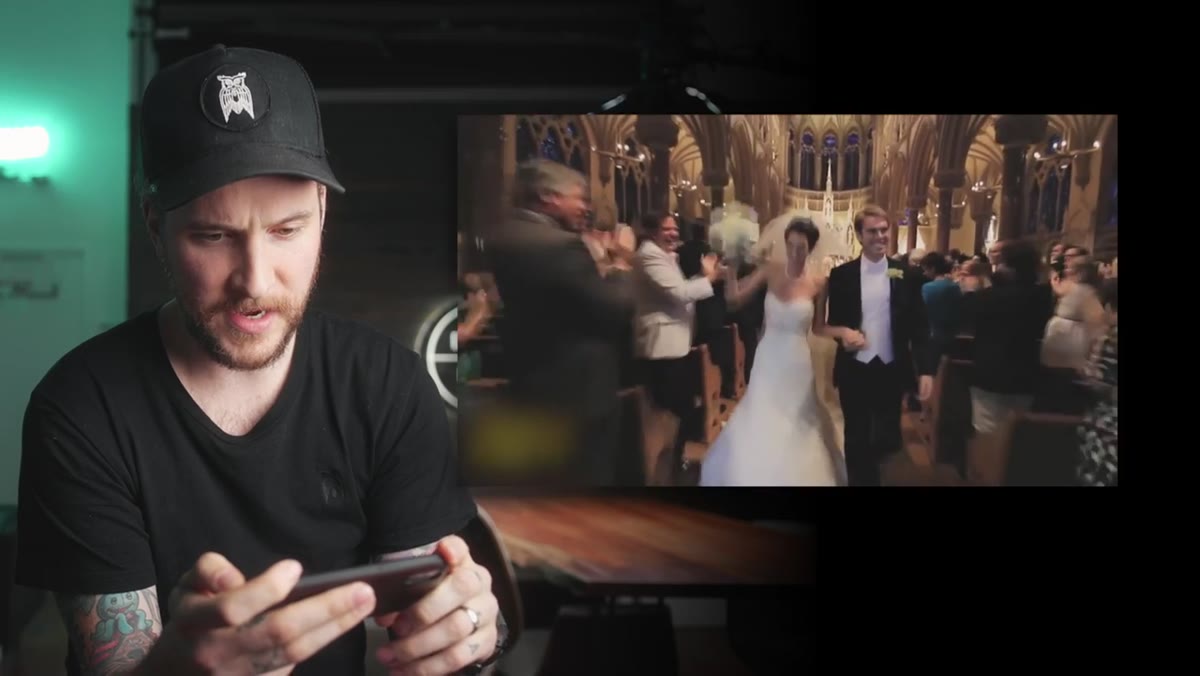 Photographer with Steadicam moving through dark reception venue
Several clips feature photographers using handheld stabilizers or moving freely through reception spaces. The ones that go wrong share a common thread: the operator is moving faster than their awareness of the space allows. A Steadicam or gimbal does not make you immune to tripping. It actually increases the problem because your hands are occupied and your eyes are on the screen, not the floor.
Photographer with Steadicam moving through dark reception venue
Several clips feature photographers using handheld stabilizers or moving freely through reception spaces. The ones that go wrong share a common thread: the operator is moving faster than their awareness of the space allows. A Steadicam or gimbal does not make you immune to tripping. It actually increases the problem because your hands are occupied and your eyes are on the screen, not the floor.
Slow down. Seriously. The smooth, cinematic walk-around shot that looks great in a final video is shot at a deliberate pace. Lock your ISO to something that gives you a workable shutter speed, like 1/60s minimum for a stabilized moving shot, and do a practice pass through the space at half speed before the moment you actually need to capture.
Step 6: Stay calm when wildlife or crowds get involved
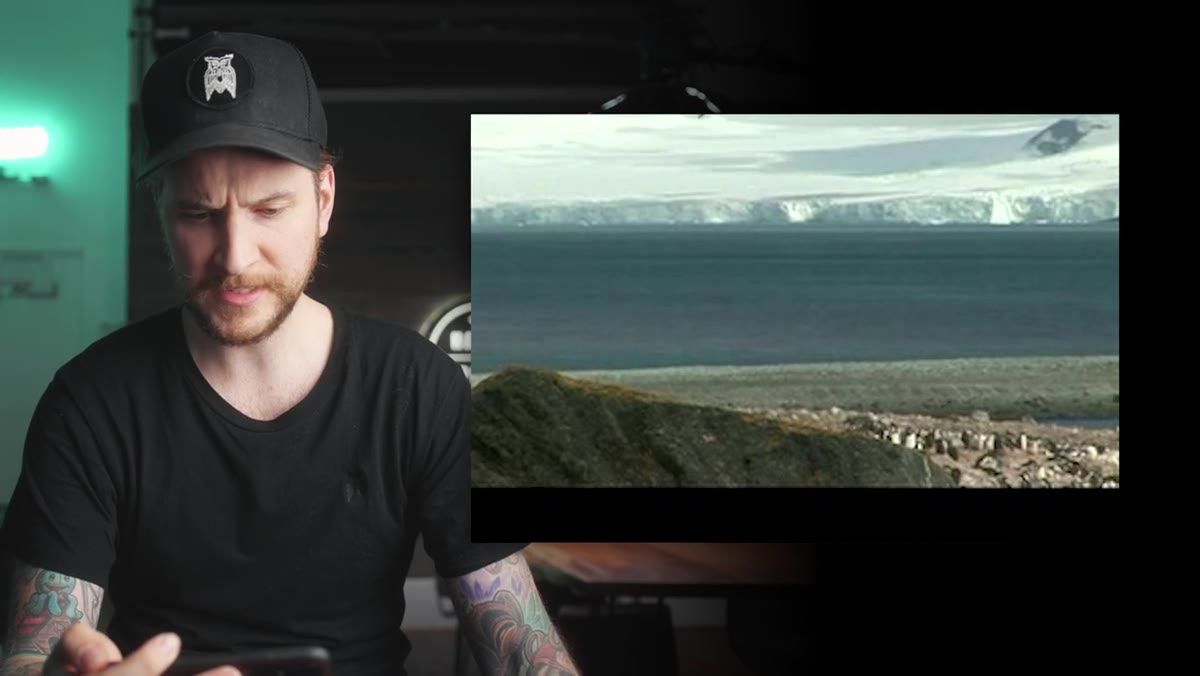 Photographer being dive-bombed by aggressive bird outdoors
A clip of a photographer getting attacked by a bird while trying to shoot an outdoor session is chaotic and kind of wonderful. McKinnon notes the bird keeps coming back. The photographer is frozen between getting the shot and getting out of the way.
Photographer being dive-bombed by aggressive bird outdoors
A clip of a photographer getting attacked by a bird while trying to shoot an outdoor session is chaotic and kind of wonderful. McKinnon notes the bird keeps coming back. The photographer is frozen between getting the shot and getting out of the way.
Outdoor photography means accepting that you share the environment with things that don’t care about your shoot. If something disrupts your session, whether it’s a bird, a dog, a crowd of pedestrians, stay calm in front of your subject. The client is looking to you for tone. If you panic, they tense up. Take a beat, move your position, and treat the disruption as a potential composition opportunity. Some of my favorite travel portraits happened because something unexpected shifted me to a better angle.
A note from my own kit bag
I shot a destination wedding early in my career at an outdoor vineyard in late October. Cold, wet ground, low light, and a fog machine someone decided to use during the first dance. Every one of these fails was a near-miss that evening. What saved me was having backups for everything: a second body, extra batteries in my inside jacket pocket where body heat kept them warm, and a clear shot list I had memorized so I wasn’t staring at my phone when the moment hit.
The single best habit I built from years of learning the hard way is this: before every job, I sit down and ask myself, “What’s the one thing that could go wrong today that would be completely my fault?” Then I fix that thing in advance. It’s a humbling question, but it’s a useful one.
The throughline across every clip in this video is the same: the photographers who struggled were reacting to their environment instead of reading it ahead of time. Preparation isn’t glamorous, but it’s the difference between a portfolio moment and a viral fail reel.
Watch the full tutorial on YouTube and see the original clips for yourself. McKinnon’s commentary is sharp, and watching his instincts in real time is its own kind of education.
Comments (5)
Wow, I had no idea you could do this. Mind blown.
This is going in my reference folder. Incredibly useful.
Really solid breakdown. This pairs perfectly with the retouching work I've been writing about.
I keep coming back to this article. It's that useful.
Quality content like this is rare. Keep it up.
Leave a Comment