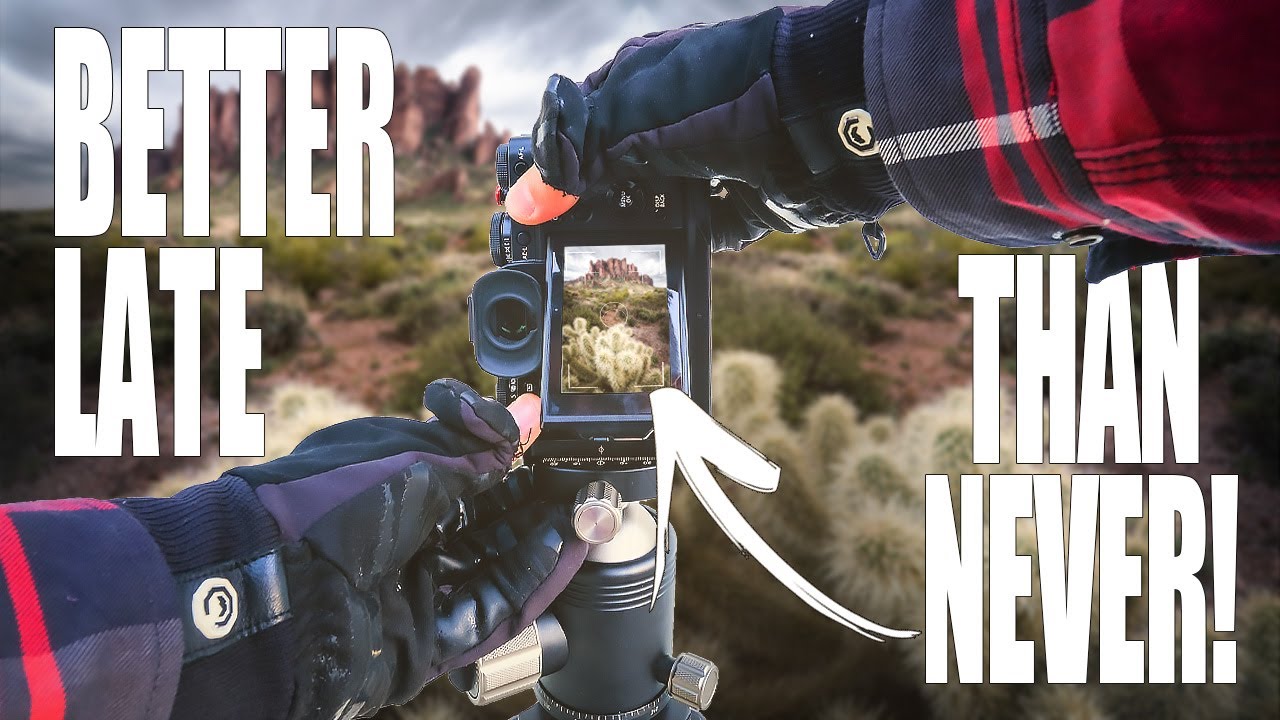
There’s a particular kind of frustration that comes from looking back at your early work and realizing you were solving the wrong problems. I spent a embarrassing amount of time early on obsessing over whether I needed a better wide-angle lens when what I actually needed was to learn how to stand in a better spot. The gear wasn’t the problem. I was. Once I accepted that, things started to click.
That’s the core of what Mark Denney unpacks in this tutorial, and it hit close to home the first time I watched it. Watch the full tutorial on YouTube - it’s one of the more honest “lessons from experience” videos I’ve seen, because he doesn’t just list tips. He shows you the actual early work he’s not proud of and explains exactly where his thinking went sideways. Below I’ve broken down his seven pieces of advice into steps you can take into the field right now.
Step 1: Make Composition Your Primary Study
 Early landscape photo, blurry and compositionally unstructured
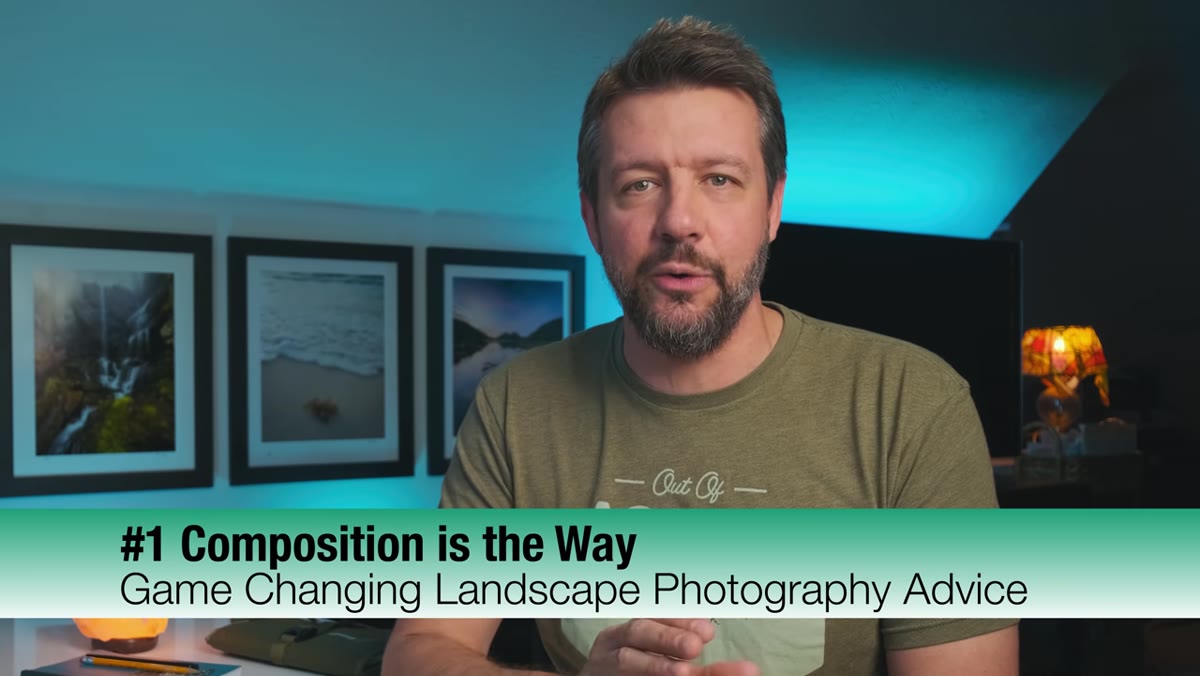
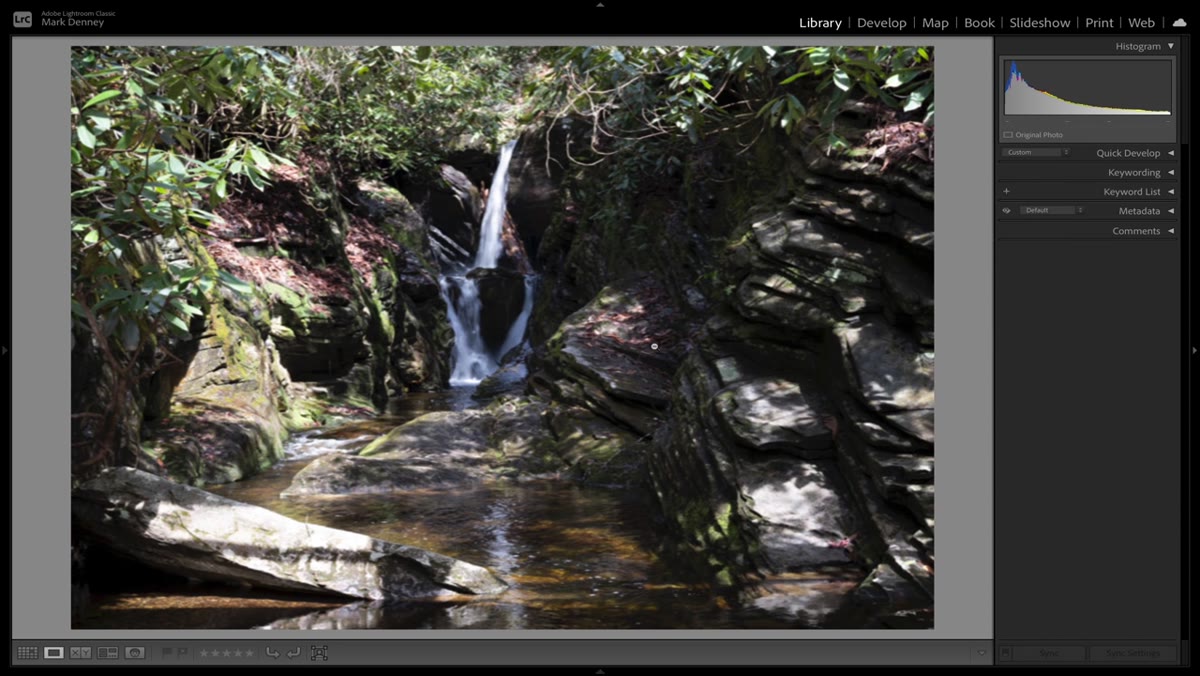
Denney’s first lesson is the one that would have saved me the most time: stop chasing gear upgrades and start studying composition obsessively. He shows some of his earliest landscape shots - out of focus, horizon lines that wander, no clear subject - and points out that a better camera would not have saved any of those images. The bones weren’t there.
Early landscape photo, blurry and compositionally unstructured
Denney’s first lesson is the one that would have saved me the most time: stop chasing gear upgrades and start studying composition obsessively. He shows some of his earliest landscape shots - out of focus, horizon lines that wander, no clear subject - and points out that a better camera would not have saved any of those images. The bones weren’t there.
The fastest path to improvement isn’t a new body or a faster lens. It’s reading everything you can find on compositional theory - rule of thirds, leading lines, negative space, visual weight - and then going out and deliberately practicing one concept per shoot. Pick one rule per outing. Notice how it changes the way you see before you even lift the camera.
Step 2: Rotate - Literally Turn Around
 Desert landscape with cactus foreground and mountain light
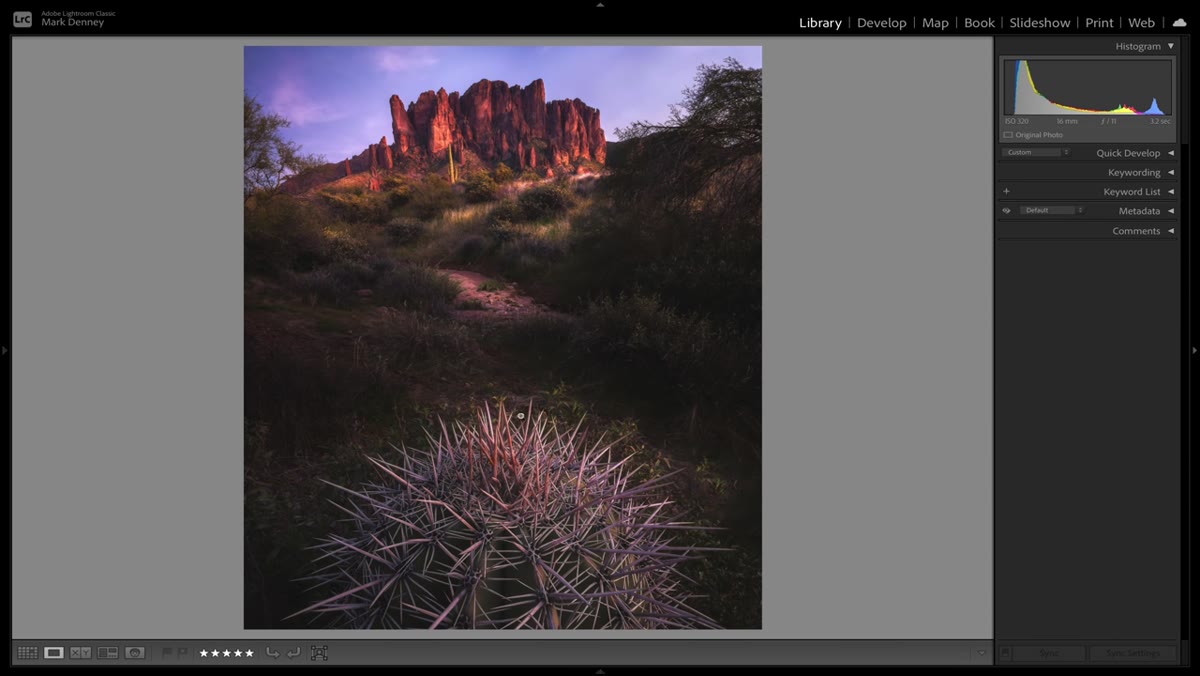
This one is deceptively simple and I promise you it will happen to you if it hasn’t already. Denney describes spending a full hour locked into one composition in the desert, working the light on the mountains, feeling good about the session - and then, when he finally packed up and turned to leave, discovering a completely different scene unfolding directly behind him. He had been standing in front of something worth photographing the entire time and never looked.
Desert landscape with cactus foreground and mountain light
This one is deceptively simple and I promise you it will happen to you if it hasn’t already. Denney describes spending a full hour locked into one composition in the desert, working the light on the mountains, feeling good about the session - and then, when he finally packed up and turned to leave, discovering a completely different scene unfolding directly behind him. He had been standing in front of something worth photographing the entire time and never looked.
The fix is a habit, not a skill. When you arrive at a location, do a slow 360 before you set up a single thing. Look behind you. Look up. Then check again as the light changes, because the scene that looked flat an hour ago might be the one worth shooting by the time you’re ready to leave. Set a physical reminder for yourself if you need to - I actually tap my left shoulder as a cue to turn around before I pack up.
Step 3: Revisit Locations Instead of Chasing New Ones
 Photographer returning to a familiar shooting location
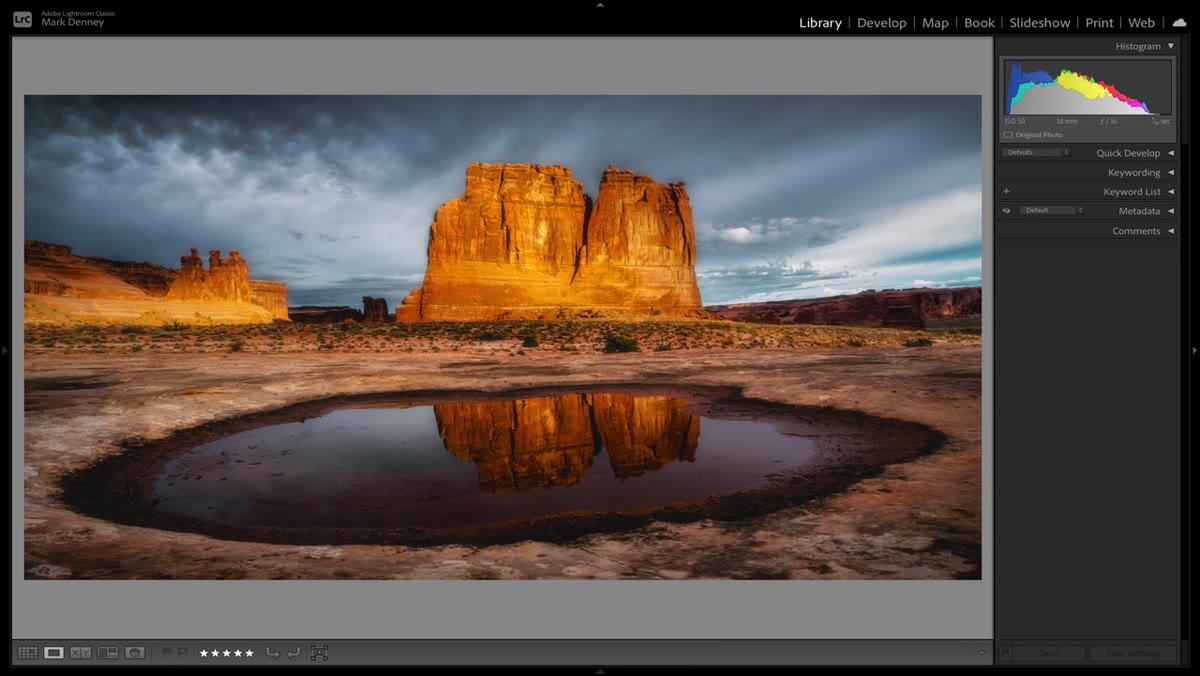
One of the traps Denney identifies is the constant pursuit of somewhere new. New location, new subject, new everything - it feels productive, but it actually works against you. When you revisit a place you’ve already shot, you stop spending mental energy on orientation and logistics. You already know where the sun hits and at what time. You know the parking, the walk, the angles that don’t work. That frees your brain to actually see.
Photographer returning to a familiar shooting location
One of the traps Denney identifies is the constant pursuit of somewhere new. New location, new subject, new everything - it feels productive, but it actually works against you. When you revisit a place you’ve already shot, you stop spending mental energy on orientation and logistics. You already know where the sun hits and at what time. You know the parking, the walk, the angles that don’t work. That frees your brain to actually see.
Pick two or three locations you can return to repeatedly over a season. Shoot them in different weather, different light, different focal lengths. You’ll start to notice things you completely missed the first three times, and your compositional decisions will get faster and more confident because the location itself is no longer competing for your attention.
Step 4: Shoot in Challenging Light on Purpose
 Overcast midday scene used as a deliberate practice exercise
Denney makes the point that only shooting in ideal golden-hour conditions is a form of hiding. It’s easy to get a usable shot when the light does most of the work for you. Deliberately going out at midday, in flat overcast, or in harsh backlight forces you to problem-solve. You start to understand what makes light difficult and, more importantly, you learn how to work with it instead of waiting for conditions to change.
Overcast midday scene used as a deliberate practice exercise
Denney makes the point that only shooting in ideal golden-hour conditions is a form of hiding. It’s easy to get a usable shot when the light does most of the work for you. Deliberately going out at midday, in flat overcast, or in harsh backlight forces you to problem-solve. You start to understand what makes light difficult and, more importantly, you learn how to work with it instead of waiting for conditions to change.
One practical way to do this: once a month, take a photo walk specifically during the worst light you’d normally avoid. Don’t aim for portfolio shots. Aim to understand. I’ve done this with just my phone on Sunday mornings when the Seattle cloud cover is doing its thing, and the constraints tend to push me toward stronger compositions because I can’t lean on dramatic color or contrast to carry the image.
Step 5: Slow Down Inside a Scene
 Photographer working a single scene methodically before moving on
This one is about resisting the urge to move on. Denney’s advice is to stay with a composition longer than feels comfortable, explore it from multiple angles, and make micro-adjustments before deciding you’ve gotten what you came for. A lot of photographers - myself included in my earlier years - treat a good first frame as permission to move to the next spot. It’s not. It’s an invitation to go deeper.
Photographer working a single scene methodically before moving on
This one is about resisting the urge to move on. Denney’s advice is to stay with a composition longer than feels comfortable, explore it from multiple angles, and make micro-adjustments before deciding you’ve gotten what you came for. A lot of photographers - myself included in my earlier years - treat a good first frame as permission to move to the next spot. It’s not. It’s an invitation to go deeper.
When you think you’ve nailed a shot, ask yourself three questions before you move: Have I tried a horizontal and vertical orientation? Have I moved my feet at all, or just zoomed? Have I checked what’s in my foreground? Even small shifts in position can fundamentally change how elements in the frame relate to each other.
Step 6: Study Images You Didn’t Take
 Looking at reference photography for compositional study
Denney recommends actively studying other photographers’ work not for inspiration in the vague creative sense, but as a technical exercise. When you see an image that stops you, don’t just appreciate it. Reverse-engineer it. Where is the light source? What is the foreground doing? Where did the photographer have to physically be standing to get that angle? This kind of structured looking trains your eye faster than almost anything else.
Looking at reference photography for compositional study
Denney recommends actively studying other photographers’ work not for inspiration in the vague creative sense, but as a technical exercise. When you see an image that stops you, don’t just appreciate it. Reverse-engineer it. Where is the light source? What is the foreground doing? Where did the photographer have to physically be standing to get that angle? This kind of structured looking trains your eye faster than almost anything else.
Keep a folder - I use a saved collection on Instagram and a separate camera roll album - of images that made you stop scrolling. Go back to that folder when you’re planning a shoot and ask what the photographers in those images were solving for. It reframes your own location scouting.
Step 7: Define What Progress Looks Like for You
 Comparing early and recent images side by side
The last piece of Denney’s advice is about self-assessment. Without a clear sense of what you’re working toward, it’s hard to know whether you’re improving or just producing volume. He suggests comparing your current work against your own past work rather than against other photographers, because external comparison tends to discourage rather than direct.
Comparing early and recent images side by side
The last piece of Denney’s advice is about self-assessment. Without a clear sense of what you’re working toward, it’s hard to know whether you’re improving or just producing volume. He suggests comparing your current work against your own past work rather than against other photographers, because external comparison tends to discourage rather than direct.
Pull up your images from six months ago and look at them with the same critical eye you’d use on a stranger’s portfolio. Are you solving the problems you were struggling with then? Have new ones appeared? This kind of honest audit is more useful than any follower count or engagement metric.
A Note From My Own Experience
The lesson that stuck with me most from this video is also the one that took me the longest to actually apply: composition is a learnable skill, not a talent. For a long time I thought people either had an eye for it or they didn’t. What Denney’s own progression shows - and what my own work confirms - is that it responds directly to study and deliberate practice. You can get measurably better at it in a matter of months if you treat it like something worth studying rather than something that just happens.
The single most important thing Denney communicates across all seven points is this: most of what holds photographers back in the early years is misdirected attention, not lack of ability. Redirect your focus toward composition, toward presence in the field, toward honest self-assessment - and the gear questions will start to answer themselves.
Watch the full tutorial on YouTube to see Denney walk through his own early images and explain exactly where his thinking shifted.
Comments
Leave a Comment