Every Sunday morning I’m out on a photo walk, and I can’t tell you how many times I’ve come home with a memory card full of shots that just… don’t land. The light was good. The subject was interesting. But something felt off, and I couldn’t explain why. That vague, frustrating feeling is almost always a composition problem.
That’s what pulled me into Watch the full tutorial on YouTube by Joel Grimes, a commercial advertising photographer with over 35 years of experience. Joel has a rare ability to strip complex visual concepts down to something you can actually remember when you’re standing in a field with a camera in your hand. This tutorial covers six foundational composition rules, and more importantly, it explains the why behind each one in a way that makes them genuinely useful rather than just a checklist to memorize.
What I appreciated most is how Joel frames the whole conversation upfront: composition rules exist for one reason, which is to direct your viewer’s eye to a specific point of interest. That single idea reframes everything. Once you understand that you’re trying to control attention, the rules stop feeling arbitrary and start feeling like tools.
Step 1: Understand What Composition Is Actually Doing
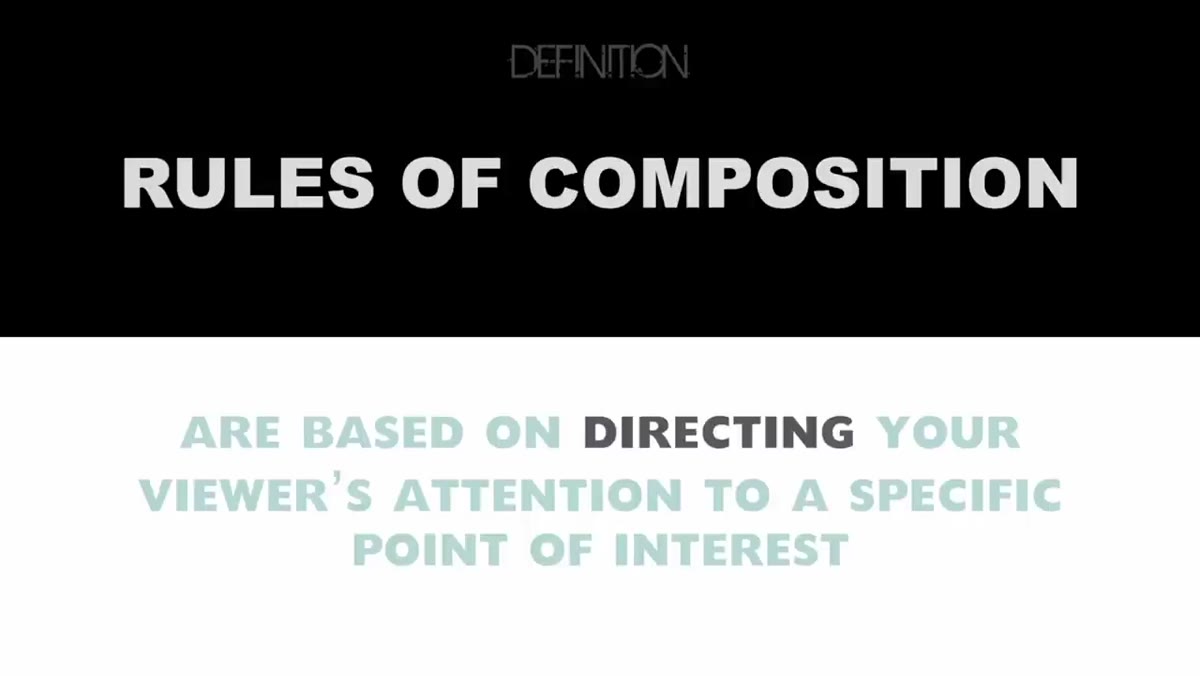 Definition of composition shown as viewer attention control
Before you apply any rule, you need to internalize this idea: you are the one deciding where the viewer looks. That is your job as the photographer. Joel makes it clear that composition is subjective in the sense that you choose the point of interest, but the rules help you make sure your viewer actually ends up looking at that point instead of wandering around the frame confused.
Definition of composition shown as viewer attention control
Before you apply any rule, you need to internalize this idea: you are the one deciding where the viewer looks. That is your job as the photographer. Joel makes it clear that composition is subjective in the sense that you choose the point of interest, but the rules help you make sure your viewer actually ends up looking at that point instead of wandering around the frame confused.
If you show someone your photo and their eye goes somewhere other than where you intended, that’s diagnostic information. Ask yourself what element in the frame is pulling attention away from your subject, and which composition tool might redirect it.
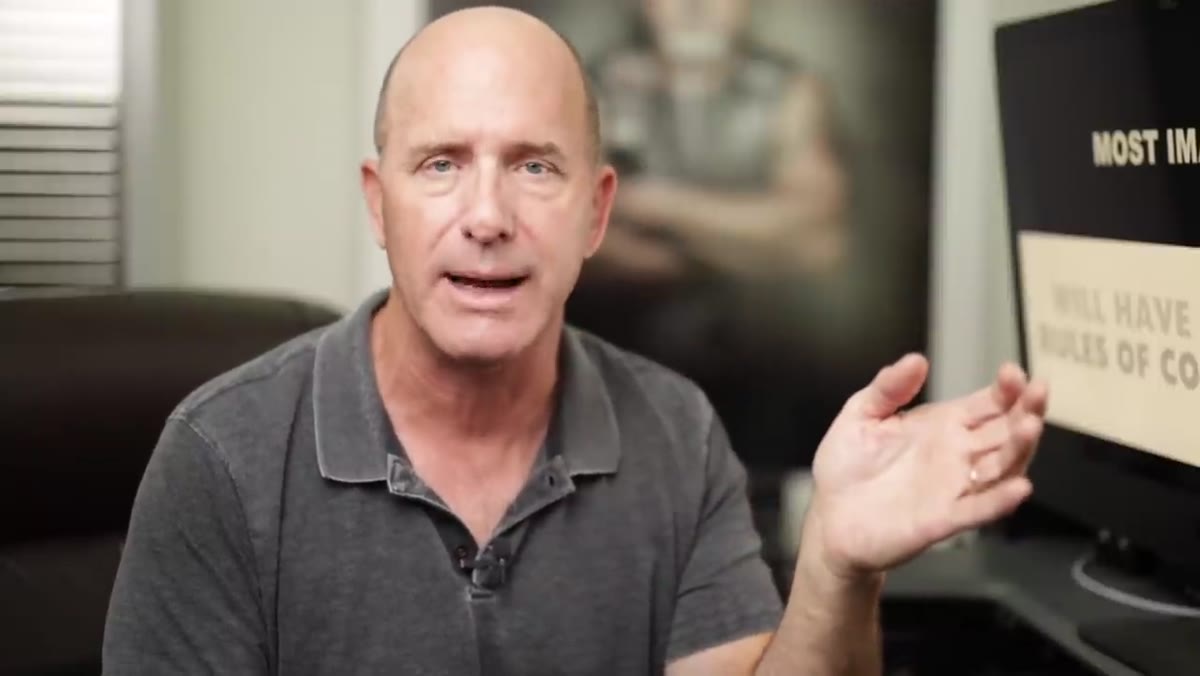
Step 2: Learn the Rules Before You Break Them
 Joel speaking directly to camera about rule-breaking
Joel is refreshingly honest here: rules of composition are not laws. They’re patterns that have been observed across centuries of visual art because they tend to work on the human eye. The goal is to learn them well enough that breaking them becomes a conscious, intentional choice rather than an accident.
Joel speaking directly to camera about rule-breaking
Joel is refreshingly honest here: rules of composition are not laws. They’re patterns that have been observed across centuries of visual art because they tend to work on the human eye. The goal is to learn them well enough that breaking them becomes a conscious, intentional choice rather than an accident.
This matters practically. When I started teaching beginners at coffee shop meetups, the biggest mistake I saw wasn’t that people ignored the rules. It was that they didn’t know the rules well enough to recognize when they were breaking them. Study the rules until they’re instinct, then let your intuition take over.
Step 3: Apply the Rule of Thirds
 Grid overlay shown on image of Olympic diver
The rule of thirds is probably the most widely cited composition principle, and for good reason. You mentally divide your frame into a 3x3 grid, and you place your subject or your key point of interest near one of the four intersection points, not dead center. Most cameras and phones let you turn this grid on in your viewfinder or screen, so use it.
Grid overlay shown on image of Olympic diver
The rule of thirds is probably the most widely cited composition principle, and for good reason. You mentally divide your frame into a 3x3 grid, and you place your subject or your key point of interest near one of the four intersection points, not dead center. Most cameras and phones let you turn this grid on in your viewfinder or screen, so use it.
Joel uses a photo of an Olympic diver to illustrate how the grid works in practice. Notice where the athlete’s body falls relative to the grid lines. Centering your subject can work, but it often creates a static, flat feeling. Placing them off-center creates visual tension that pulls the viewer in.
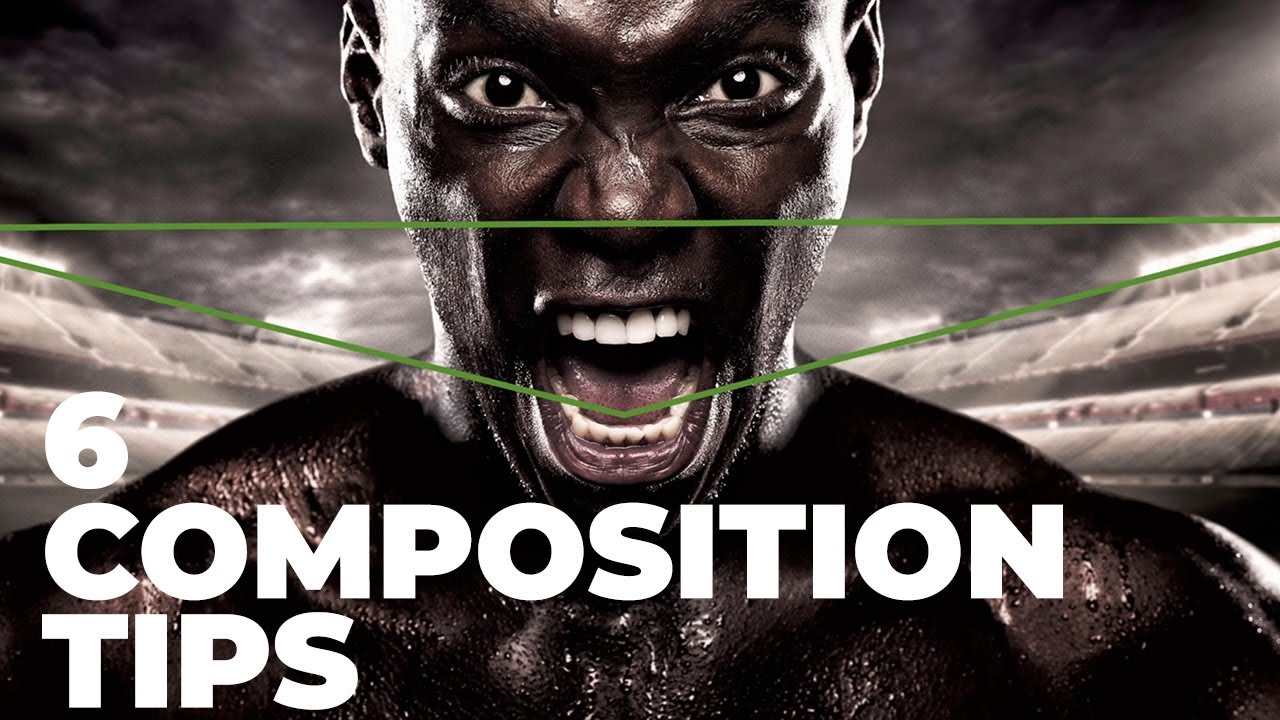
Step 4: Look for Triangles in Your Frame
 Triangle composition pattern overlaid on photograph
This one surprised me when I first encountered it because you don’t always see triangles consciously, but once you start looking, they’re everywhere. Triangles appear in the way three subjects are arranged, in converging lines, in the shape of a person’s body or pose, in architectural elements. They create a sense of dynamism and movement that symmetrical or parallel compositions often lack.
Triangle composition pattern overlaid on photograph
This one surprised me when I first encountered it because you don’t always see triangles consciously, but once you start looking, they’re everywhere. Triangles appear in the way three subjects are arranged, in converging lines, in the shape of a person’s body or pose, in architectural elements. They create a sense of dynamism and movement that symmetrical or parallel compositions often lack.
When you’re framing a shot, ask yourself whether there’s a triangle you can work with or create. In portrait work, you can often find it in the angle of the shoulders, the tilt of the head, and the direction of the gaze. In landscape work, look at the way paths, shorelines, or shadows point toward each other.
Step 5: Use Converging Lines and Forced Perspective
 Converging lines example showing forced perspective in photo
Converging lines are one of the most powerful depth cues available to a flat photograph. Two parallel lines in the real world, like a road, a hallway, a row of trees, appear to converge as they recede into the distance. When you position yourself so those lines lead toward your subject, you’ve created a visual highway that carries the viewer’s eye exactly where you want it to go.
Converging lines example showing forced perspective in photo
Converging lines are one of the most powerful depth cues available to a flat photograph. Two parallel lines in the real world, like a road, a hallway, a row of trees, appear to converge as they recede into the distance. When you position yourself so those lines lead toward your subject, you’ve created a visual highway that carries the viewer’s eye exactly where you want it to go.
Forced perspective plays into this too. Getting low to the ground and shooting up, or finding a position where near elements feel large and far elements feel small, adds drama and scale. It’s a compositional move that costs nothing but thought and positioning.
Step 6: Combine Multiple Rules in a Single Frame
 Multiple composition grids overlaid on one image simultaneously
Here’s the part of Joel’s tutorial that I think most beginners miss: these rules aren’t meant to be used one at a time. A strong image usually has several working together simultaneously. The rule of thirds might be placing your subject, converging lines might be leading the eye toward that subject, and a triangle in the posing might be adding energy to the whole scene.
Multiple composition grids overlaid on one image simultaneously
Here’s the part of Joel’s tutorial that I think most beginners miss: these rules aren’t meant to be used one at a time. A strong image usually has several working together simultaneously. The rule of thirds might be placing your subject, converging lines might be leading the eye toward that subject, and a triangle in the posing might be adding energy to the whole scene.
When you’re reviewing your shots, try to identify every compositional element at play. If you can only spot one, that’s a signal to look harder at your framing next time you’re shooting. The goal is layered composition, where multiple forces are all working in the same direction.
What I’d Add From My Own Experience
Joel’s framework is solid and I use it constantly. But there’s one thing I’d layer on top of all six rules: shoot more frames than you think you need, and review them with a specific compositional question in mind. Don’t just ask “do I like this?” Ask “where does my eye go first, and why?”
I started doing this with my phone shots because when I’m shooting on my phone I’m less precious about the gear and more focused on the frame. Some of my most compositionally intentional images came from phone sessions where I had nothing to fiddle with except where I was pointing the camera. The rules become clearer when you remove the technical noise.
The single biggest shift Joel’s tutorial can give you is understanding that composition is not decoration. It’s direction. Every line, shape, and spatial relationship in your frame is either helping your viewer find the subject or pulling them away from it. Make every element earn its place.
Watch the full tutorial on YouTube to see Joel walk through each rule with real images. He’s spent 35 years thinking about this, and it shows.
Comments
Leave a Comment