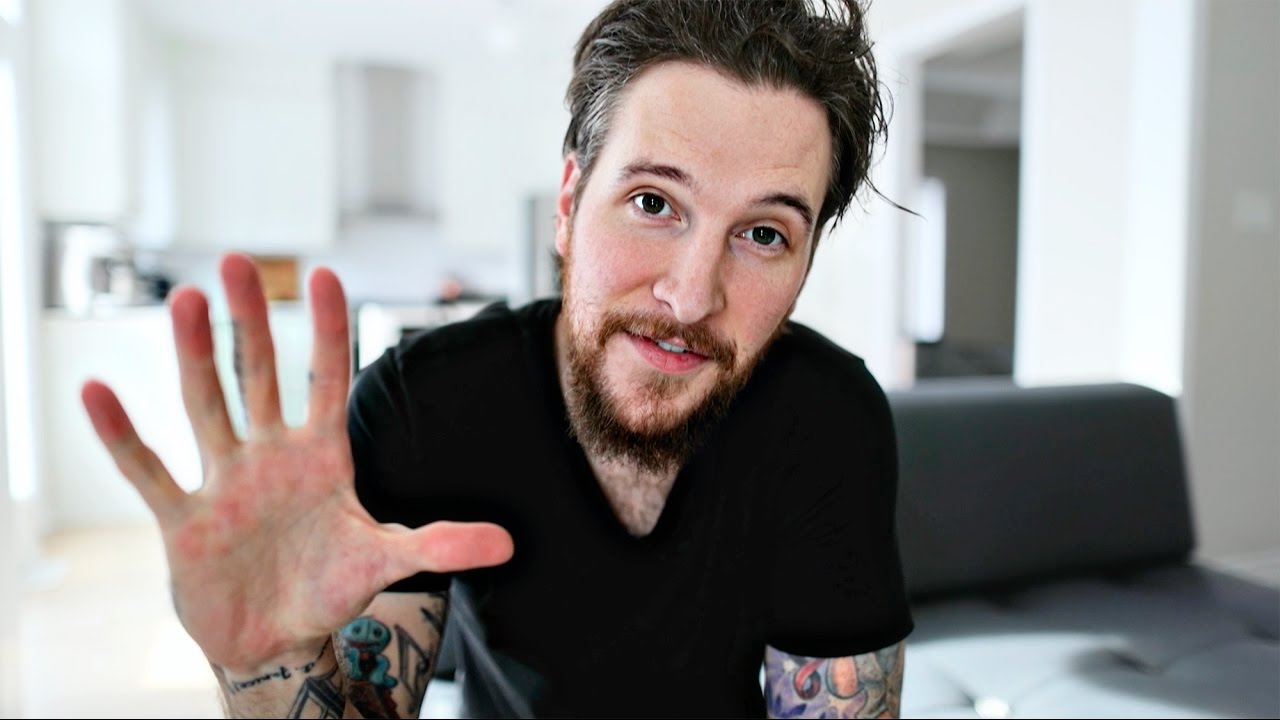
Every Sunday morning I take a photo walk through my neighborhood in Seattle. No agenda, no client, no pressure. Just me and whatever camera I feel like carrying that day, sometimes my mirrorless, sometimes honestly just my phone. And even after years of shooting professionally, I still catch myself falling into lazy habits: same eye level, same angle, same safe composition. Which is exactly why I sat down with this Peter McKinnon tutorial a while back and ended up taking notes like I was back in school.
Watch the full tutorial on YouTube
In this Peter McKinnon tutorial, he runs through five techniques that sound almost too simple to matter, until you actually try them in the field and realize your photos look noticeably different. What I appreciate about his approach is that none of this requires new gear or extra time. It requires a small shift in how you think before you press the shutter. That mental shift is the whole game.
Step 1: Stop Shooting From Eye Level - Think About Angles First
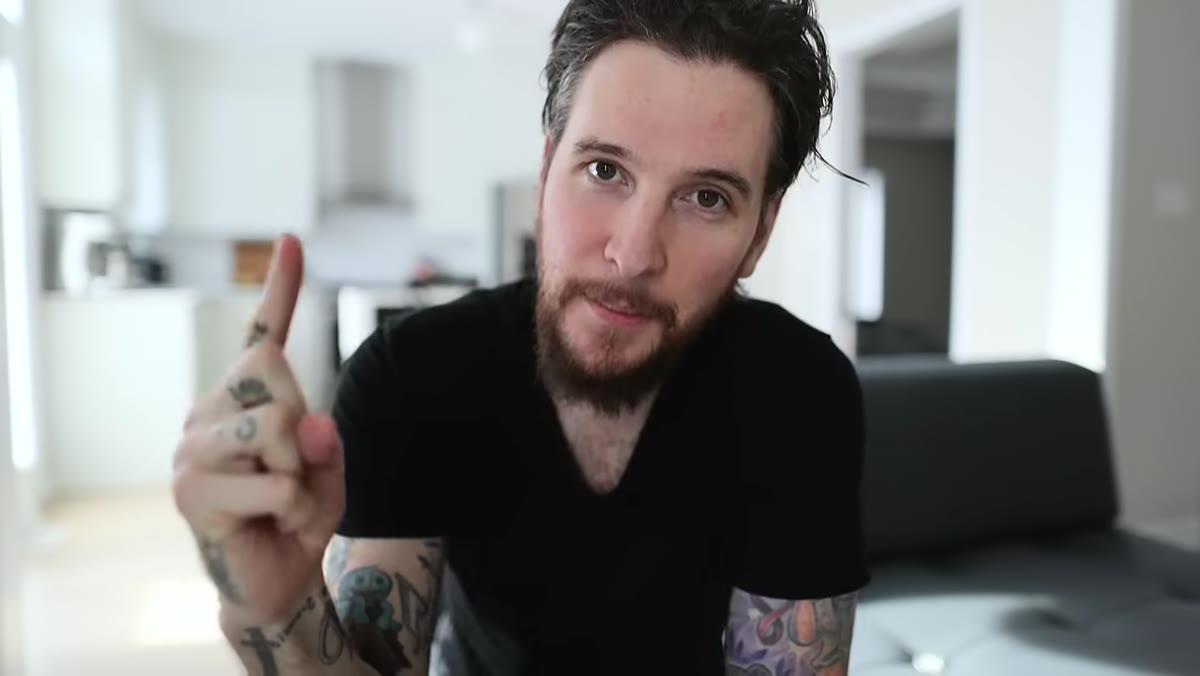 Demonstrating the difference between a hip shot and a considered angle
Before you raise the camera, spend ten seconds asking where this subject looks most interesting from. Eye level is the default because it is easy, not because it is best. Objects, whether you are shooting a coffee mug, a pair of sneakers, or a product on a table, almost always read better when your lens is at the same height as the object itself. That means crouching down, not shooting down at it from standing height.
Demonstrating the difference between a hip shot and a considered angle
Before you raise the camera, spend ten seconds asking where this subject looks most interesting from. Eye level is the default because it is easy, not because it is best. Objects, whether you are shooting a coffee mug, a pair of sneakers, or a product on a table, almost always read better when your lens is at the same height as the object itself. That means crouching down, not shooting down at it from standing height.
For portraits, try moving around your subject before you shoot: step left, step right, take a few steps back and see how the background changes. The subject stays the same. Everything else shifts. That “everything else” is what separates a snapshot from a photograph.
Step 2: Put Something Between Your Lens and Your Subject
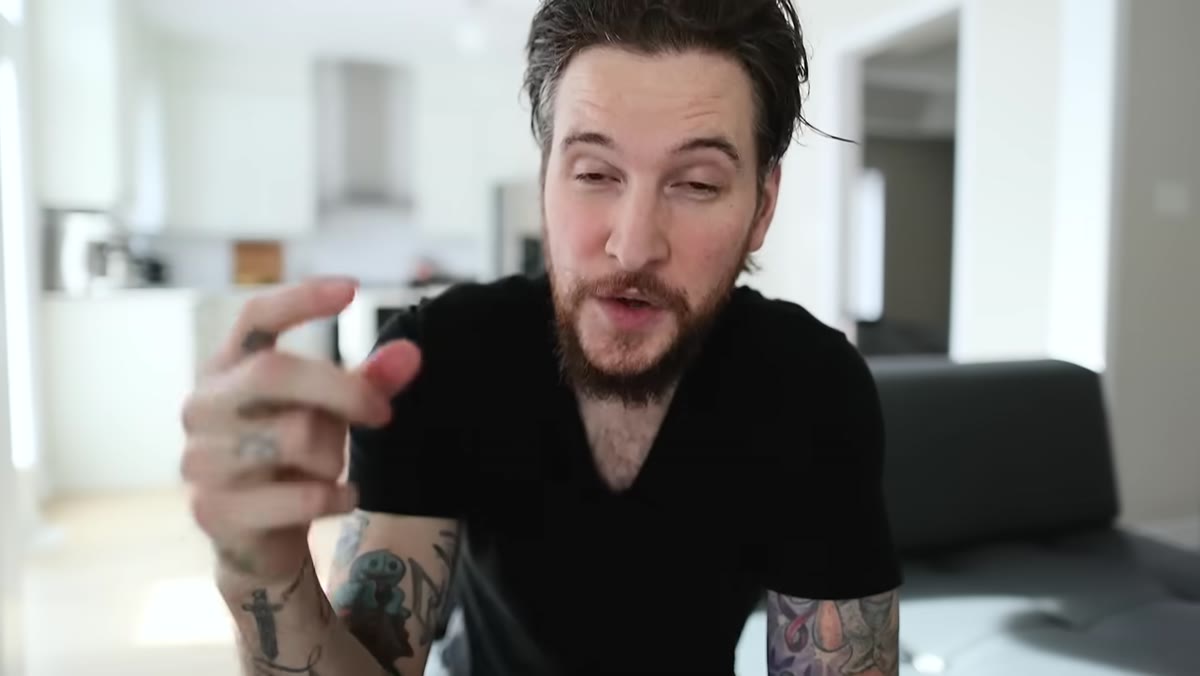 Lens partially obscured by leaves or foreground object while subject is in focus
This is one of those tricks that feels almost too theatrical until you see the result. The idea is to find or place an object in the foreground, close enough to the lens to go out of focus, and then shoot your actual subject through or past it. Branches, leaves, a window frame, even your own fingers holding two cards on either side of the lens can work.
Lens partially obscured by leaves or foreground object while subject is in focus
This is one of those tricks that feels almost too theatrical until you see the result. The idea is to find or place an object in the foreground, close enough to the lens to go out of focus, and then shoot your actual subject through or past it. Branches, leaves, a window frame, even your own fingers holding two cards on either side of the lens can work.
What this does practically is create bokeh on the edges of the frame without needing a wide-open aperture or a telephoto lens. It adds visual depth and gives the eye a layered scene to move through rather than a flat subject on a flat background. When I shoot portraits in wooded areas, I will back myself up toward the treeline so the nearest branches hang into the frame. It takes thirty seconds and it makes the image feel like it was composed, not just captured.
Step 3: Figure Out the Default Shot - Then Do the Opposite
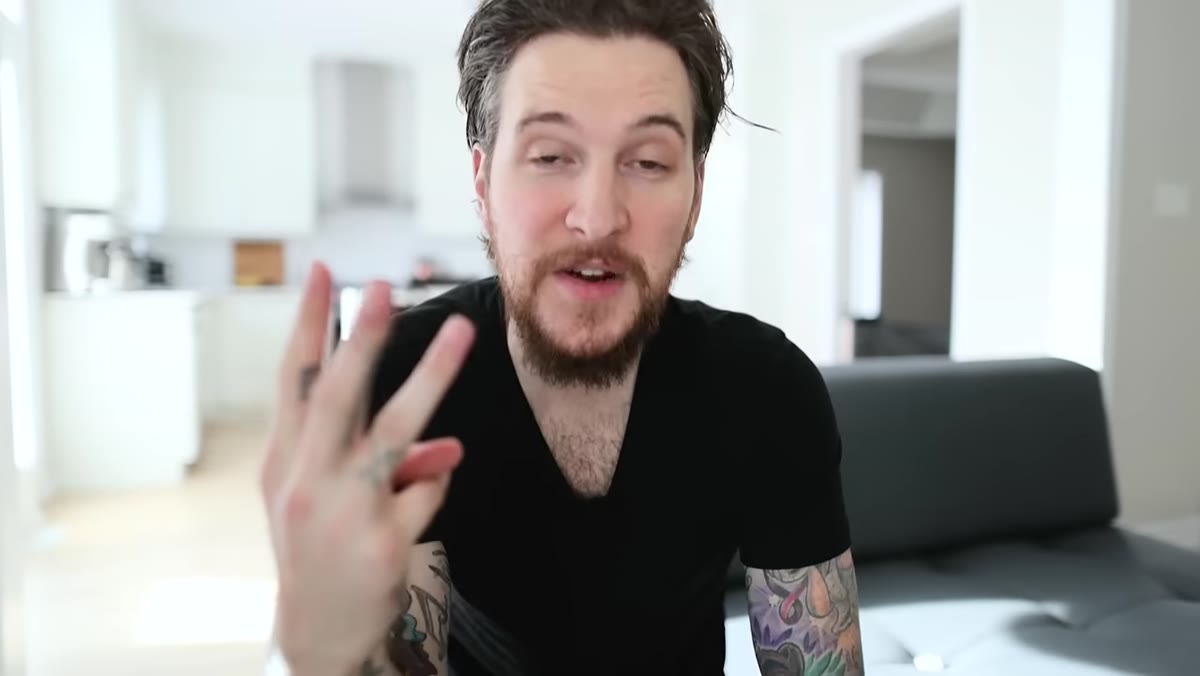 Demonstrating a typical tourist angle versus an unexpected alternative composition
This one requires a moment of honest self-awareness. Before you shoot, ask: what would the other hundred people standing here shoot? What is the most obvious, expected composition of this subject? Get that image clear in your head, and then deliberately move away from it. Shoot from behind. Shoot from above. Flip the orientation. Get low and shoot upward.
Demonstrating a typical tourist angle versus an unexpected alternative composition
This one requires a moment of honest self-awareness. Before you shoot, ask: what would the other hundred people standing here shoot? What is the most obvious, expected composition of this subject? Get that image clear in your head, and then deliberately move away from it. Shoot from behind. Shoot from above. Flip the orientation. Get low and shoot upward.
This is not about being contrarian for its own sake. It is about breaking the automatic pilot that most of us operate on. Some of your alternative shots will be genuinely bad, and that is fine. But occasionally you will find an angle that no one else thought to try, and that image will be the one that stops people scrolling. The cost of experimenting is a few extra frames. The upside is a photo that actually stands out.
Step 4: Fix Your Lighting Before You Fix Anything Else
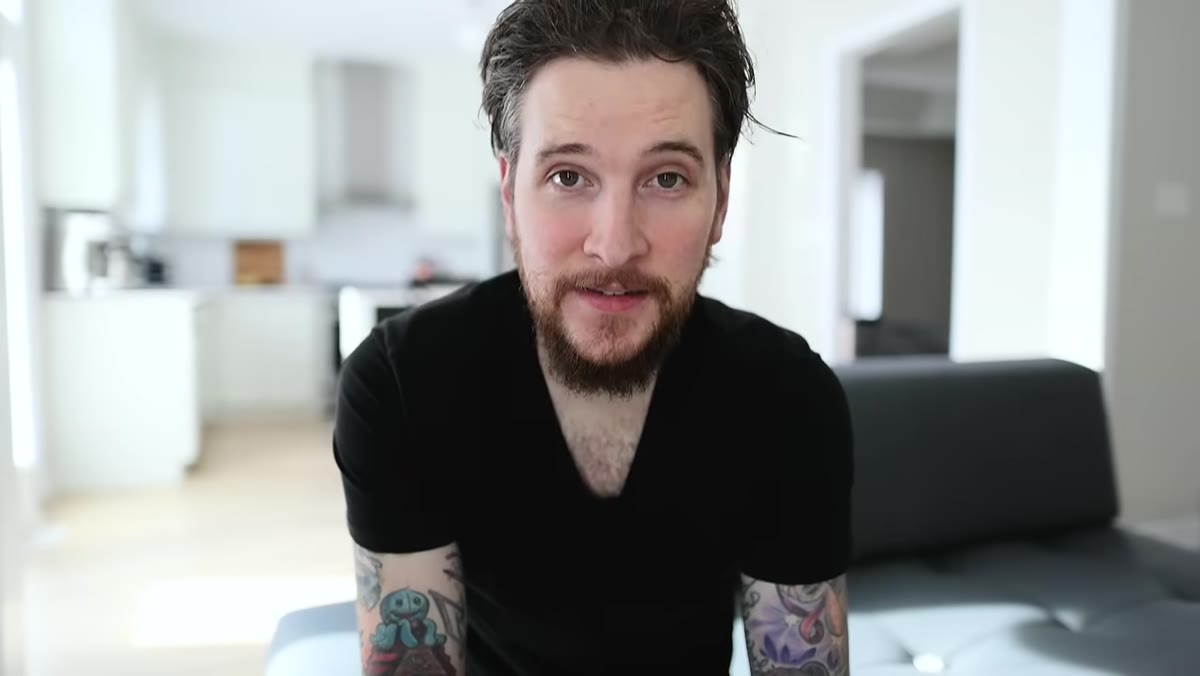 Subject repositioned near a window with natural soft light falling across them
Lighting is the single thing that non-photographers most consistently underestimate and most experienced photographers most obsessively manage. You do not need a lighting kit to shoot well-lit photos. You need to find the light that is already available and position your subject inside it.
Subject repositioned near a window with natural soft light falling across them
Lighting is the single thing that non-photographers most consistently underestimate and most experienced photographers most obsessively manage. You do not need a lighting kit to shoot well-lit photos. You need to find the light that is already available and position your subject inside it.
The most reliable free light source in almost any indoor situation is a window. Move your subject toward the nearest window, turn them so the light is hitting their face or the front of the object at a flattering angle, and you have just replicated what photographers pay hundreds of dollars in gear to achieve. If the light outside is harsh and the image looks blown out, wait or move. If the ambient light in the room is genuinely too low and the image comes out noisy and muddy, the answer is not to fix it in post. The answer is to not take that photo right now and come back when the light is better. Patience is a lighting tool.
Step 5: Match Your Settings to the Light You Have, Not the Shot You Wish You Had
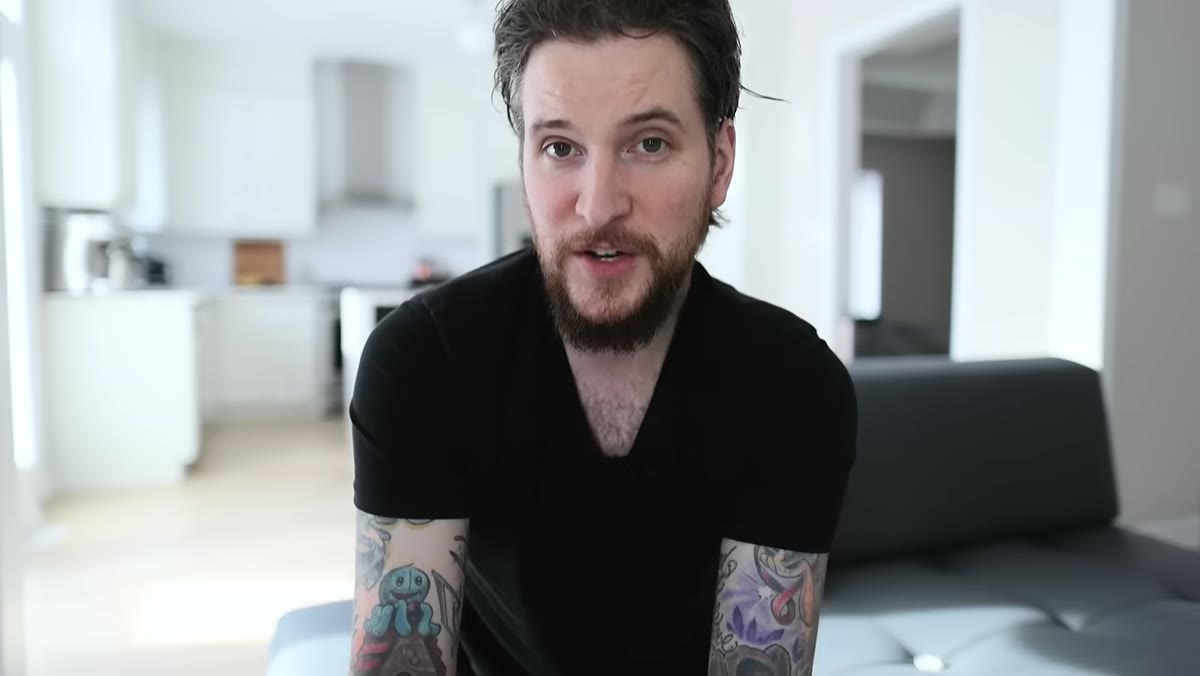 Camera display or histogram showing exposure adjustments being made in low light
McKinnon makes a practical point here that I think deserves to be stated plainly: a grainy, poorly exposed image is not a creative choice, it is a missed opportunity. When light is bad, your camera will compensate by pushing the ISO higher, and past a certain point that introduces noise that no amount of editing recovers cleanly. Rather than forcing a shot in bad conditions, use those conditions as data. Bad light means adjust your position, your timing, or your expectations for that session.
Camera display or histogram showing exposure adjustments being made in low light
McKinnon makes a practical point here that I think deserves to be stated plainly: a grainy, poorly exposed image is not a creative choice, it is a missed opportunity. When light is bad, your camera will compensate by pushing the ISO higher, and past a certain point that introduces noise that no amount of editing recovers cleanly. Rather than forcing a shot in bad conditions, use those conditions as data. Bad light means adjust your position, your timing, or your expectations for that session.
If you are shooting in a dim restaurant and the food photo looks muddy, try moving the plate closer to any ambient light source at the table, a candle, a pendant lamp, a nearby window. Bump your aperture as wide as it will go, slow your shutter speed if your subject is still, and keep your ISO as low as you can while maintaining exposure. Those three levers working together will get you further than any preset or filter applied afterward.
What I Would Add: Build the Habit Before the Shot
The reason these five tips are easy to know and hard to actually use is that they all require a pause before you shoot, and our instinct is to just shoot. I started keeping a small mental checklist running during my Sunday walks: angle, foreground, light, opposite. Four questions before the shutter clicks. It felt awkward for the first few weeks and then it became automatic.
The best thing Peter McKinnon’s tutorial gave me was not a new technique but a reminder that intentional photography is mostly a decision, not a skill level. You can bring more thought to a shot with a $200 phone than someone else brings to the same scene with a $3,000 camera body. I know because I have done it, and so have my students.
The single most transferable idea across all five of these tips is this: slow down by ten seconds before every shot. That is the whole upgrade. Everything else, the angles, the foreground elements, the lighting choices, lives inside that ten second pause.
Watch the full tutorial on YouTube to see Peter McKinnon walk through each of these with live examples. It is worth the full watch.
Comments (5)
Love how you break down complex stuff into manageable steps.
The before and after really sells it. Incredible difference.
Well explained. I think my audience would really benefit from this — mind if I link to it?
The before and after really sells it. Incredible difference.
Solid advice. Especially the part about taking your time with it.
Leave a Comment