There’s a specific kind of frustration I know well: standing in front of a genuinely beautiful scene, something that makes your chest feel full, and walking away with a flat, disconnected image that doesn’t come close to what your eyes saw. For me it usually happens near water. I’ll be on one of my Sunday morning photo walks here in Seattle, the light is doing something incredible over the sound, and I fumble through my settings trying to hold onto it. The shot never quite matches the moment.
That’s exactly why I keep coming back to year-in-review style tutorials from working landscape photographers. In this William Patino tutorial, Watch the full tutorial on YouTube, he walks through a handful of his personal favorite images from 2021 and does something most photographers skip: he explains not just what the settings were, but why each decision was made and what problem it was solving. That combination of technical specifics and honest creative reasoning is rare, and I pulled out five lessons that I think any landscape shooter can put to use immediately.
Patino shoots primarily in Fiordland, New Zealand, which gives him endlessly complex scenes to work with, but the principles he’s applying translate anywhere you have depth, water, and moody atmosphere. Here’s how he breaks it down.
Step 1: Start by Identifying What the Scene Is Actually About
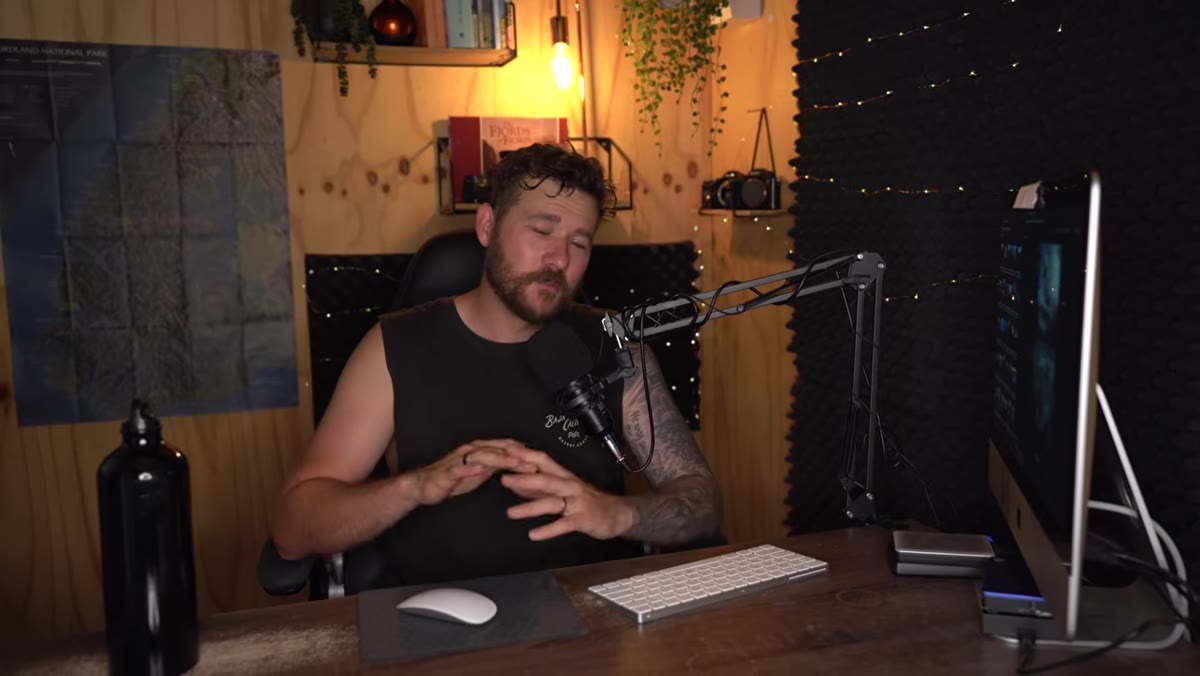 Photographer explaining what he loves about Fiordland landscape
Before Patino talks about a single setting, he spends time articulating what drew him to the scene in the first place. For his image “Requiem,” he identifies specific elements: the atmosphere, the forest, the mountains, and the river. He’s not just listing pretty things. He’s building a hierarchy. Once you know what the scene is actually about, you know where the viewer’s eye needs to land, and every technical decision follows from that.
Photographer explaining what he loves about Fiordland landscape
Before Patino talks about a single setting, he spends time articulating what drew him to the scene in the first place. For his image “Requiem,” he identifies specific elements: the atmosphere, the forest, the mountains, and the river. He’s not just listing pretty things. He’s building a hierarchy. Once you know what the scene is actually about, you know where the viewer’s eye needs to land, and every technical decision follows from that.
Try this before you even raise your camera. Ask yourself: if someone could only look at one thing in this frame, what should it be? In Patino’s case, the answer was the mountain in the background. Everything else was in service of getting the viewer there.
Step 2: Choose an Aperture That Solves Two Problems at Once
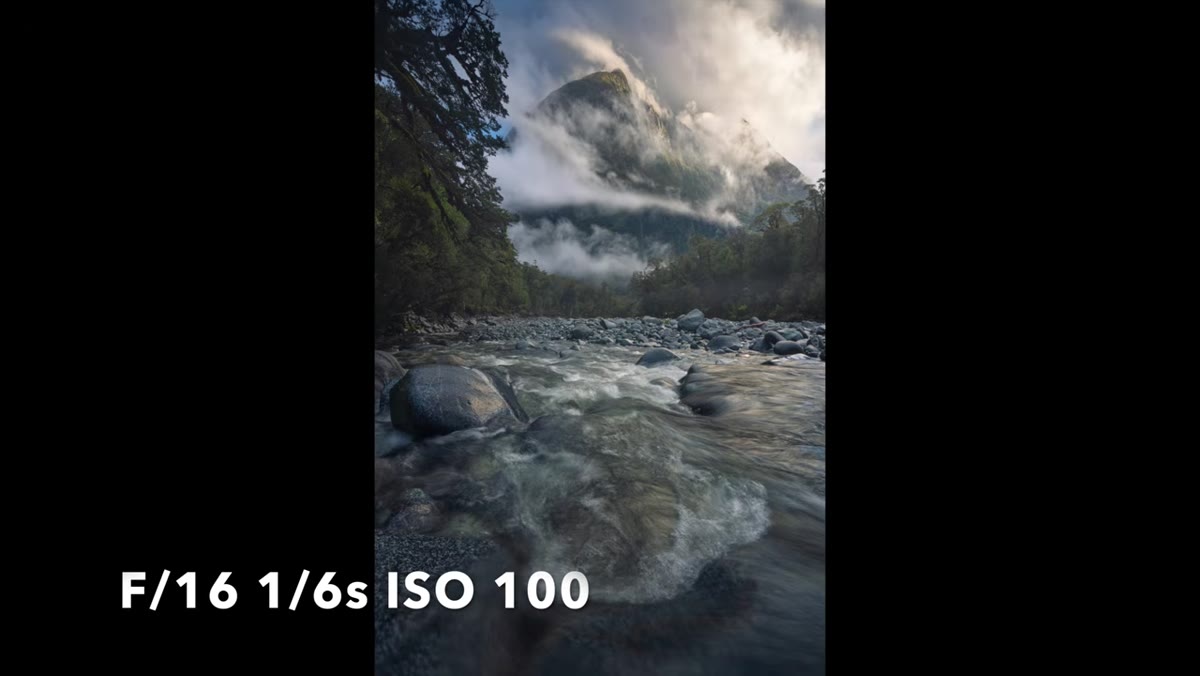 Camera settings displayed showing f/16 aperture value
Patino shot this image at f/16, and the reason is more layered than just “I wanted everything sharp.” Yes, f/16 gives him the depth of field to keep a foreground rock and a distant mountain both in focus within the same frame. But stopping down that far also slows his shutter speed, which directly affects how the water renders. One aperture choice, two problems solved.
Camera settings displayed showing f/16 aperture value
Patino shot this image at f/16, and the reason is more layered than just “I wanted everything sharp.” Yes, f/16 gives him the depth of field to keep a foreground rock and a distant mountain both in focus within the same frame. But stopping down that far also slows his shutter speed, which directly affects how the water renders. One aperture choice, two problems solved.
This is the kind of thinking that separates deliberate photographers from reactive ones. When you’re at a scene with both a close foreground and a distant subject, f/11 to f/16 is your working range. Don’t just pick it for sharpness. Notice what it does to your shutter speed and use that as a creative tool too.
Step 3: Use Shutter Speed to Control Water Texture, Not Just Exposure
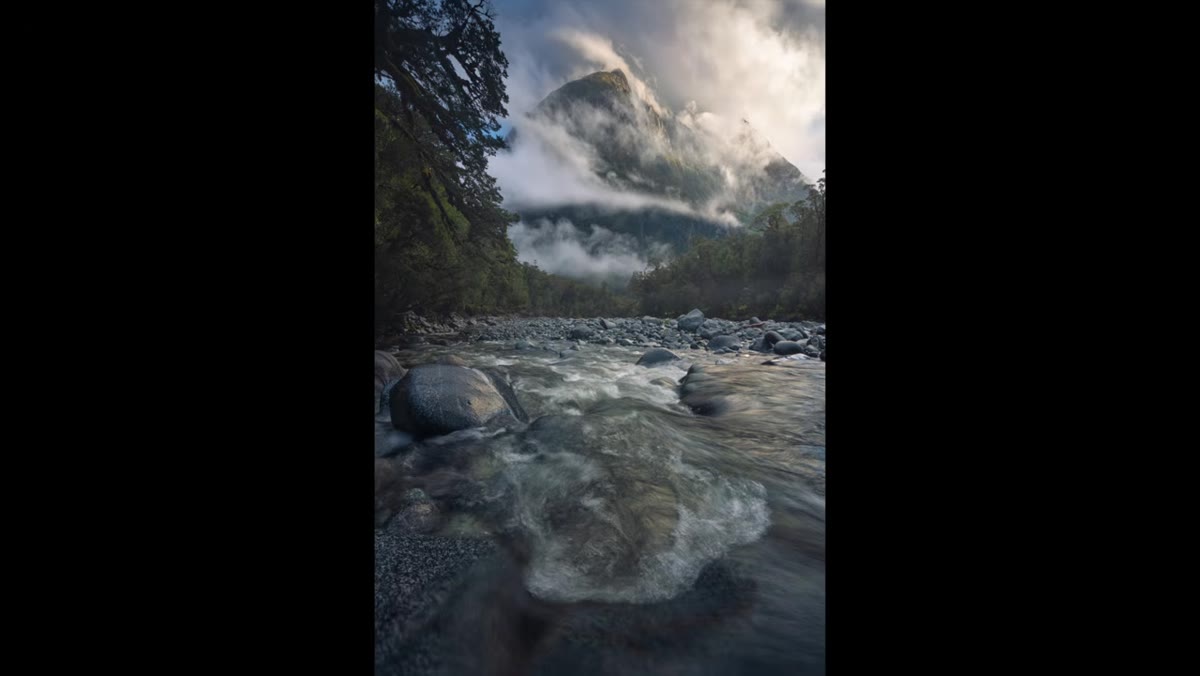 Transcript reference to 1/6 second shutter speed for water motion
At 1/6 of a second, Patino gets what he describes as soft but still sharp water movement. This is a useful middle ground that a lot of photographers overlook. Most people either go very fast to freeze water completely, or very slow (multiple seconds) to turn it into that silky smooth blur you see everywhere. At 1/6, you get motion and texture together. The water feels alive without losing all sense of its form.
Transcript reference to 1/6 second shutter speed for water motion
At 1/6 of a second, Patino gets what he describes as soft but still sharp water movement. This is a useful middle ground that a lot of photographers overlook. Most people either go very fast to freeze water completely, or very slow (multiple seconds) to turn it into that silky smooth blur you see everywhere. At 1/6, you get motion and texture together. The water feels alive without losing all sense of its form.
He also notes something worth underlining: 1/6 of a second is a speed he can handhold and still get a sharp result. If you’re working without a tripod, this is a good speed to test at. Use your body as a stabilizer, exhale before you press the shutter, and bracket a few frames. You might be surprised what you can pull off.
Step 4: Default to ISO 100 and Protect Your Print Quality
 Settings summary showing ISO 100 value
Patino keeps ISO at 100 whenever conditions allow, and his reasoning is straightforward: he always shoots with print in mind. Not necessarily billboard-sized prints (though he mentions that as the hypothetical bar he holds himself to), but large format output where noise and dynamic range limitations will actually show up.
Settings summary showing ISO 100 value
Patino keeps ISO at 100 whenever conditions allow, and his reasoning is straightforward: he always shoots with print in mind. Not necessarily billboard-sized prints (though he mentions that as the hypothetical bar he holds himself to), but large format output where noise and dynamic range limitations will actually show up.
Even if you never print, this mindset is useful. Shooting for print quality means you’re always capturing the maximum amount of information your sensor can give you. Low ISO means lower noise and better tonal range, especially in the shadows, which matters a lot in high-contrast landscape scenes. If your light is good and your shutter speed is manageable, there’s rarely a reason to push ISO above 100 in landscape work.
Step 5: Build Composition Around Lines That Move the Eye Inward
 Wide river composition with converging treelines and river leading to mountain
The compositional structure of Patino’s image is built on convergence. The river starts wide at the bottom of the frame and narrows as it moves into the distance. The tree lines on either side do the same thing, getting smaller as they recede. These are leading lines, and they all point toward the mountain, which is the primary subject.
Wide river composition with converging treelines and river leading to mountain
The compositional structure of Patino’s image is built on convergence. The river starts wide at the bottom of the frame and narrows as it moves into the distance. The tree lines on either side do the same thing, getting smaller as they recede. These are leading lines, and they all point toward the mountain, which is the primary subject.
What makes this work is that the lines are layered. You have the horizontal rhythm of the water, the vertical rhythm of the trees, and the diagonal rhythm of the receding landscape. When you’re scouting a location, look for scenes where multiple types of lines are already moving in the same direction. You’re not creating composition from scratch. You’re finding the one position where the existing geometry does the work for you.
Step 6: Use Dodging and Burning to Reinforce the Composition in Post
 Discussion of post-processing approach with dodge and burn technique
Patino finishes with a processing note that I think often gets skipped in landscape tutorials: he uses dodging and burning not just to fix exposure, but to guide the viewer’s eye through the image. Bright areas attract attention. Dark areas recede. If your composition has good bones, targeted dodging and burning can make those bones even stronger by ensuring the viewer’s eye moves the way you intended.
Discussion of post-processing approach with dodge and burn technique
Patino finishes with a processing note that I think often gets skipped in landscape tutorials: he uses dodging and burning not just to fix exposure, but to guide the viewer’s eye through the image. Bright areas attract attention. Dark areas recede. If your composition has good bones, targeted dodging and burning can make those bones even stronger by ensuring the viewer’s eye moves the way you intended.
This isn’t about heavy-handed editing. It’s about subtle reinforcement. Brighten the path you want the eye to travel. Deepen the shadows in areas that compete with your main subject. Think of it as finishing the composition in post, not starting it there.
My Addition: Know Your Scene Before the Light Changes
I’ve learned (the hard way, after missing dinner more than once trying to nail a single waterfall shot on vacation) that conditions in complex landscapes can shift faster than you can set up. Patino was in the right place at the right time partly because he knew that location well enough to move through it quickly. Familiarity with a location is a skill. If you’re shooting somewhere new, arrive early, walk the area without your camera first, and identify two or three positions before you start making images. When the light does something unexpected, you’ll already know where to go.
The single most transferable idea from this tutorial is the two-problems-one-setting approach to aperture. Pick your f-stop for depth of field AND let it work for your shutter speed. That one shift in thinking will change how you approach every scene with moving water.
Watch the full tutorial on YouTube to see the actual images Patino is describing and hear him walk through the story behind each one. The visuals make the compositional points land in a way that’s hard to fully capture in text.
Comments
Leave a Comment