There’s a specific kind of footage frustration I know too well: you have beautiful clips, good light, a great subject, and yet the final edit feels like a slideshow with a crossfade problem. The missing piece is almost always intentional movement between shots. Not random panning or walking forward because you didn’t know what else to do, but transitions that carry the viewer from one location to the next in a way that feels designed.
That’s exactly the gap that Watch the full tutorial on YouTube this Mango Street tutorial filled for me. The team walks through five gimbal transitions using the DJI Ronin-S, and what I appreciate most is that they show both the physical camera movement AND how they finish the job in post. These aren’t tricks that only work if you have a full crew. Most of them are solo-operator friendly with a little practice.
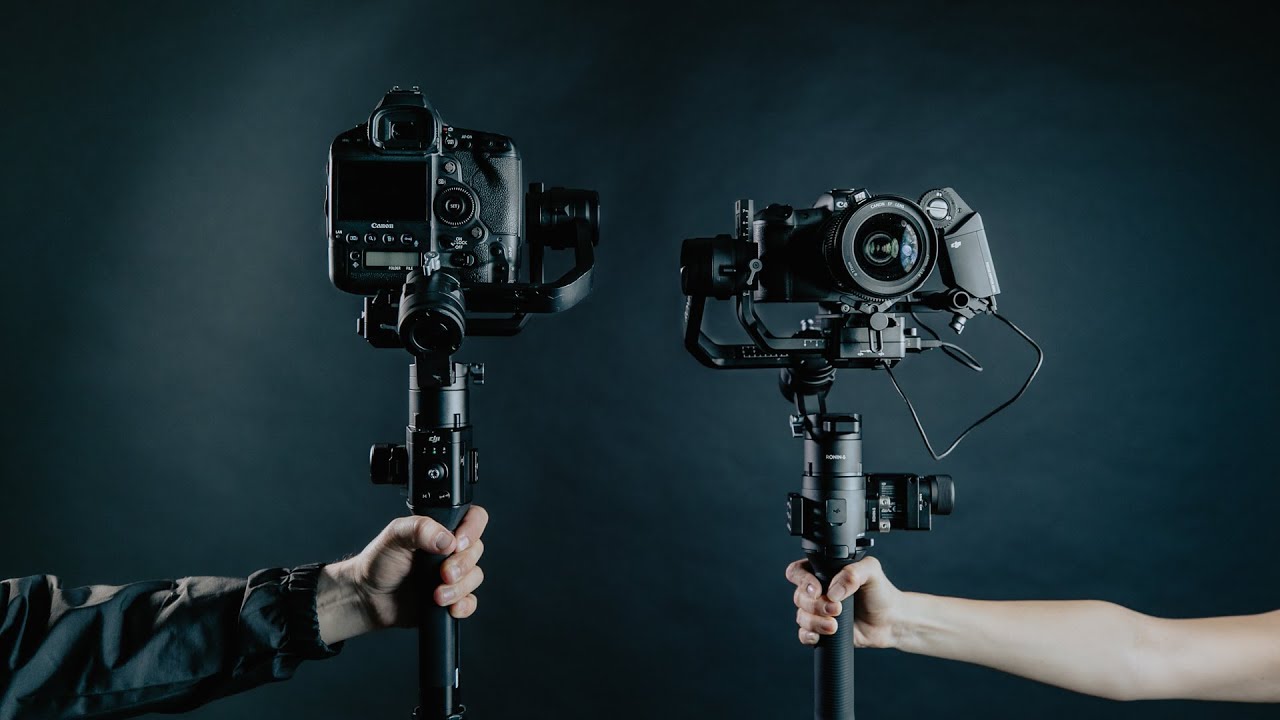
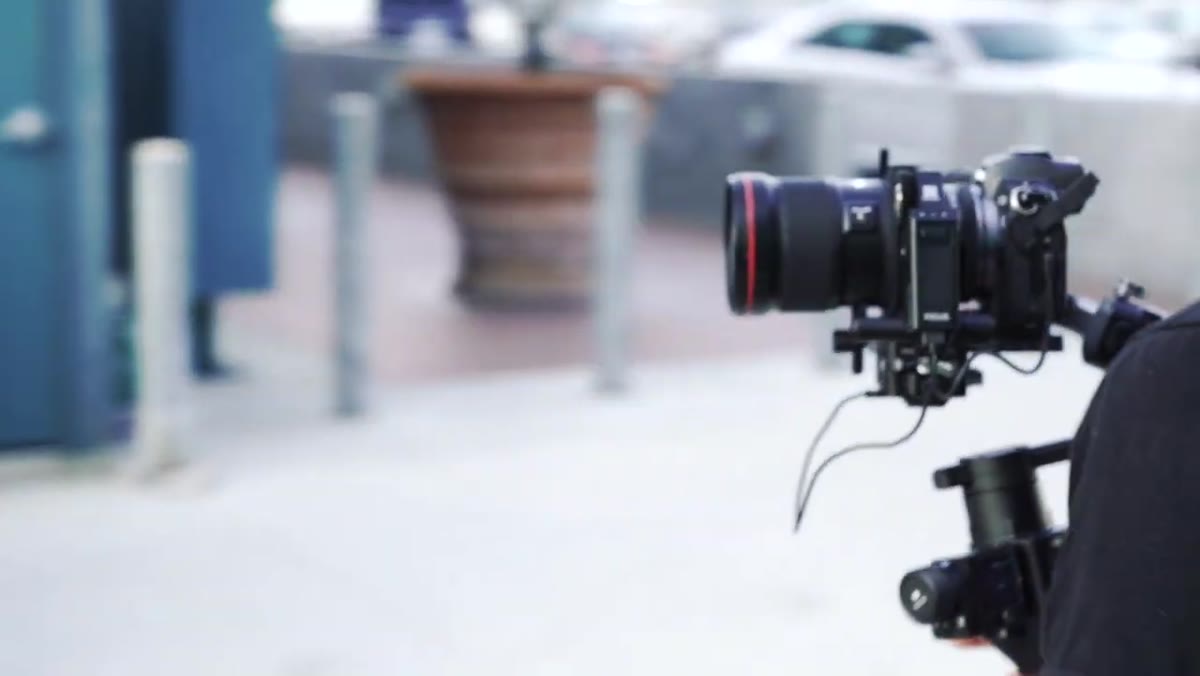
They’re shooting on a Canon EOS R with a 16-35mm lens, recording at 60fps to give themselves slow-motion flexibility in the edit. The Ronin-S is paired with a focus motor, a cheese plate for accessory mounting, and a command unit for quick setting adjustments. If you don’t have all of that, don’t close the tab yet. They address that directly, and so will I.
Step 1: Set Up Your Equipment and Understand the Rig
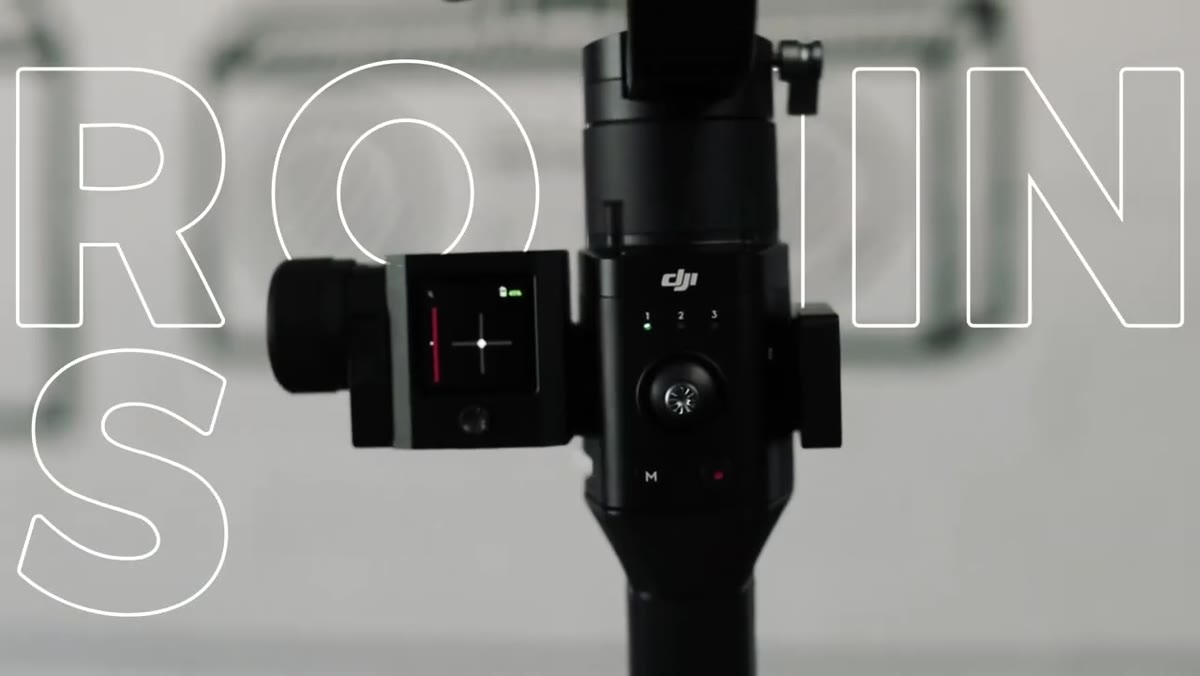 Ronin-S gimbal with focus motor and cheese plate accessories shown
Before any transition works, your rig needs to be stable and configured for the shot. Mango Street runs through their setup early in the video, and it’s worth paying attention even if you’re not using the same gear. The focus motor connects to the Ronin’s handwheel, letting one operator control focus or zoom without touching the lens barrel. The command unit gives fast access to axis speeds and stiffness settings, which matter a lot for some of these moves.
Ronin-S gimbal with focus motor and cheese plate accessories shown
Before any transition works, your rig needs to be stable and configured for the shot. Mango Street runs through their setup early in the video, and it’s worth paying attention even if you’re not using the same gear. The focus motor connects to the Ronin’s handwheel, letting one operator control focus or zoom without touching the lens barrel. The command unit gives fast access to axis speeds and stiffness settings, which matter a lot for some of these moves.
If you’re working with a basic gimbal and kit lens, you can still pull off most of what follows. The key principle is the same regardless of gear: know your settings before you start moving, and shoot at 60fps so you have room to breathe in the edit.
Step 2: The Orbit Transition
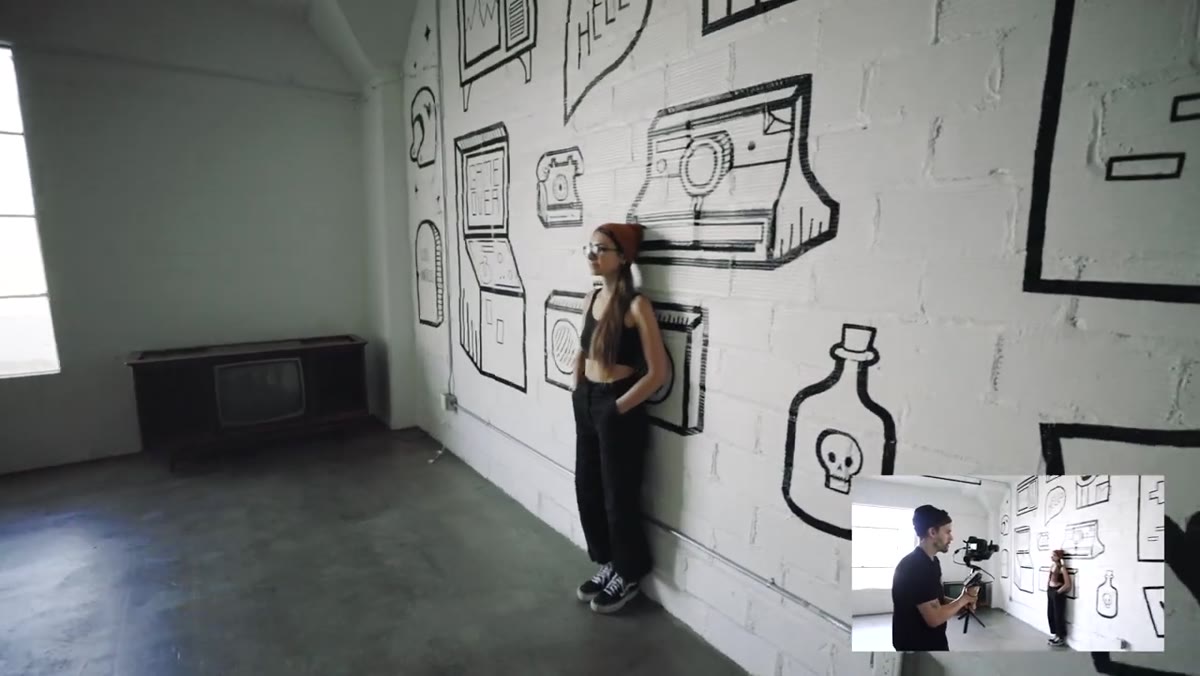 Camera orbiting subject while staying close to wall at start
Start with your camera pressed close to a wall, with your subject centered in the frame. From there, orbit around them in a smooth arc, keeping a consistent distance the entire time. You want to land with the camera against the wall on the opposite side. The discipline here is maintaining that radius. If you drift in or out, the orbit looks like you lost your footing, not like a move.
Camera orbiting subject while staying close to wall at start
Start with your camera pressed close to a wall, with your subject centered in the frame. From there, orbit around them in a smooth arc, keeping a consistent distance the entire time. You want to land with the camera against the wall on the opposite side. The discipline here is maintaining that radius. If you drift in or out, the orbit looks like you lost your footing, not like a move.
At your second location, repeat the same orbit with the same approximate distance from your subject. You can orbit to the same or opposite side, depending on the edit you’re building. When you cut between the two shots, the matching movement creates continuity even though you’ve completely changed environments.
Step 3: The Zoom-Into-Object Transition
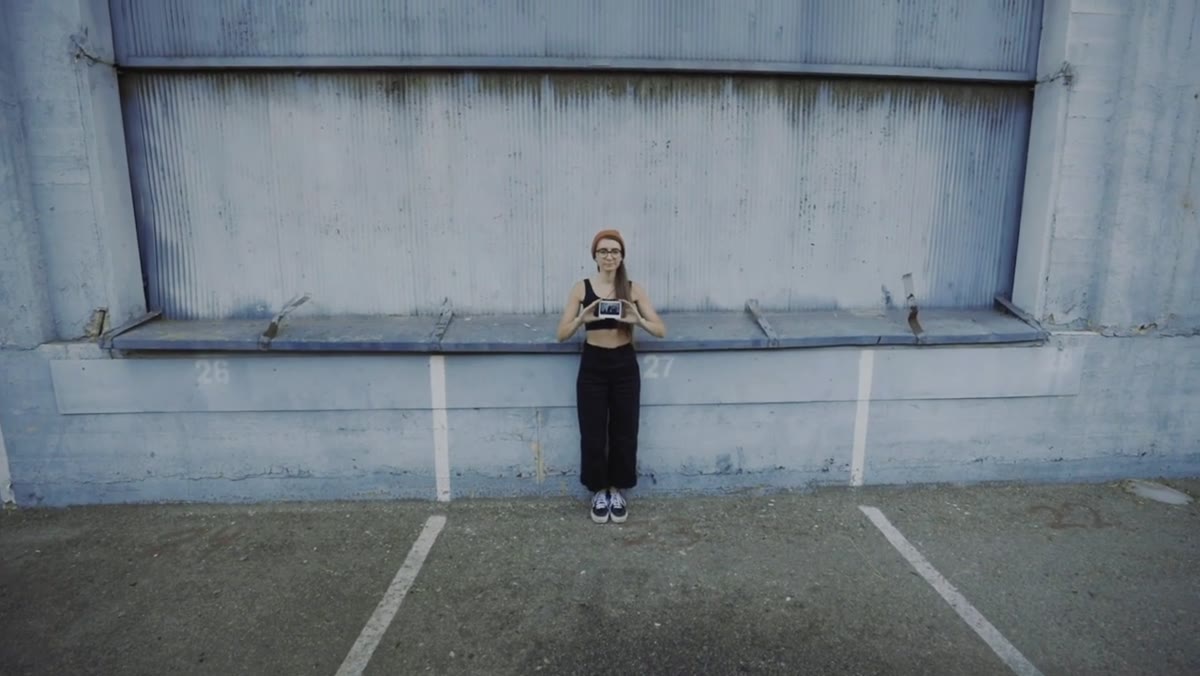 Subject holding instant film photo close to camera lens
Have your subject hold an object directly in front of the camera, something with enough surface area to fill the frame entirely. Mango Street uses an instant film photo. Walk the camera steadily toward it until the object covers the lens completely. That blackout moment is your cut point.
Subject holding instant film photo close to camera lens
Have your subject hold an object directly in front of the camera, something with enough surface area to fill the frame entirely. Mango Street uses an instant film photo. Walk the camera steadily toward it until the object covers the lens completely. That blackout moment is your cut point.
At the second location, start from black and pull back to reveal the new scene. The object creates a natural wipe that doesn’t require any fancy editing to sell. Keep your movement slow and even. Any wobble during the approach reads immediately, so this is a shot where gimbal stability is doing a lot of the work.
Step 4: The Vertigo (Dolly Zoom) Effect
 Operator walking backward while zooming lens in simultaneously
This one takes a few tries to get the timing right. While walking backward away from your subject, simultaneously zoom your lens in. The goal is to keep the subject roughly the same size in the frame while the background compresses or expands behind them. It’s the same optical effect from classic films, achieved here by combining physical camera movement with focal length change.
Operator walking backward while zooming lens in simultaneously
This one takes a few tries to get the timing right. While walking backward away from your subject, simultaneously zoom your lens in. The goal is to keep the subject roughly the same size in the frame while the background compresses or expands behind them. It’s the same optical effect from classic films, achieved here by combining physical camera movement with focal length change.
A lens motor makes this much cleaner because you can control zoom speed with a handwheel while focusing on your footwork. If you don’t have one, Mango Street offers a solid workaround: shoot in 4K, then in post scale the footage in the opposite direction of your camera move. If you’re walking backward, scale the clip to zoom in. The 4K resolution gives you enough pixels to punch in without the image falling apart. Run the same effect at your second location so both shots feel like they belong to the same visual language.
Step 5: The 360 Roll Transition
 Gimbal held at waist level in flashlight mode performing roll
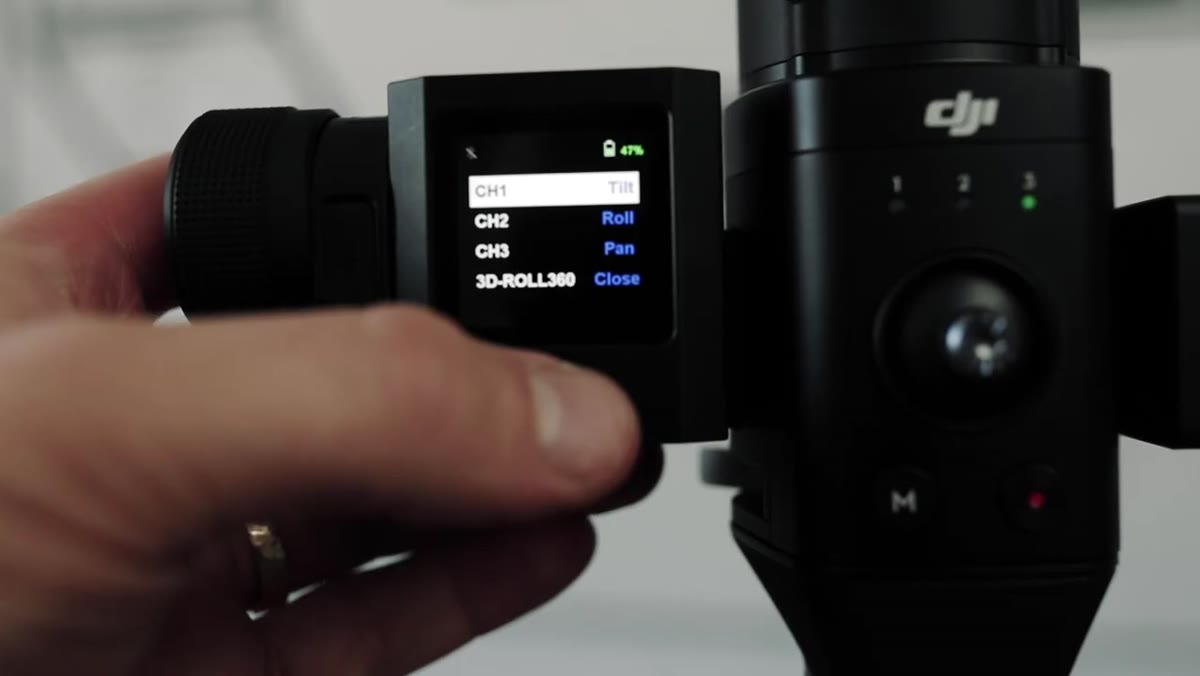
Switch your Ronin to flashlight mode, hold it at waist level pointed straight ahead, and use the joystick to execute a full 360-degree roll. Mango Street adjusts the gimbal settings beforehand to make this move possible, so check your axis speed and mode configuration before attempting it.
Gimbal held at waist level in flashlight mode performing roll
Switch your Ronin to flashlight mode, hold it at waist level pointed straight ahead, and use the joystick to execute a full 360-degree roll. Mango Street adjusts the gimbal settings beforehand to make this move possible, so check your axis speed and mode configuration before attempting it.
The critical detail: both shots in this transition need to roll in the same direction. If the first clip rolls clockwise, the second must also roll clockwise. Mismatching directions breaks the illusion completely. You can add forward camera movement during the roll to make it feel more dynamic and less like a parlor trick.
Step 6: Finish It in Post with Speed Ramping and Motion Blur
 After Effects timeline showing time remap keyframes for speed ramp
The transitions won’t fully land without post-production finishing. Mango Street uses time remapping in After Effects to speed ramp the clips, essentially ramping the footage speed up through the transition point so it carries more visual energy. You can do the same thing in Premiere Pro or Final Cut with their respective speed tools.
After Effects timeline showing time remap keyframes for speed ramp
The transitions won’t fully land without post-production finishing. Mango Street uses time remapping in After Effects to speed ramp the clips, essentially ramping the footage speed up through the transition point so it carries more visual energy. You can do the same thing in Premiere Pro or Final Cut with their respective speed tools.
Once the timing feels right, add motion blur. They create an adjustment layer with a radial blur effect, then mask out the subject so the blur applies only to the background. This is a small detail that sells the speed ramp as organic rather than digital. For the photo zoom transition specifically, they use After Effects’ 3D camera tracker to composite the next scene inside the instant photo, though you can simplify this with a basic scale animation if you’re newer to motion graphics.
What I’d Add From My Own Experience
The piece of advice I’d layer on top of everything here is to plan your cut points before you shoot, not after. Each of these transitions works because there’s a clear visual anchor: the wall, the object covering the lens, the roll direction. When I’ve tried to improvise transitions on a shoot, I end up with footage that almost works. Almost is the most expensive word in editing.
I’d also encourage you to shoot each transition at least four times. The first take is you figuring out the move. The second is you correcting. The third and fourth are the ones worth keeping. Sixty frames per second gives you slow-motion insurance, but it doesn’t give you motion insurance.
The single most important thing this tutorial reinforced for me: a transition is not decoration. It’s a cut with a reason. When you design the movement to carry meaning from one shot to the next, the edit stops feeling like a series of clips and starts feeling like a film.
Watch the full tutorial on YouTube to see all five transitions executed back to back, plus the complete After Effects walkthrough.
Comments
Leave a Comment