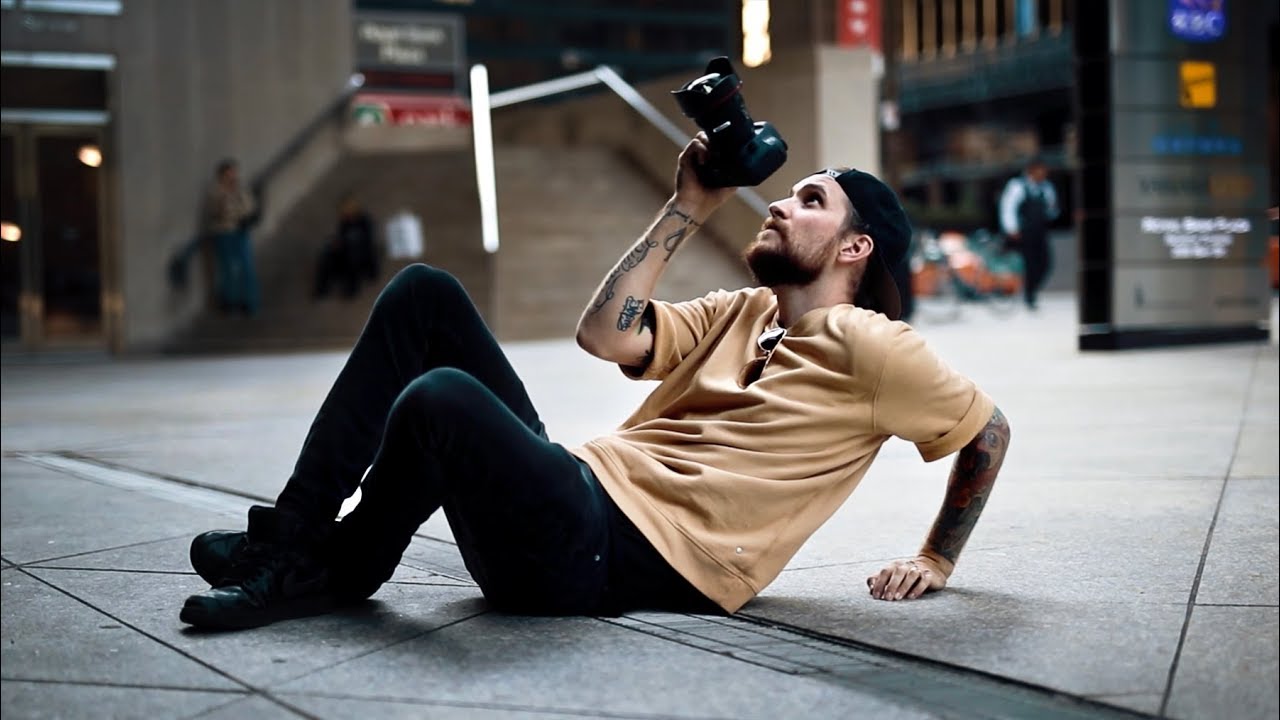
Every Sunday morning I do a photo walk around Seattle. It started as a way to stay sharp between paid gigs, and over time it became something I genuinely look forward to. For the longest stretch of those walks, I would stroll past the same downtown buildings, glance up, and keep moving. I told myself architectural photography was a specialty I’d get into “eventually.” Too much planning required. Too much gear. Too niche.
Then I watched a quick tutorial by Peter McKinnon on shooting architecture, and I realized I had been making the whole thing way more complicated than it needed to be. Watch the full tutorial on YouTube before or after reading this breakdown. It runs just a few minutes, but there is enough in it to send you out the door with a genuinely different approach to any city block you’ve walked past a hundred times.
What hit me hardest is how much of this comes down to observation before camera settings. That is the part most beginners skip, and honestly the part a lot of experienced shooters skip too when they’re in a hurry. Here is a step-by-step breakdown of what McKinnon covers, expanded with the specifics you need to actually put it into practice.
Step 1: Do a Scouting Walk Before You Shoot
 Photographer surveying a building from street level
Before you raise your camera, walk around the subject completely. Cross the street. Check it from a low angle crouching near the sidewalk, then find a staircase or elevated spot to see how it reads from higher up. What looks flat and forgettable at eye level can become a totally different shape from across the block or from below.
This scouting pass takes five minutes and it will save you from spending twenty minutes shooting the most obvious angle and wondering why nothing looks interesting. The most dramatic composition is rarely the one you see the moment you walk up. Train yourself to pause, circle, look, and only then commit.
Step 2: Look Up - Inside and Outside
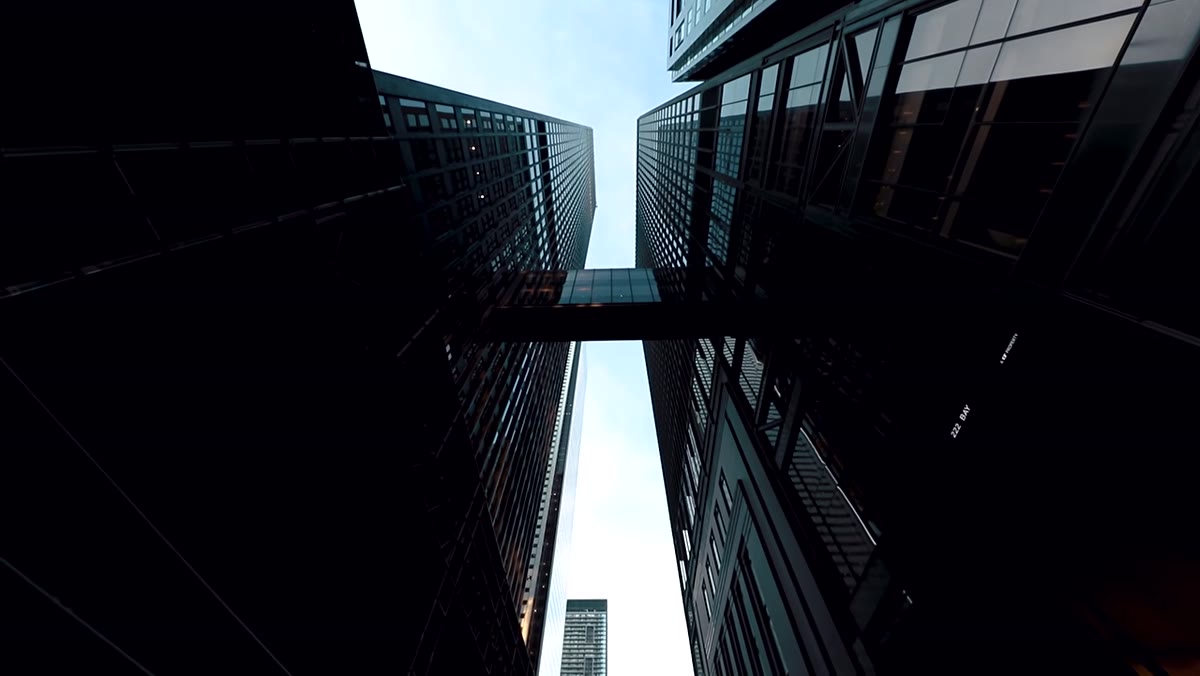 Looking up at a building interior ceiling from an escalator
This is the tip I now repeat to every beginner who comes on a photo walk with me. Looking up is free, it costs zero gear, and most people simply never do it. Building facades are designed to be seen from the street, sure, but architects often pour just as much creativity into ceilings, atriums, and interior skylights.
McKinnon mentions stepping onto an escalator, looking up, and finding a shot that looked like NASA headquarters. That kind of discovery happens when you treat every building as a potential subject on all six sides, not just the front. Next time you walk into a hotel lobby, a library, or even a shopping center, stop and look up before you do anything else.
Step 3: Use Surrounding Buildings as a Frame
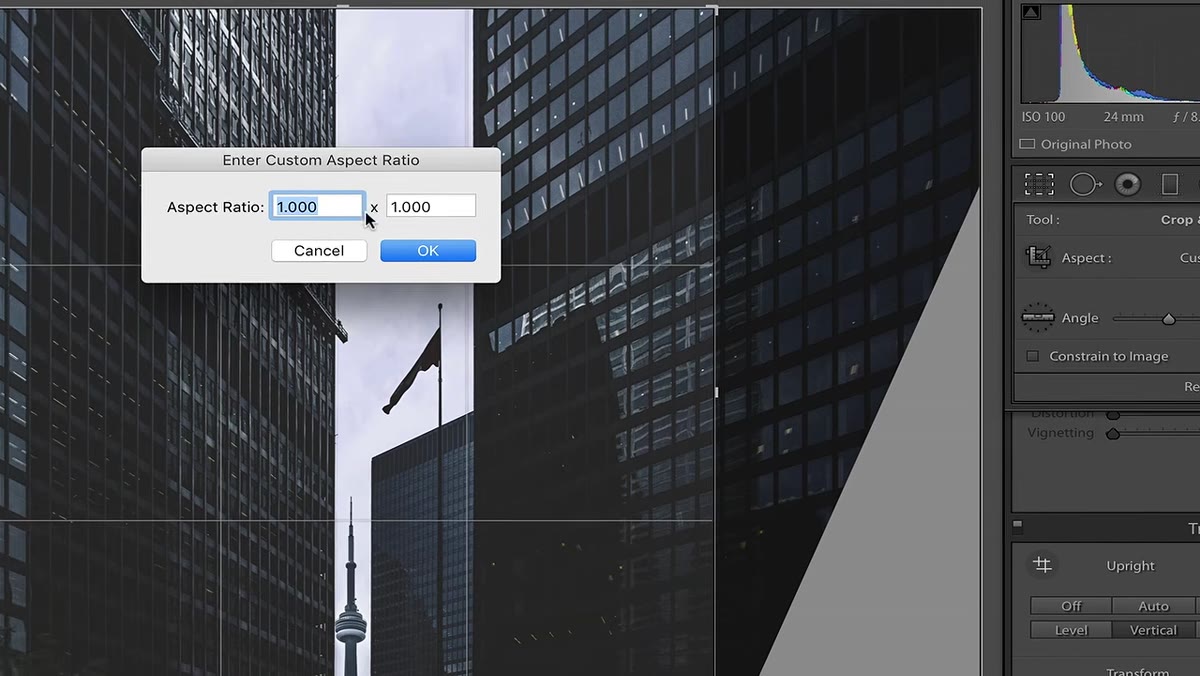
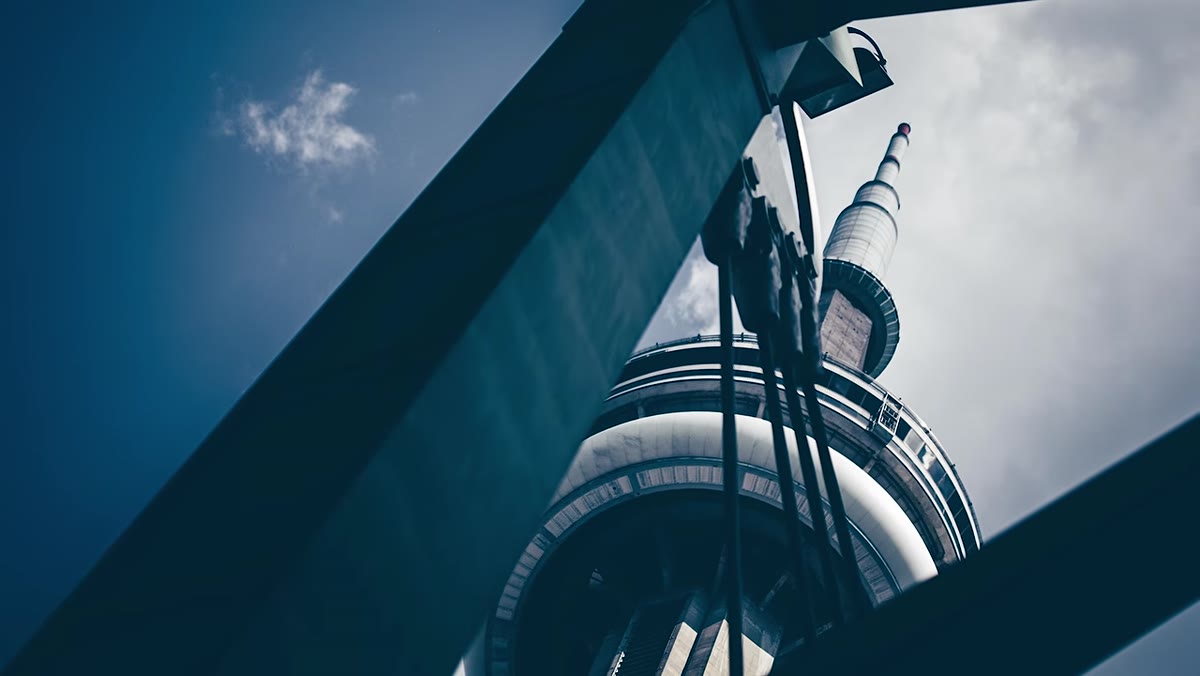 Two office buildings framing the CN Tower in a narrow gap
Framing is one of the core composition techniques in photography, and architecture gives you the most convenient frames imaginable: other buildings. McKinnon shows a shot where two office towers create a narrow corridor that the CN Tower slots into perfectly. The surrounding buildings are not competing subjects, they are the frame that focuses your eye.
To use this technique, look for gaps between structures, archways, or receding walls that naturally draw attention toward your main subject. A telephoto or mild zoom lens (70-135mm range) tends to compress that layered look and make the framing feel tighter and more intentional than a wide angle will.
Step 4: Get Close and Shoot the Details
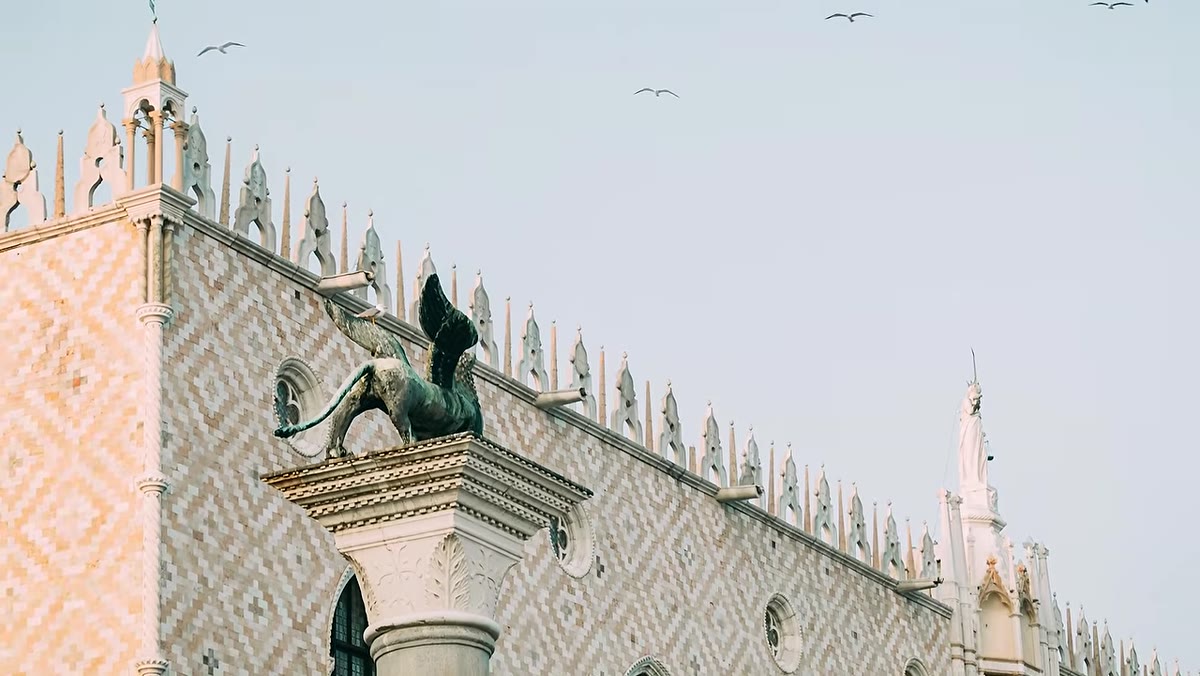 Close-up texture detail on a building surface
Wide establishing shots are the obvious move with architecture, but some of the most striking images come from getting uncomfortably close to the surface. Tiles, rivets, concrete patterns, glass reflections, weathered paint on brick - these textures create abstract images that hold up on their own, separate from any sense of scale.
If you have a macro lens, bring it. McKinnon specifically mentions this as a reason to carry more than just a wide angle when you head out. Even without a macro, moving close with a standard 50mm or short zoom and focusing on a repeated geometric pattern can produce something far more interesting than your fifteenth straight-on shot of the whole building.
Step 5: Choose Your Lenses Intentionally
 Discussion of wide angle vs macro lens options for architecture
The conventional wisdom is that architecture photography means wide angle lenses, and that is not wrong - a 16-24mm range gives you the sweeping, dramatic coverage that makes big structures feel imposing. But stopping there limits you. McKinnon pushes back on the “just go wide” instinct and encourages bringing a range of glass.
My personal kit for a city walk now includes a 16mm for full building shots, a 50mm for context and street-level framing, and a 90mm macro for detail work. You do not need all three every time, but thinking through which you might want before you leave home keeps you from missing shots you would have gotten with one more lens in the bag.
Step 6: Fix Perspective Distortion in Lightroom
 Lightroom transform panel correcting vertical perspective on a building
When you shoot a tall building from street level pointing up, the vertical lines converge at the top, making the building look like it is falling backward. This is called keystoning, and it is completely correctable in post. In Lightroom, go to the Transform panel (found under the Lens Corrections section) and click “Vertical.” Lightroom will automatically straighten those converging lines.
The tradeoff is that the correction crops into your frame and leaves blank triangles in the upper corners. McKinnon’s solution is simple: crop for the platform you’re posting to. For a vertical Instagram crop, those corners disappear and you are left with a clean, properly aligned image. If you want manual control, use the Vertical slider in the Transform panel to dial it in precisely rather than relying on the automatic setting.
Step 7: Keep Returning - The Same Building Changes Constantly
 Discussion of seasonal and weather variation for architecture shots
This is the part that unlocked something for me. McKinnon describes architecture photography as having high “replayability” - the same building looks completely different in winter fog, golden hour light, a rainstorm, or fresh snow. You are not done with a subject just because you have shot it once.
I went back to the same library building in Seattle four times before I got the interior atrium shot I wanted, once in flat midday light, once in rain, once at blue hour, and finally on a clear morning when the light came through the skylight at the right angle. Returning is not failure. It is part of the process.
One Thing McKinnon Doesn’t Mention: Weather as a Creative Tool
Living in Seattle means I shoot in gray, overcast, and rainy conditions more than I shoot in sunshine. What I have found is that overcast light is actually ideal for architecture because it eliminates harsh shadows and lets the geometry of a structure read cleanly. Rain adds reflections on glass and pavement that multiply your compositional options. If you have been waiting for a sunny day to go shoot buildings, stop waiting. Go in the rain. Bring a lens cloth and a rain sleeve for your camera, and go find out what your city looks like when the streets are wet.
The single most useful thing to take from this tutorial is deceptively simple: slow down before you shoot. Walk around, look up, look close, look through gaps. The camera is the last step, not the first. Buildings have been there for years. They will wait while you find the right angle.
Watch the full tutorial on YouTube to see McKinnon’s example shots alongside each of these points. Seeing the before-and-after on the Lightroom perspective correction alone is worth the few minutes it takes.
Comments (2)
Quality content like this is rare. Keep it up.
This saved me so much time on my last edit. Wish I'd found this sooner.
Leave a Comment