There’s something I’ve noticed after years of teaching photography: the basics never stop being useful. They just stop feeling exciting. Negative space, golden hour, shooting local characters. These concepts show up in every beginner’s guide, get skimmed over, and then quietly become the foundation of every great shot someone eventually takes. The problem isn’t that photographers don’t know these ideas. It’s that nobody ever slows down long enough to make them feel real and actionable.
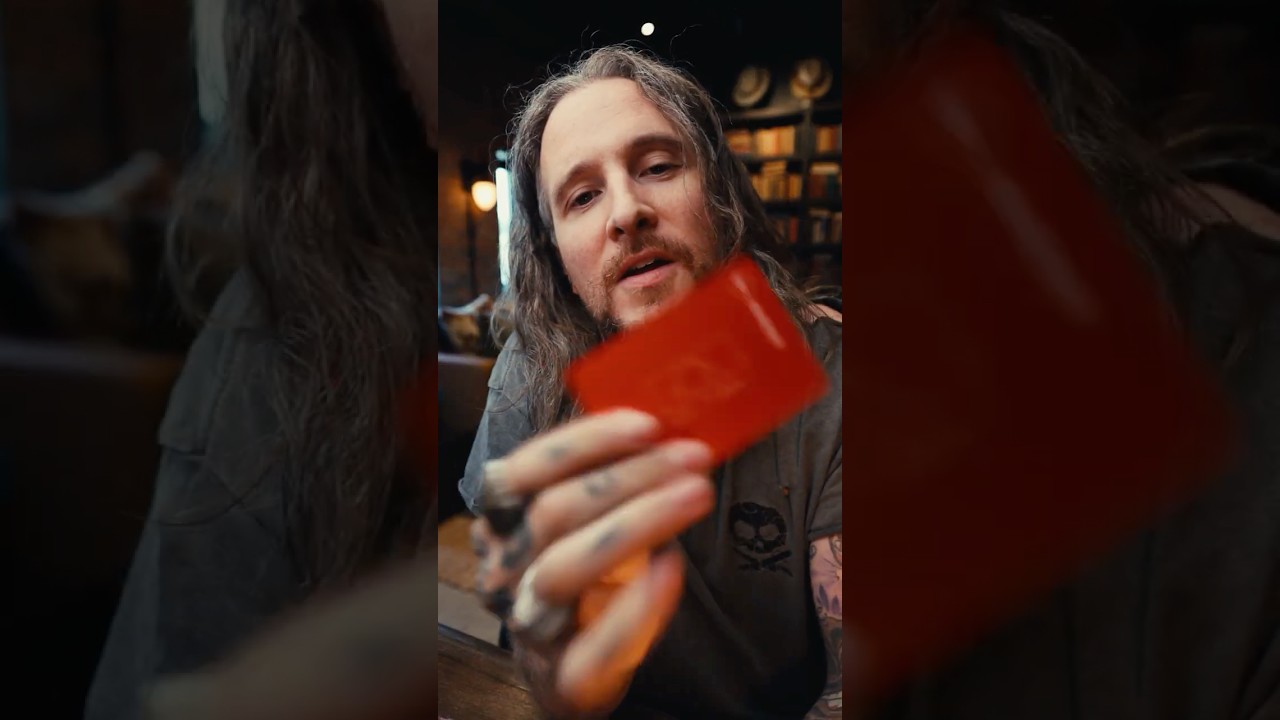
That’s exactly what caught my attention in Watch the full tutorial on YouTube when Peter McKinnon pulled out a Leica playing card deck. Each card carries a single photography tip, and McKinnon riffs on them in his signature off-the-cuff style. It sounds almost silly. But the way he engages with each concept, even briefly, is a reminder that fundamentals aren’t boring. They’re just undertaught. I wanted to break down each of the three tips he draws and give you the fuller picture behind each one, because there’s more to unpack than a playing card has room for.
I still go on a photo walk every Sunday morning, rain or shine here in Seattle, and these are the exact principles I come back to week after week. If you’re just starting out or you’ve been shooting for years and your images feel flat, this is worth sitting with.
Step 1: Understand What Negative Space Is Actually Doing
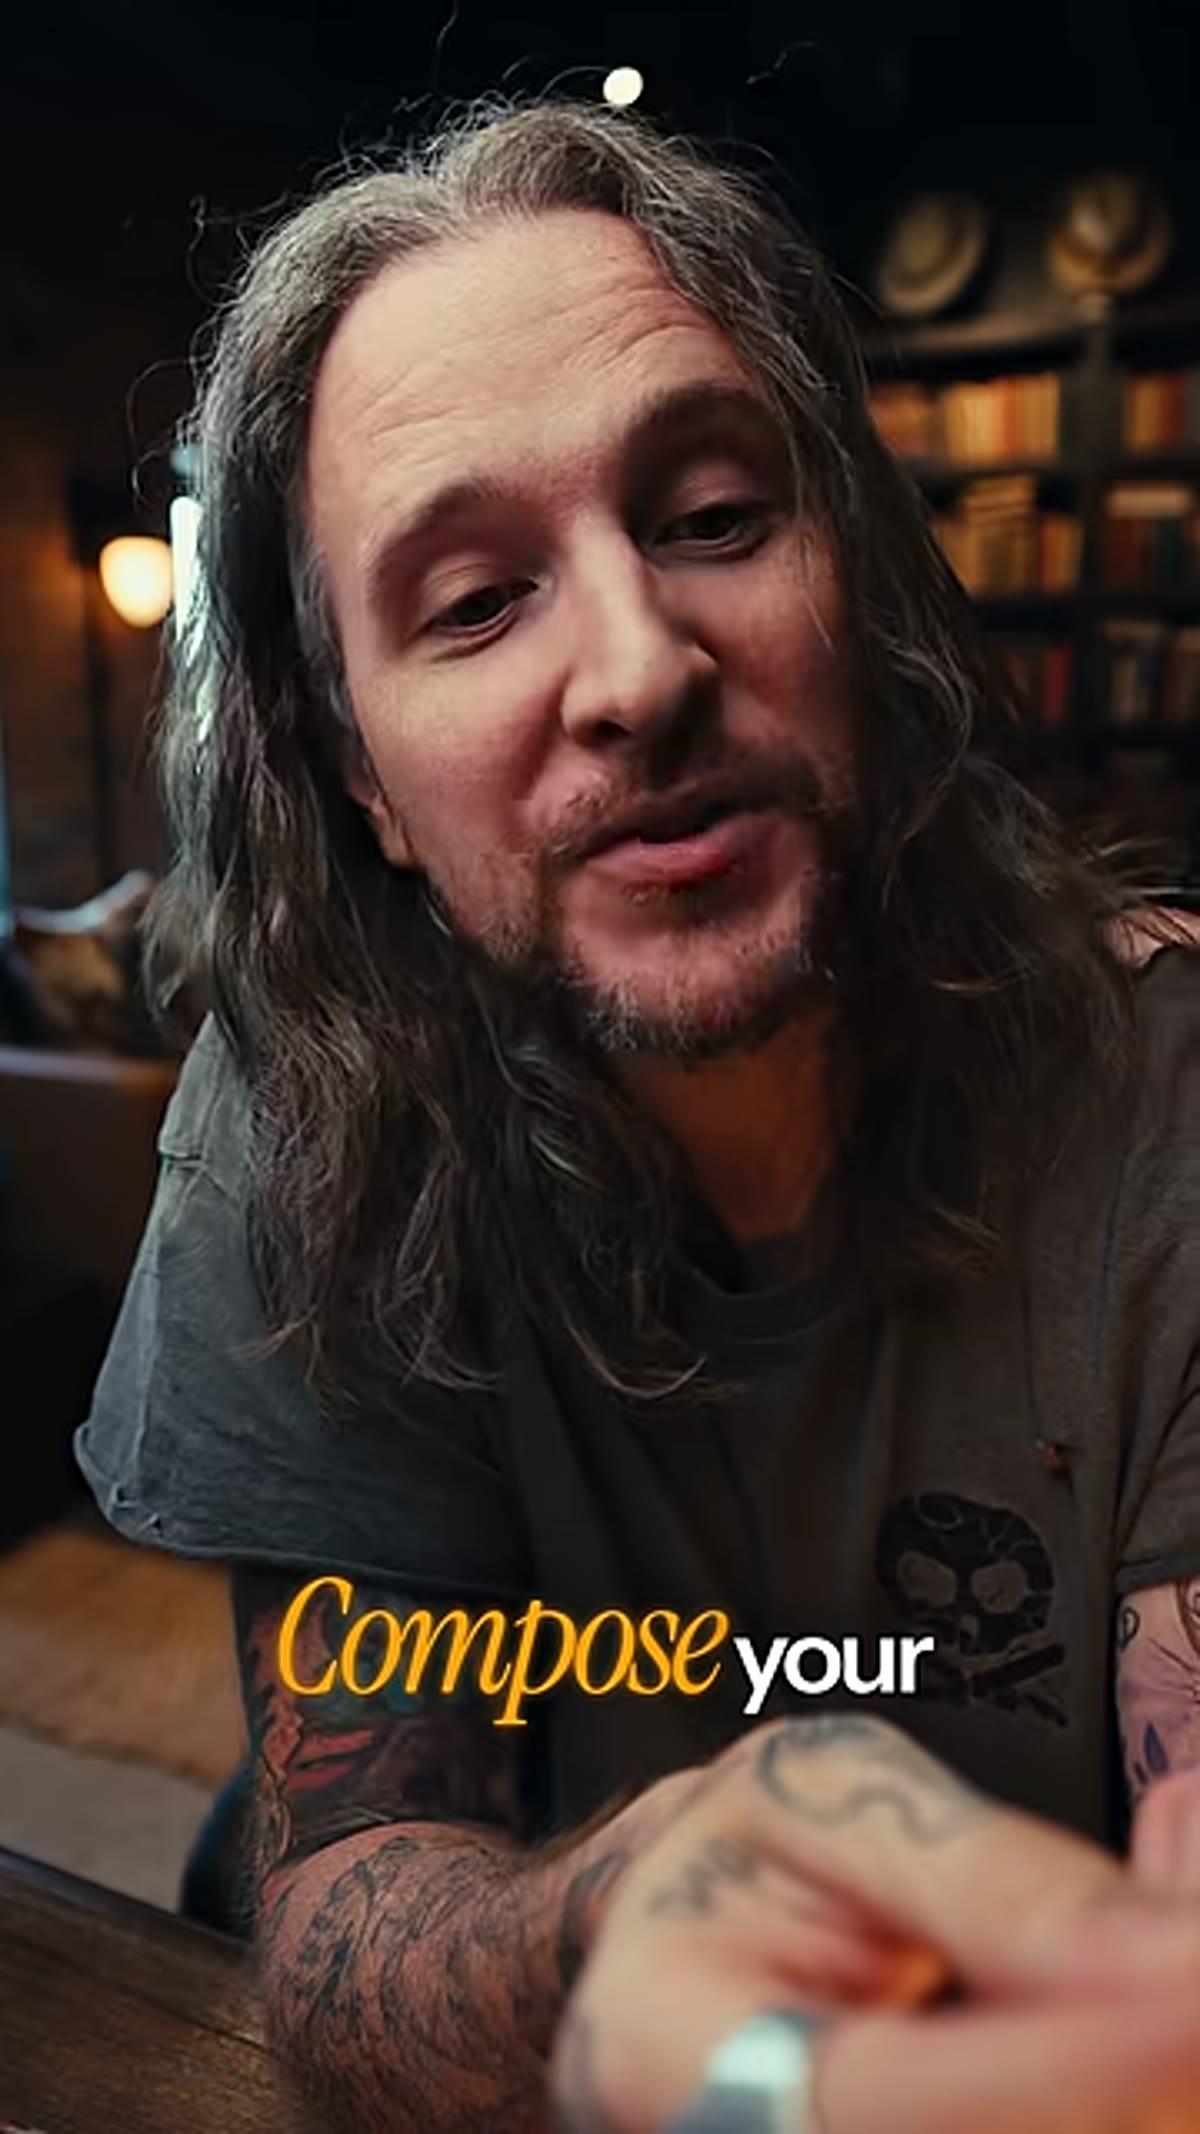 McKinnon reading the Jack of Spades negative space tip
Negative space is the area around your subject, and the tip from McKinnon’s deck puts it cleanly: aim for calm, balanced images with enough room around your subject, and cut out anything distracting or cluttered. That sounds simple until you’re standing in front of a busy scene trying to figure out where to point your camera.
McKinnon reading the Jack of Spades negative space tip
Negative space is the area around your subject, and the tip from McKinnon’s deck puts it cleanly: aim for calm, balanced images with enough room around your subject, and cut out anything distracting or cluttered. That sounds simple until you’re standing in front of a busy scene trying to figure out where to point your camera.
Here’s the practical way to think about it. Negative space isn’t emptiness for its own sake. It’s visual breathing room that tells the viewer where to look. When you fill a frame edge to edge with detail, the eye doesn’t know where to land. When you leave open sky, a plain wall, or calm water around your subject, you’re making a deliberate choice about emphasis. Try this on your next shoot: after you take your instinctive shot, take one step back and reframe so your subject occupies roughly one third of the frame. See what the extra space does to the mood. Most of the time, it slows the image down in the best possible way.
Step 2: Plan Around Golden Hour, Not Just For It
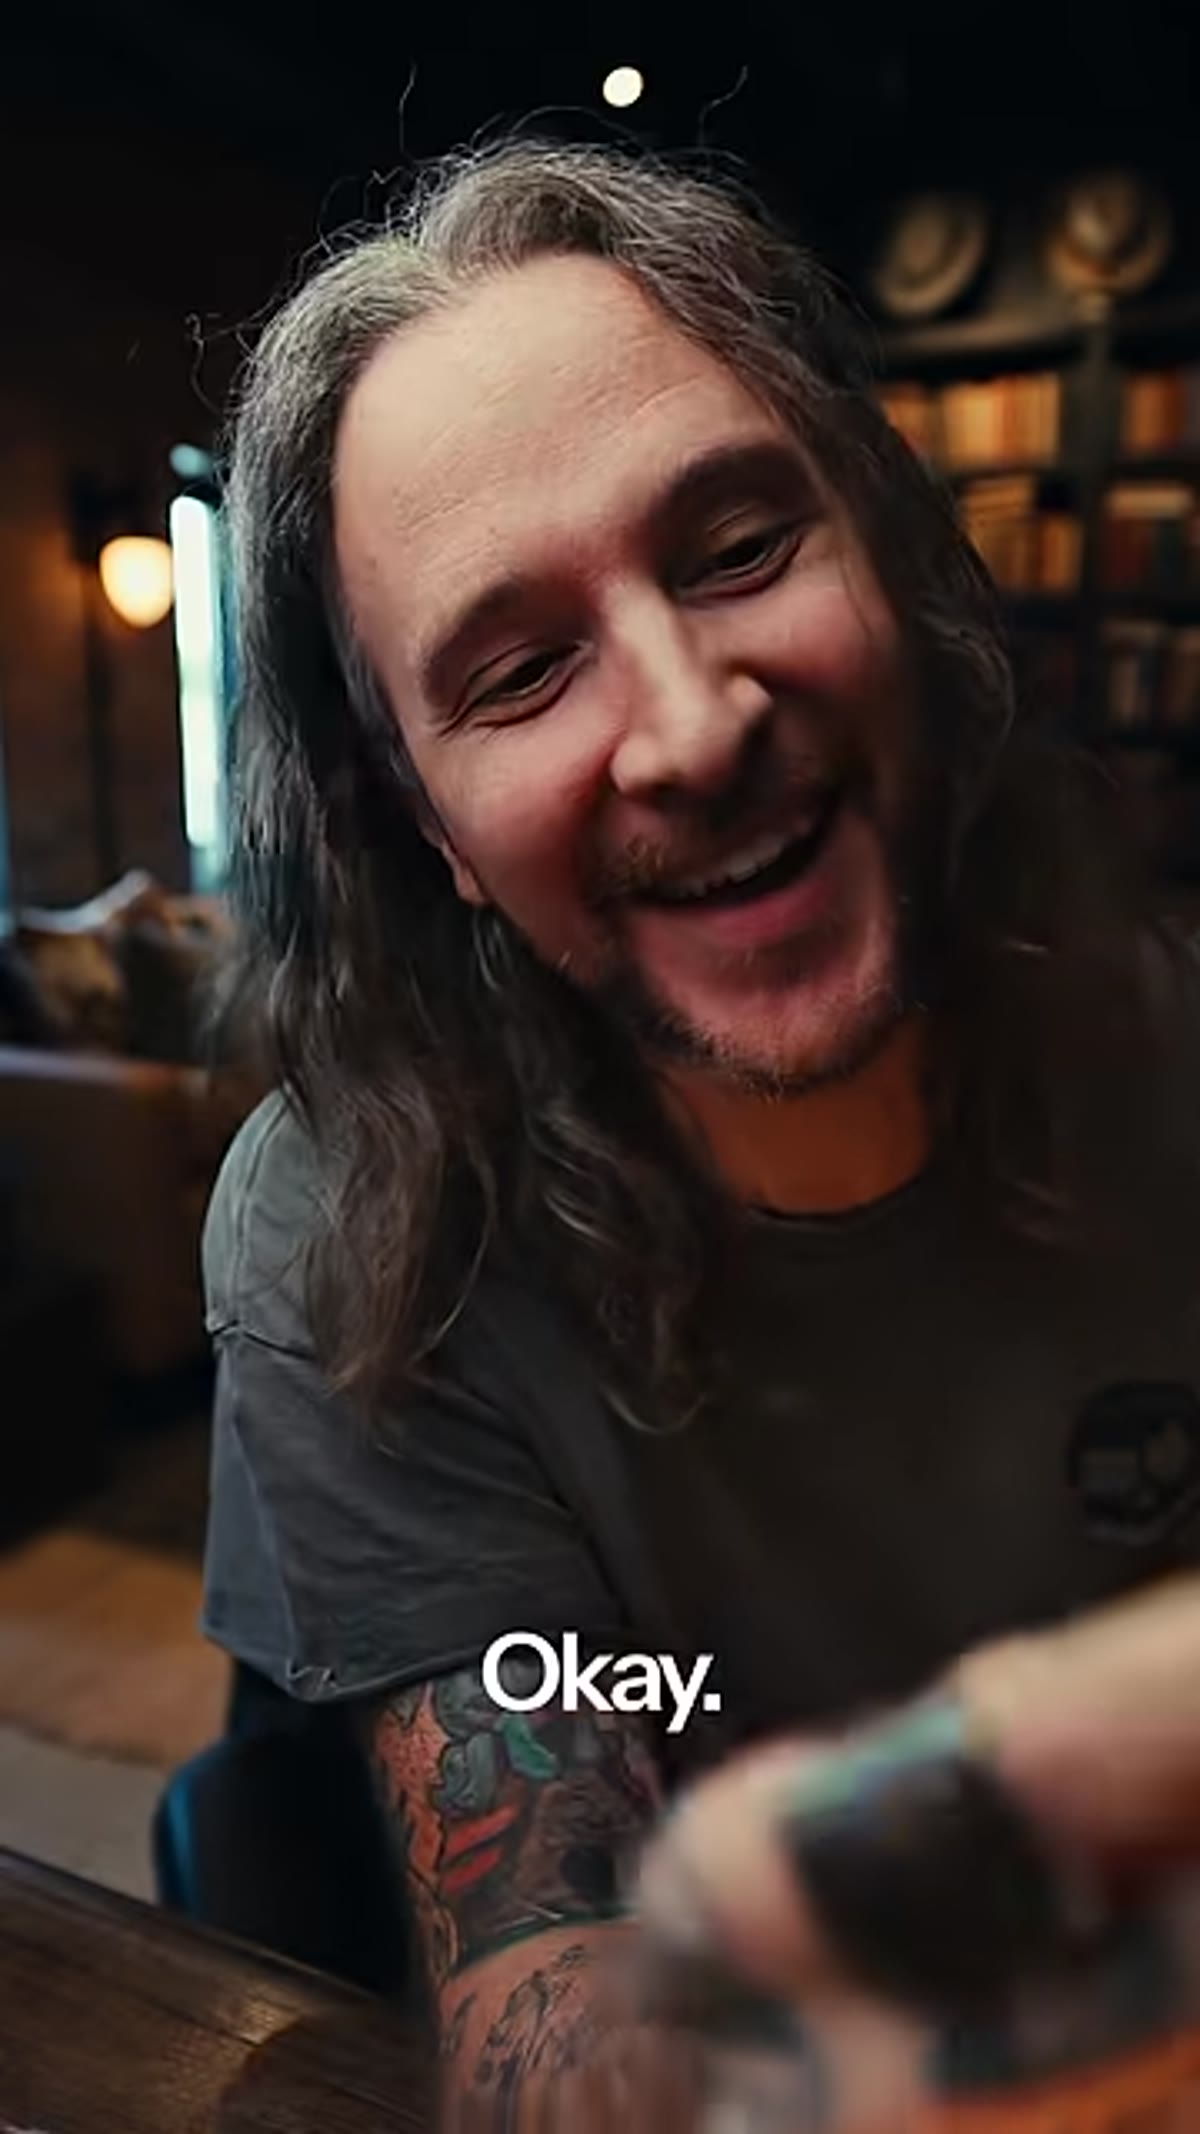 McKinnon reading the Five of Clubs golden hour landscape tip
McKinnon’s golden hour card covers the basics: the window just after sunrise and just before sunset, when the sun sits low and throws warm, directional light across everything it touches. The card’s advice to arrive early is genuinely the most important part, and it’s the part people skip most often.
McKinnon reading the Five of Clubs golden hour landscape tip
McKinnon’s golden hour card covers the basics: the window just after sunrise and just before sunset, when the sun sits low and throws warm, directional light across everything it touches. The card’s advice to arrive early is genuinely the most important part, and it’s the part people skip most often.
Golden hour moves fast. Depending on your location and season, the best light might last fifteen minutes. If you’re still walking from your car when it peaks, you’ve already missed it. I’ve lost more golden hour shots than I care to admit because I showed up thinking I had time to spare. Now I aim to be in position at least twenty minutes before the light I want. Use that time to test your composition, check your settings, and get comfortable with the scene. For portraits, position your subject with the sun behind them as a rim light. This wraps warm light around the edges of their hair and shoulders without blowing out their face. Set your aperture wide, something in the f/1.8 to f/2.8 range if you have it, to separate your subject from a softly glowing background. For landscapes, look for long shadows and texture in terrain that flat midday light would completely flatten out.
Step 3: Shoot Local Characters With Intention
 McKinnon reading the Queen of Diamonds street photography tip
The Queen of Diamonds covers street and travel photography by way of one specific idea: find and photograph the characters in your local area, not just when you’re traveling somewhere exotic. McKinnon points out that these images, the ones that highlight what makes a person stand apart, can grow into a rewarding portrait series over time.
McKinnon reading the Queen of Diamonds street photography tip
The Queen of Diamonds covers street and travel photography by way of one specific idea: find and photograph the characters in your local area, not just when you’re traveling somewhere exotic. McKinnon points out that these images, the ones that highlight what makes a person stand apart, can grow into a rewarding portrait series over time.
This is something I feel strongly about. A lot of beginning photographers wait for a “worthy” location before they start shooting people. But the best street and documentary work is usually hyper-local, built over time with subjects the photographer genuinely knows or keeps running into. Start by identifying two or three recurring figures in your neighborhood: the guy who runs the corner coffee cart, the woman who walks her three dogs at the same time every morning, the teenager who skateboard in front of the library. Ask permission, explain what you’re doing, and show up consistently. Over weeks or months, you accumulate a body of work that actually means something. The tip about traveling with locals to blend in applies here too. Familiarity lowers people’s guard, and candid moments become much easier to catch when you’re not obviously a stranger with a camera.
What I’d Add From My Own Experience
These three tips share something that rarely gets said out loud: they’re all about intention before you press the shutter. Negative space is a compositional decision you make before you frame up. Golden hour requires a logistical commitment you make hours before you shoot. Shooting local characters is a long-term project you have to decide to start.
The photographers I’ve seen improve fastest are the ones who stop treating these principles as checkboxes and start treating them as questions they ask themselves on every shoot. Am I using this space intentionally? Is this the best light I could be shooting in, or am I just shooting because I’m here? Do I know this subject well enough to capture something real? I’d add one more layer on top of McKinnon’s card tips, which is to pick one of these three and focus on it exclusively for a full month. A month of consciously working negative space into every frame teaches you more than a year of casually knowing what it is. Same with golden hour and character portraits. Depth beats breadth every time when you’re building visual instincts.
The single most important takeaway here is this: classic photography tips feel stale because we receive them passively. They only become useful when you apply them as active decisions inside a specific image. McKinnon’s card deck is a fun framing device, but the real value is in revisiting fundamentals as a working photographer, not a student memorizing definitions.
Watch the full tutorial on YouTube to see McKinnon walk through these tips in his own words. It’s short, loose, and worth your time.
Comments (2)
Would love to see a follow-up going deeper into this topic.
Never thought of approaching it this way. Really creative.
Leave a Comment