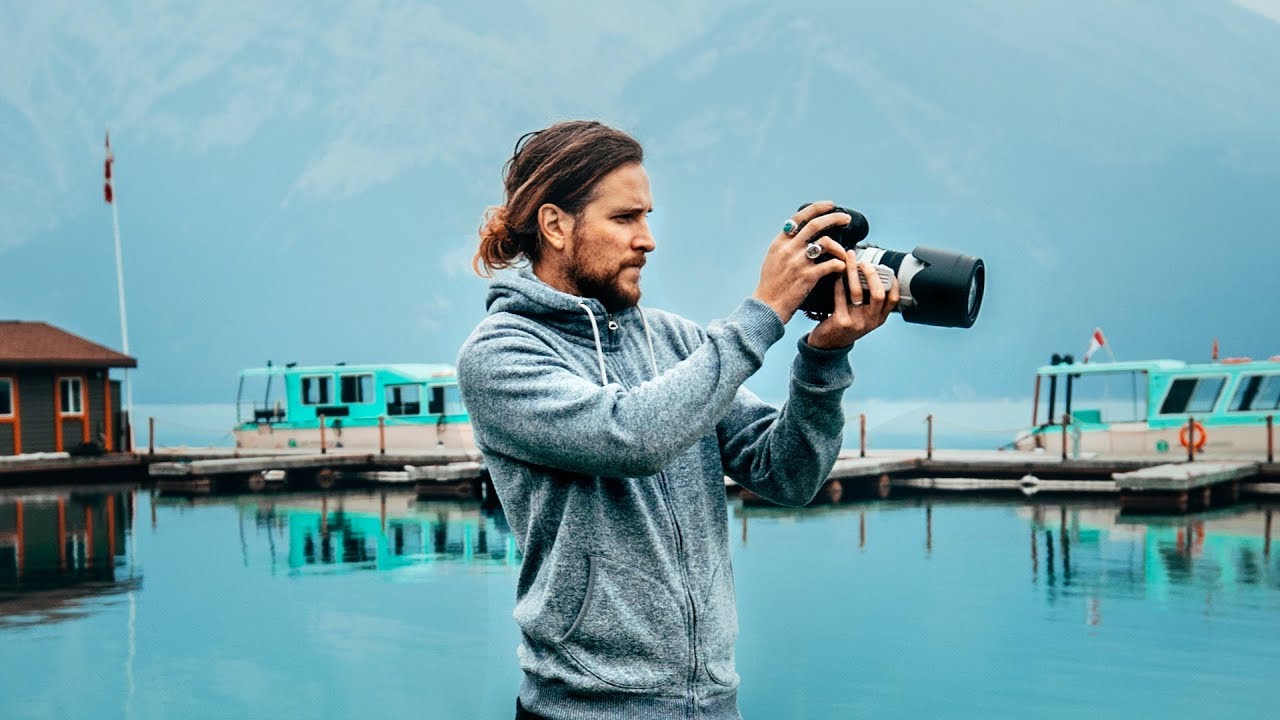
A question I get almost every week at this point, usually slipped into a DM or whispered at the end of a workshop like it’s a little embarrassing to ask: “How do I actually make money with this?” I asked the same thing myself when I was starting out. I had a decent camera, a growing sense of what made a compelling image, and absolutely zero idea how to turn any of that into income. What I needed wasn’t another article about “building your brand.” I needed someone to sit down with me and say, here are specific things you can do right now.
That’s exactly what Peter McKinnon and his guest Chris Howe do in this tutorial. Chris runs a production company that works with major brands, and together they walk through ten concrete methods for earning $3,000 or more within a single month using photography. It’s practical, specific, and refreshingly direct. Watch the full tutorial on YouTube if you want to see it straight from them. But if you’re the kind of person who learns best by reading and annotating, here’s the full breakdown.
Step 1: Batch Shoot Headshots
 Two photographers discussing batch headshot shooting strategy
The first strategy Chris introduces is one of the most immediately actionable: batch shooting. If you’ve ever had someone ask you for a quick LinkedIn headshot, you already know the demand is there. The shift is in how you respond to it. Instead of booking one person for one session, you organize a single shooting day and fill it with clients back to back. Post on Facebook or Instagram, let your network know you’re offering professional headshots, charge somewhere between $50 and $100 per person, and book ten slots across the day. That’s up to $1,000 in a single Saturday. Do that two more times in the same month and you’ve hit the goal.
The logistics are simpler than they sound. You set up one clean, consistent lighting setup and you don’t break it down between clients. Everyone gets the same professional result, you stay in a workflow groove, and your editing time is predictable because all the images match. If you have access to a studio space, consider renting it for a full weekend and stacking both days with sessions. That’s the entire $3,000 target right there, in 48 hours of focused work.
Step 2: Identify and Pitch Local Businesses
 Chris Howe explaining commercial photography for local brands
Chris’s background is in commercial work for major brands, but he’s clear that you don’t need to start there. Local businesses are an underserved market and many of them are using poor-quality photos on their websites, menus, and social media right now. Walk into a restaurant, a boutique, or a local gym and look at their online presence. If their images aren’t doing their product justice, that’s your pitch.
The key is coming prepared. Don’t show up and say you’re a photographer looking for work. Show up with a specific observation and a simple offer. Something like: “I noticed your menu photos are a little dark, I’d love to do a quick product shoot for you.” Charge a flat rate for a half-day package and deliver polished, usable images. Businesses pay for results they can use immediately, so make your offer feel low-risk and high-return.
Step 3: Leverage Your Existing Network First
 Discussion about reaching out to existing contacts for photography jobs
Before you spend energy chasing strangers on the internet, work your existing contacts. Peter and Chris both emphasize this as a foundation move. Tell your friends, family, and colleagues that you’re taking on clients. People who already trust you are the easiest sell, and they’re also the most likely to refer you to someone else.
Think about anyone in your circle who might need photos in the near future. Someone job hunting needs headshots. Someone launching a small business needs product shots. Someone planning an event needs coverage. You don’t have to run a formal marketing campaign. A direct message to ten specific people asking if they know anyone who needs photography can generate more work than a week of cold outreach.
Step 4: Offer a Clear, Simple Package
 Discussing setting pricing and structuring photography packages
One of the things that stops new photographers from charging what they should is fuzzy pricing. When someone asks what you charge, saying “it depends” is a conversion killer. Chris’s advice here is to build a simple, easy-to-explain package that removes the guesswork for the client and for you.
A starting framework might look like: one-hour session, one location, 20 edited images delivered within 48 hours, $150 flat. That’s something a potential client can say yes or no to without a lengthy back-and-forth negotiation. It also helps you calculate exactly how many bookings you need to hit a financial target. At $150 per session, 20 sessions in a month gets you to $3,000. That math is motivating when you can see it clearly.
Step 5: Shoot Stock Photography in Parallel
 Describing passive income strategies using stock photo libraries
This one takes longer to pay off but runs in the background while you’re doing everything else. Stock photography platforms let you upload images and earn royalties each time someone licenses them. It’s not fast money, but it compounds. If you’re already going out to shoot, batch some images specifically for stock at the same time.
The images that sell well on stock platforms tend to be clear, well-lit, and conceptually simple: a person working at a laptop, a coffee cup on a wooden table, a team in a meeting room. Think about the visual language of blog posts and advertisements and shoot to fill those gaps. Upload consistently and your portfolio grows passively alongside your active client work.
Step 6: Build a Simple Online Presence Fast
 Discussion on the importance of having an online portfolio
You don’t need a custom-designed website with five pages and a blog to start taking clients. You need somewhere to send people when they ask to see your work. A clean portfolio on a platform like Format, Squarespace, or even a well-curated Instagram grid is enough to establish credibility in the beginning.
Pick 10 to 15 of your strongest images, ones that represent the kind of work you want to get hired for, and make sure they load quickly and look sharp on mobile. Add a contact email. That’s it for now. The goal is to have somewhere to direct people today, not to build a perfect digital home base before you take a single booking.
A Note From My Own Experience: Don’t Wait Until You Feel Ready
I started teaching photography after a stranger at a coffee shop asked me how I’d taken a shot I was editing on my laptop. That question forced me to articulate something I’d learned by feel, and it completely changed how I thought about sharing knowledge. The same applies to charging for your work. Most photographers I know, myself included, waited far too long before treating their skills as something worth paying for.
The strategies in this video are not theoretical. They work at a beginner level because they don’t require a massive portfolio or expensive gear. I’ve shot headshots on a cropped-sensor camera with a nifty fifty and delivered images people were genuinely thrilled with. The camera matters less than showing up with a plan and following through on what you promise.
The single biggest takeaway from this tutorial is that $3,000 in a month is not a fantasy figure. It’s the result of combining a few simple strategies, pricing yourself fairly, and reaching out to people before you feel perfectly ready. Batch shooting alone can get you most of the way there in a single weekend. The rest of the methods stack on top of that.
Watch the full tutorial on YouTube to hear Peter and Chris cover all ten methods with the kind of casual, specific energy that makes the advice actually stick.
Comments (3)
I've watched a dozen tutorials on this and yours is the clearest by far.
Been doing this wrong for years apparently. Thanks for the wake-up call.
Just used this on a wedding shoot edit. Client was thrilled.
Leave a Comment